Pouring Candles: A Guide for Candle Making with Candle Molds
Candle making has been a popular craft for centuries, serving both decorative and functional purposes. One of the key techniques in candle making is pouring candles using candle molds. This article serves as a comprehensive guide to help novice candle makers understand the intricacies of this process and create beautiful, professional-looking candles.
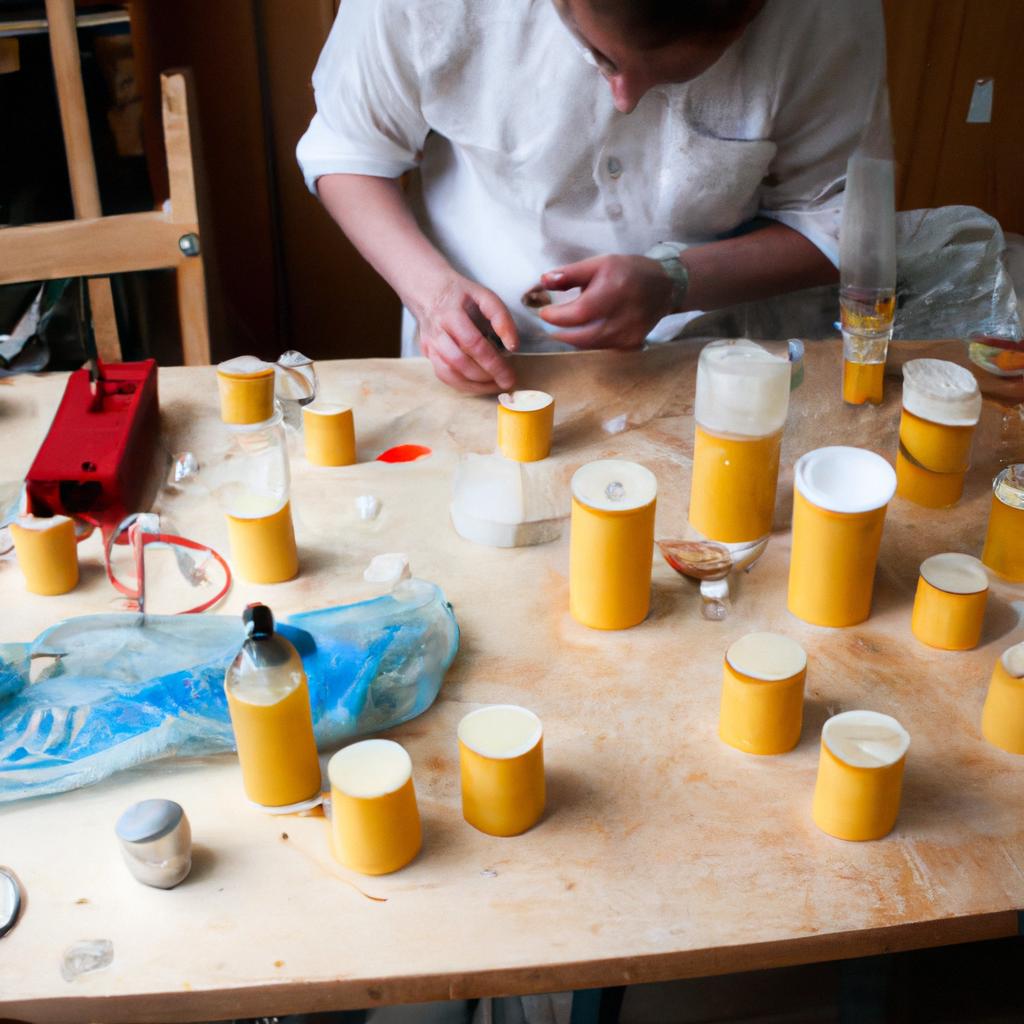
To illustrate the importance of proper technique when pouring candles with molds, consider the case of Sarah, an aspiring candle maker who recently embarked on her journey into this ancient art form. Eager to create unique candles for her upcoming event, she purchased various types of molds and experimented with different wax blends. However, despite her enthusiasm and efforts, she encountered challenges such as uneven cooling, air bubbles trapped within the candles, and difficulty in removing them from the molds without damaging their shape. It was through trial and error that Sarah realized the significance of understanding the fundamentals behind pouring candles with molds – knowledge that can be shared through this guide.
This article begins by providing an overview of candle molds and their role in creating various shapes and sizes of candles. It then delves into the specifics of selecting appropriate materials such as mold release agents, waxes, dyes, fragrances, and wicks. Additionally, it explores essential steps involved in preparing the mold before pouring the wax, including cleaning and priming the mold to ensure smooth candle release. The guide also covers the importance of temperature control during the pouring process and provides tips on achieving consistent results.
Furthermore, this article discusses techniques for preventing common issues like air bubbles and uneven cooling. It explains how to properly fill the mold with melted wax, ensuring that it reaches all corners and crevices while avoiding overflow. The guide also suggests methods for releasing trapped air bubbles by gently tapping or using a heat gun.
Moreover, it addresses the crucial step of allowing the candles to cool and solidify completely before attempting to remove them from the molds. It offers suggestions for determining when the candles are ready for demolding, such as observing their appearance and texture.
Lastly, this comprehensive guide includes valuable tips on safely removing candles from molds without damaging their shape or surface finish. It emphasizes patience and gentle handling while applying techniques such as freezing or warming the mold slightly to aid in easy release.
By following this guide, novice candle makers like Sarah can overcome challenges encountered during the candle pouring process with molds. They will gain a deeper understanding of materials, techniques, and troubleshooting methods necessary for creating professional-looking candles. With practice and perseverance, they can achieve beautiful results that will impress both themselves and others.
Choosing the Right Wax for Pouring Candles
Imagine you are planning to make your own candles using candle molds. You have gathered all the necessary materials, but now you face a crucial decision: which wax should you use? The choice of wax is essential as it determines not only the appearance and scent of your finished candles but also their burning characteristics. In this section, we will explore different types of waxes commonly used in candle making and discuss their respective qualities.
When selecting a wax for pouring candles, several factors need to be considered. First and foremost is the melting point of the wax. This temperature determines how well the wax will adhere to the mold surface during pouring and prevent any leakage or deformities. For example, if you choose a low-melting-point wax for intricate or detailed molds, there is a higher risk of imperfect results due to premature cooling and solidification.
Another aspect to consider is the fragrance load capacity of the wax. Some waxes can hold more fragrance oil than others, allowing for stronger scents when burned. Additionally, certain waxes may require additives such as stearin or vybar to enhance fragrance throw and improve burn performance. It’s important to understand these requirements before deciding on a specific type of wax.
To further guide your selection process, here are some key points to keep in mind:
- Natural waxes like soy or beeswax provide a clean-burning experience while offering eco-friendly alternatives.
- Paraffin wax offers excellent scent throw and smooth finishes but may produce soot when burned at high temperatures.
- Palm wax has unique crystal formations that create stunning visual effects when poured into transparent molds.
- Blended waxes combine different types together, often achieving desirable properties like good adhesion and strong scent throw.
By considering these aspects along with personal preferences regarding sustainability, aesthetics, and burn quality, you can confidently select an appropriate wax for your pouring candle project.
Understanding these steps is vital to ensure a successful and satisfying candle-making experience. So let’s move on to “Prepping the Candle Mold for Pouring” and explore how to make sure everything is ready for creating beautiful candles.
Prepping the Candle Mold for Pouring
Section H2: Choosing the Right Wax for Pouring Candles
Now, let’s delve deeper into this topic and explore some factors to consider when choosing your candle wax.
To illustrate these considerations, let’s imagine a scenario where you are creating scented soy candles for a small business. You want to ensure that your candles have a long burn time, excellent scent throw, and an appealing appearance. With these goals in mind, here are some key points to keep in mind when selecting your candle wax:
- Burn Time: Consider the desired burn time for your candles. Different waxes have varying melting points and densities, which can affect how quickly they burn. For longer burn times, paraffin wax is often preferred due to its slower burning rate.
- Scent Throw: If you aim to create highly fragrant candles, choose a wax that has good scent retention properties. Soy wax is known for its ability to hold onto fragrance oils and release them slowly during burning.
- Appearance: The visual appeal of your finished candle is crucial. Some waxes may produce a smoother finish than others or offer more options for achieving unique textures or patterns within the candle itself. Beeswax, for instance, has a natural golden hue that adds elegance to the final product.
- Eco-Friendliness: Consider the environmental impact of different waxes. Many consumers today prioritize eco-friendly products, so using sustainable options like soy wax or beeswax can be advantageous both ethically and commercially.
To further aid in understanding the differences between various types of candle waxes, refer to the following table:
| Wax Type | Burn Time | Scent Throw | Appearance |
|---|---|---|---|
| Paraffin | Long | Moderate-High | Smooth Finish |
| Soy | Moderate | High | Creamy Texture |
| Beeswax | Long | Low-Moderate | Natural Golden Hue |
As you can see, each wax type has its own unique characteristics. Consider these factors and your specific candle-making goals when choosing the right wax for your project.
Moving forward, we will explore the next step in the candle-making process: Melting and Scenting the Wax. By understanding how to properly handle and infuse fragrance into the chosen wax, you will be well on your way to creating beautiful candles that delight both visually and aromatically.
Melting and Scenting the Wax
Section H2: Melting and Scenting the Wax
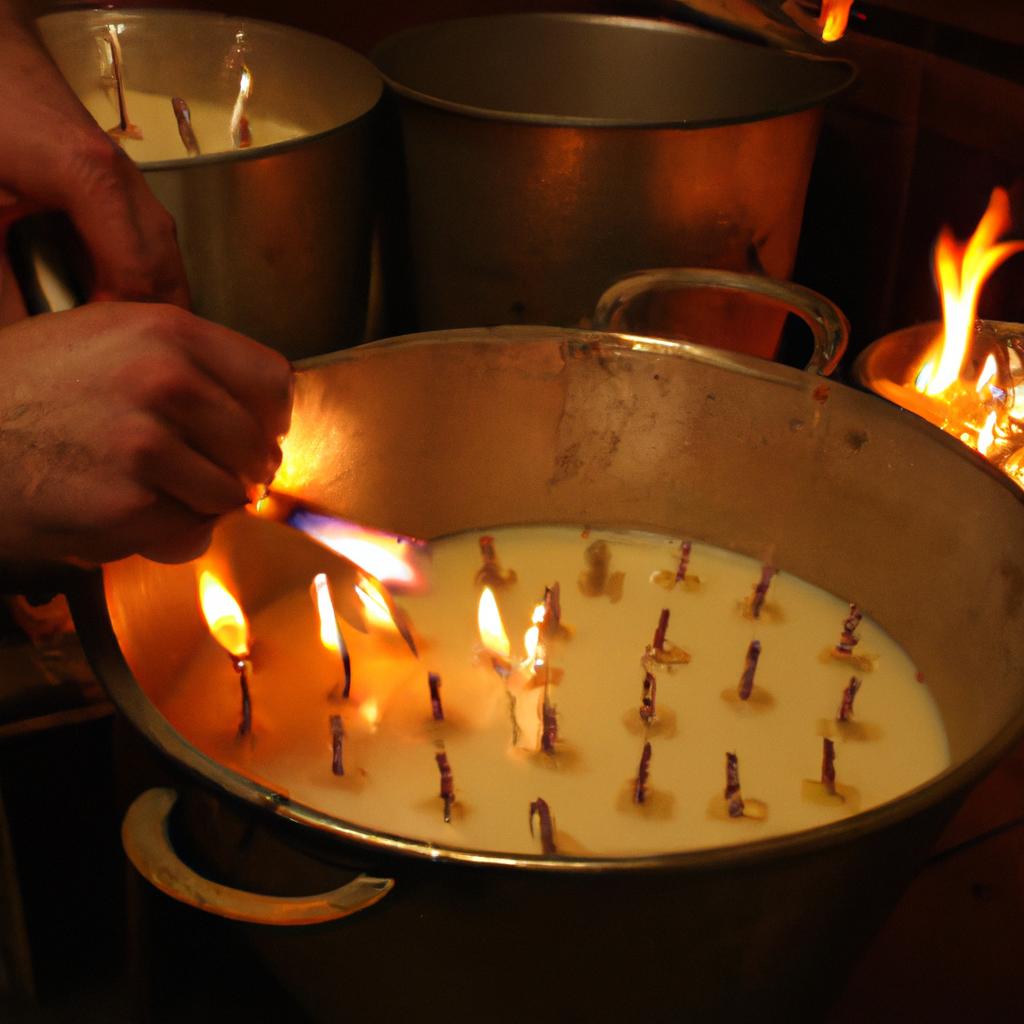
After prepping the candle mold, the next step in pouring candles is to melt and scent the wax. This crucial stage ensures that your candles are not only functional but also aromatic, enhancing their overall appeal. Let’s explore this process further.
To begin, let’s consider an example of a scented soy candle. As you prepare to melt the wax, gather your materials: a double boiler or melting pot, a thermometer, fragrance oil (such as lavender), and soy wax flakes. Place the desired amount of soy wax flakes into the double boiler or melting pot, ensuring it doesn’t exceed its capacity. Heat gently until the flakes have completely melted, stirring occasionally with a heat-resistant utensil.
Once the wax has reached its recommended temperature – typically around 185°F (85°C) for soy wax – it’s time to add fragrance oil. Fragrance oils come in various strengths, so refer to the manufacturer’s instructions for proper usage rates. For instance, if using lavender fragrance oil with a recommended usage rate of 10%, simply measure out 1 ounce (28 grams) of fragrance oil per pound (454 grams) of melted wax.
Now that we understand how to melt and scent our candles effectively, let’s delve into some key considerations during this process:
- Temperature control is vital; avoid overheating as excessive heat can affect both fragrance throw and burn quality.
- Stirring thoroughly after adding fragrance oil helps distribute it evenly throughout the melted wax.
- Adhering to recommended usage rates prevents overpowering scents or compromising safety.
- Always keep track of any specific instructions provided by manufacturers regarding maximum temperatures or unique requirements for certain types of waxes.
By following these guidelines and considering these factors during the melting and scenting phase, you ensure that your poured candles will possess both visual charm and delightful aromas that captivate consumers’ senses.
Next, we will move on to the exciting step of pouring the wax into the candle mold. With our melted and fragranced wax ready, let’s explore how to achieve a seamless transition from preparation to actualizing your desired candle design.
Pouring the Wax into the Candle Mold
Section H2: Pouring the Wax into the Candle Mold
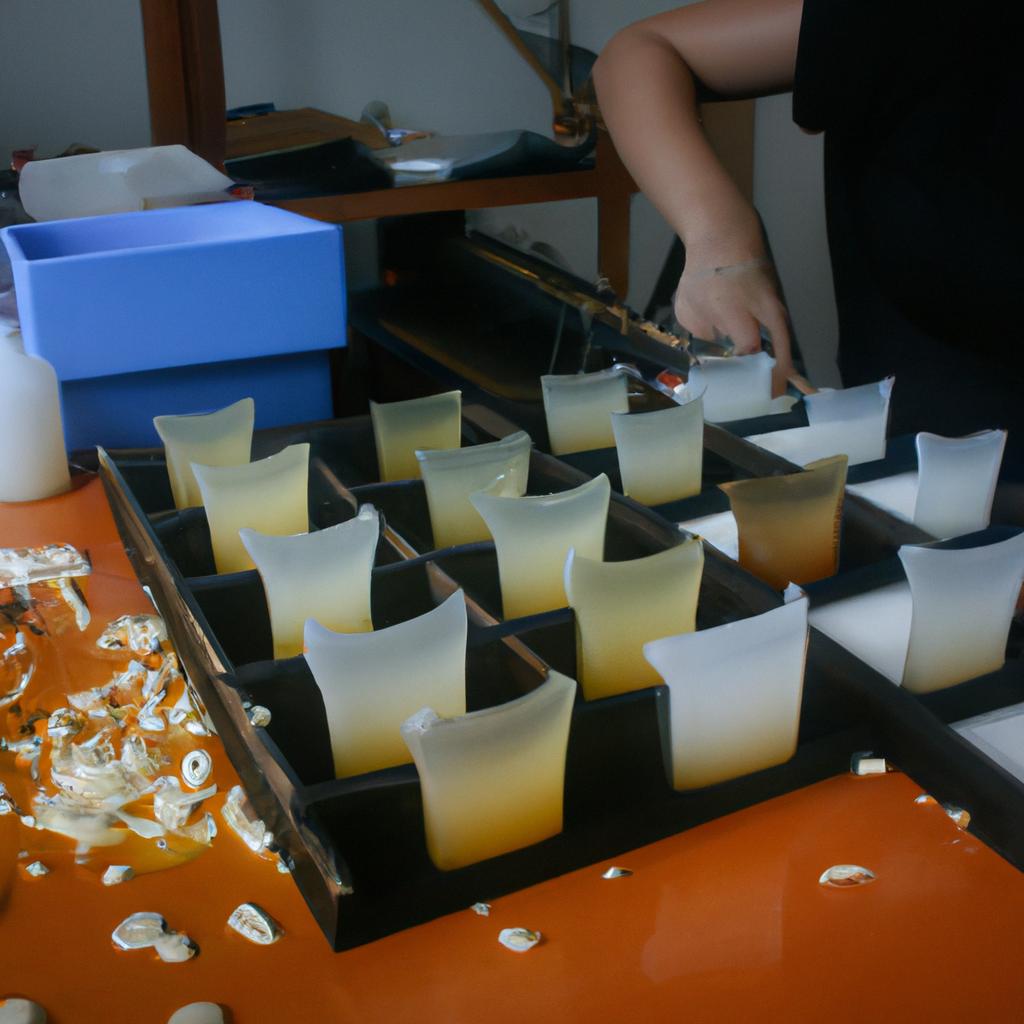
Once the wax has been melted and scented, it is time to pour it into the candle mold. This step is crucial in ensuring that your candles set correctly and maintain their desired shape. In this section, we will discuss the process of pouring the wax into the mold, highlighting key considerations for achieving optimal results.
Paragraph 1:
To illustrate the importance of properly pouring wax into a candle mold, let’s consider a hypothetical scenario. Imagine you are making a lavender-scented candle using a cylindrical metal mold. You carefully melt and scent the wax, excitedly preparing to pour it into the mold. However, due to hasty pouring or an uneven hand movement, some of the hot wax spills over onto your work surface. Not only does this result in wastage of materials but also poses safety concerns as spilled wax can cause burns if not handled with caution. Therefore, understanding how to pour wax into molds with precision becomes essential to avoid such mishaps.
Paragraph 2:
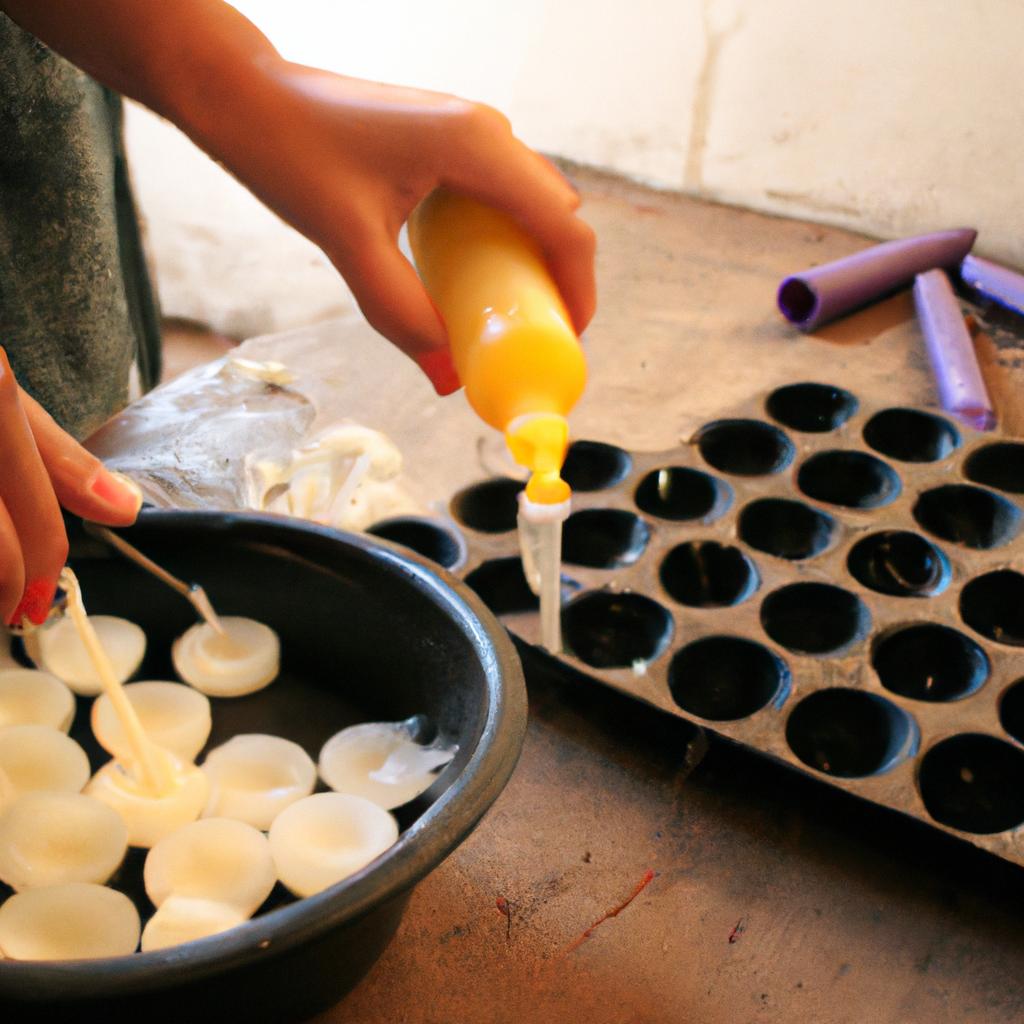
When pouring hot wax into a candle mold, there are several best practices worth considering:
- Ensure that your candle mold is clean and dry before beginning.
- Use a heat-resistant container with a spout or lip for easy pouring.
- Fill the mold slowly and steadily to prevent air bubbles from forming within the finished candle.
- Leave approximately half an inch of space at the top of the mold to allow room for expansion during cooling.
These guidelines serve as valuable reminders throughout each stage of pouring your candles and contribute significantly to crafting professional-looking final products.
Paragraph 3:
Creating visually appealing candles requires attention to detail beyond just melting and scenting waxes. By mastering proper pouring techniques, you enhance your ability to produce exquisite candles consistently while minimizing material waste and potential safety hazards associated with careless handling.
Table (Markdown format):
| Best Practices for Pouring Wax into Candle Molds |
|---|
| Ensure the mold is clean and dry |
| Use a container with a spout or lip |
| Fill the mold slowly and steadily |
| Leave space for expansion during cooling |
removing the candle from the mold. This process ensures that your candles are ready for further finishing touches before they can be enjoyed or gifted.
Removing the Candle from the Mold
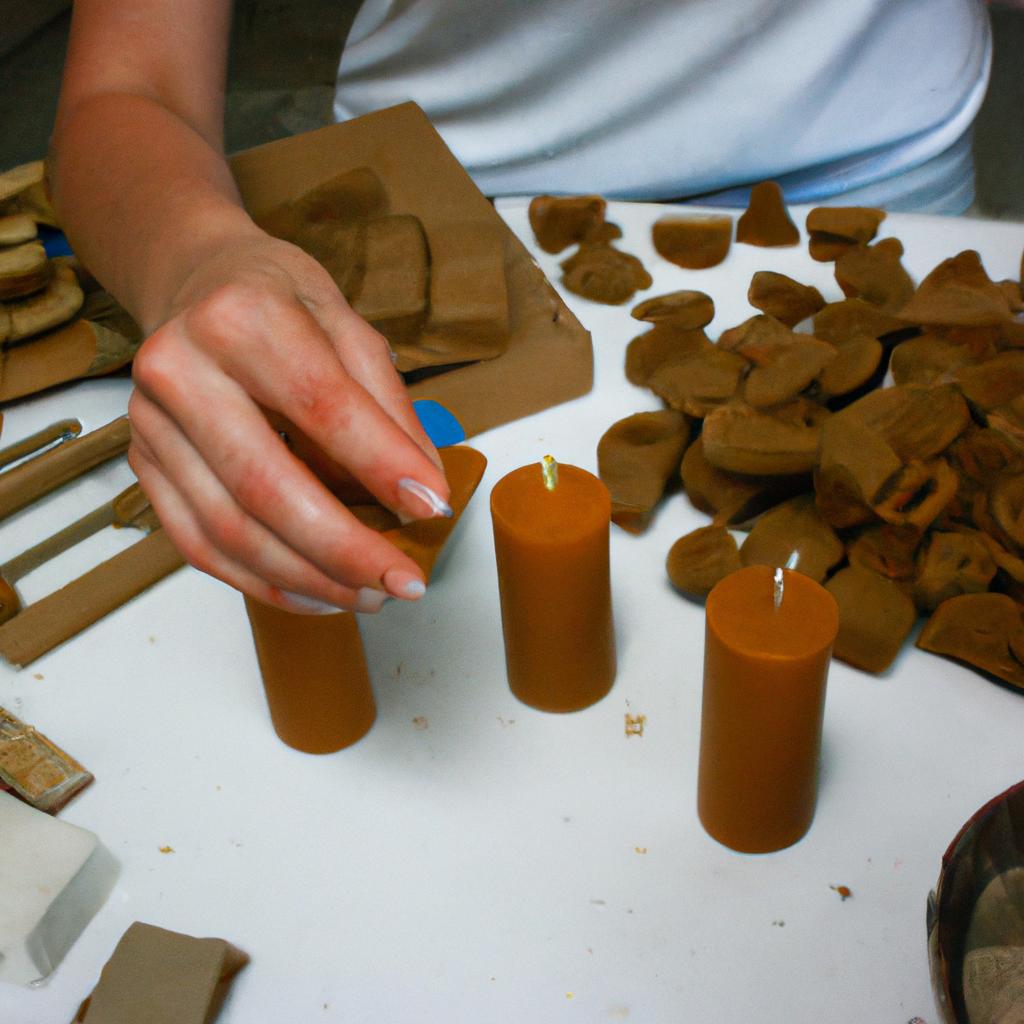
Transitioning smoothly from the previous section on pouring wax into candle molds, we now move on to the crucial step of removing the finished candle from its mold. To illustrate this process, let’s consider a hypothetical scenario in which you have poured scented soy wax into a cylindrical candle mold and allowed it to set for several hours.
Once your candle has had sufficient time to cool and solidify within the mold, it is ready to be removed. Follow these steps for a successful removal:
-
Prepare your workspace: Before attempting to remove the candle, make sure you have a clean and flat surface area where you can safely work without any obstructions or potential hazards.
-
Loosen the edges of the mold: Gently tap around the sides of the mold with a rubber mallet or use your fingers to loosen any areas that may be sticking. This will help release any vacuum seal that might have formed between the wax and the mold.
-
Carefully invert and apply pressure: Once you feel confident that all edges are loosened, flip over the mold onto your prepared surface area. Apply gentle but firm pressure by pushing down on one end of the mold while holding onto both ends firmly. The goal is to coax out the candle slowly, ensuring minimal damage or distortion.
-
Release and inspect: Slowly lift one end of the mold while maintaining pressure until you see part of your candle emerge. Gradually continue releasing more of it until fully separated from the mold. Inspect for any imperfections or irregularities that may require attention before proceeding further.
Creating candles provides an opportunity for artistic expression as well as relaxation through aromatherapy. Imagine how satisfying it would feel to successfully remove your perfectly crafted homemade candle from its mold—the culmination of your creativity and effort coming together in one beautifully formed object.
To add visual appeal, consider incorporating decorative elements such as dried flowers or colorful additives into your candles. The following table showcases different possibilities for enhancing the aesthetic appeal of your candles:
| Decoration Ideas | Benefits | Mood Enhancement |
|---|---|---|
| Dried Lavender Buds | Calming and Relaxing | Tranquility |
| Rose Petals | Romantic and Luxurious | Romance |
| Eucalyptus Leaves | Invigorating | Refreshment |
| Glitter or Shimmer Powder | Eye-catching and Sparkly | Festivity |
By thoughtfully selecting decorations that align with your desired ambiance, you can create a multi-sensory experience that enhances not only the visual beauty but also the emotional impact of your homemade candles.
With your candle now successfully removed from its mold, we move on to the next step: Finishing Touches. In this final phase, we will explore how to trim the wick and clean your candle, ensuring it is ready for use or gifting.
Finishing Touches: Trimming the Wick and Cleaning the Candle
After allowing your candle to cool and solidify in the mold, it is time to remove it carefully. This step requires patience and precision to ensure that your finished candle comes out intact. Let’s explore the process of removing a candle from its mold.
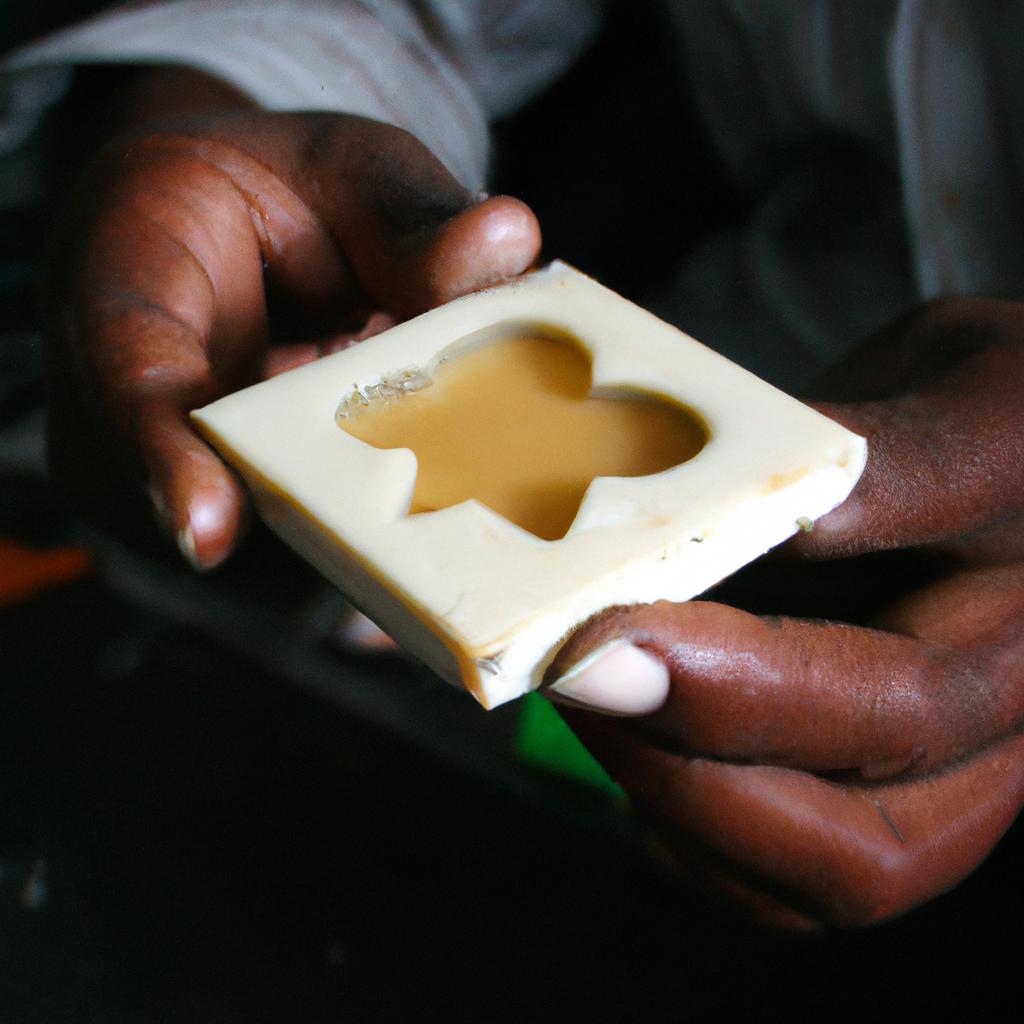
Imagine you have just poured a beautiful lavender-scented candle into a flower-shaped silicone mold. The wax has hardened overnight, and now you are eager to see the final result. To begin, gently tap on the sides of the mold with a wooden spoon or rubber mallet. This will help loosen any air bubbles or excess wax clinging to the sides.
Next, slowly peel back one side of the mold, starting at an edge where there is less detail, such as a petal tip rather than intricate designs near the center. As you continue peeling away each section, be cautious not to rush or pull too forcefully; otherwise, you risk damaging delicate parts of your candle.
To further aid in releasing the candle from its mold, place it briefly in warm water (not hot!) for about 30 seconds. The heat helps soften the outer layer ever so slightly, making removal easier while maintaining the overall shape and texture of your creation.
Tips for Successful Candle Removal:
- Be patient: Rushing this step may lead to breakage.
- Start with simpler molds: If you’re new to candle making, opt for molds with fewer intricate details until you gain more experience.
- Use release spray or powder: Applying a light coat before pouring your wax can prevent sticking and make removal smoother.
- Experiment with different materials: Silicone molds tend to be more flexible and easier to work with compared to rigid plastic ones.
By following these steps and tips, you will increase your chances of successfully removing candles from their molds without compromising their visual appeal or structural integrity.
| Materials | Process | Tips |
|---|---|---|
| Silicone molds | Gently tap sides | Be patient |
| Wooden spoon | Peel back slowly | Start with simpler molds |
| Rubber mallet | Warm water soak | Use release spray or powder |
| Warm water | Experiment with different materials |
Remember, the removal process is a crucial step in candle making that requires attention to detail and care. By mastering this technique, you will be one step closer to creating beautiful candles worth displaying or gifting.
Incorporating these tips and techniques into your candle-making routine will result in stunning finished products. So go ahead and embrace the joy of removing your perfectly molded candles, knowing that each one represents your dedication and creativity.