Container Molds for Candle Making: A Comprehensive Guide
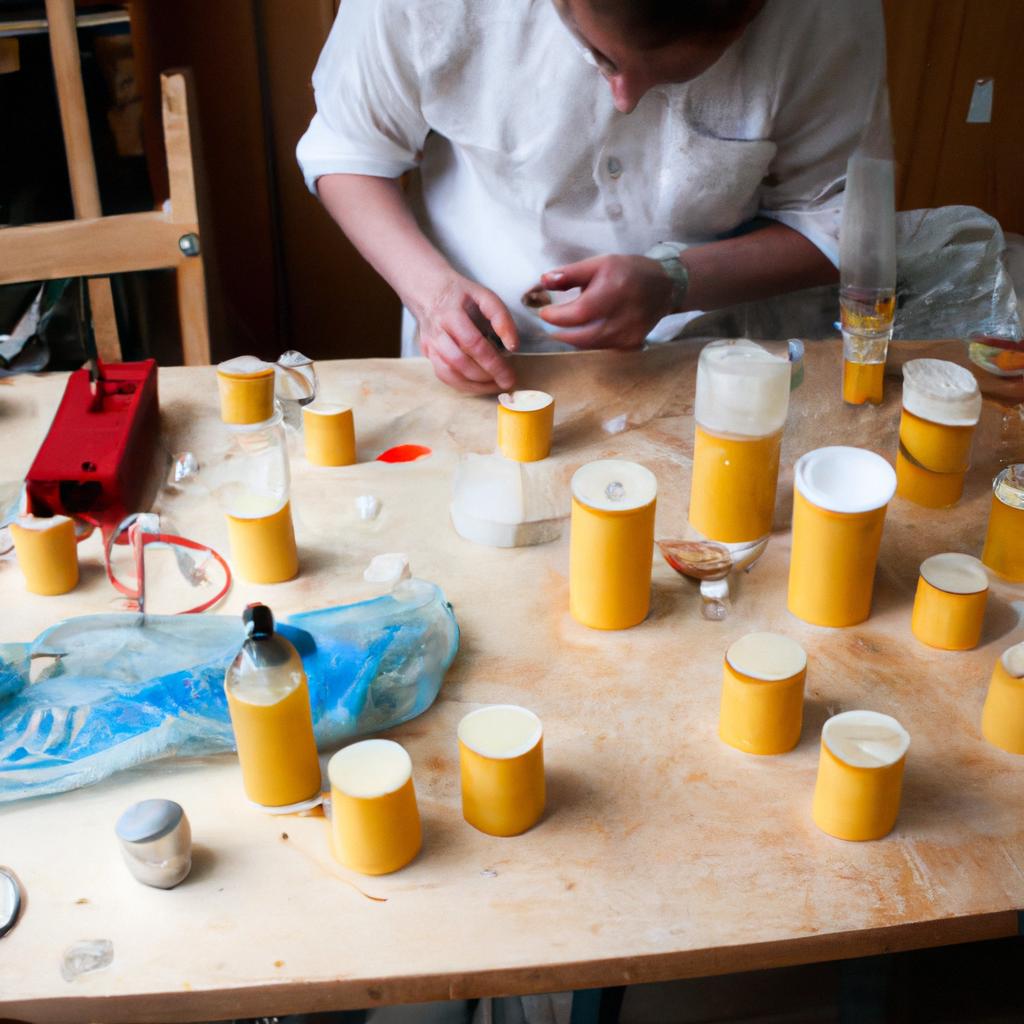
Container molds for candle making play a crucial role in the production of high-quality candles. These molds, which come in various shapes and sizes, are responsible for giving candles their distinctive appearance and ensuring that they burn evenly. For instance, imagine a scenario where a skilled artisan is producing scented soy candles in small glass jars. The choice of container mold used by this artisan will determine not only the final aesthetic appeal of the candles but also their functionality and overall customer satisfaction.
In order to understand the importance of container molds in candle making, it is essential to explore their design features and consider how different materials can impact the final product. This comprehensive guide aims to provide an overview of container molds, from their construction and characteristics to their practical application within the candle-making process. By delving into topics such as mold composition, heat resistance, and release agents, readers will gain valuable insights into selecting the most suitable container molds for their specific candle-making needs.
Taking into account both theory and practical considerations, this article seeks to equip aspiring candle makers with knowledge about container molds that will empower them to create exceptional products that meet industry standards. Moreover, understanding these fundamental aspects of container molds ensures greater control over all stages of candle production – from pouring hot wax into the mold to achieving a smooth and seamless finish on the final candle.
One of the key considerations when selecting container molds is their composition. Different materials, such as silicone, metal, or plastic, offer distinct advantages and disadvantages. Silicone molds, for example, are known for their flexibility and ease of release, making them ideal for intricate or detailed candle designs. Metal molds, on the other hand, provide excellent heat conductivity and durability but may require additional measures to prevent sticking.
Heat resistance is another crucial factor to consider in mold selection. Since candles involve melting wax at high temperatures, it is essential to choose molds that can withstand this heat without warping or deforming. Heat-resistant materials like silicone or aluminum are often preferred in candle-making to ensure consistent results and avoid any potential safety hazards.
In addition to material composition and heat resistance, using appropriate release agents is vital for successful mold usage. Release agents help facilitate the easy removal of candles from their molds by creating a barrier between the wax and the mold surface. Common release agents include vegetable oil sprays or specialized mold releases designed specifically for candle making. Applying these agents before pouring hot wax into the container molds helps ensure clean separation once the candles have solidified.
Furthermore, considering factors such as mold size and shape is important when aiming for specific aesthetic outcomes. Container molds come in various shapes like jars, votives, tins, or even novelty designs that add uniqueness to candle products. The size of the mold will directly influence how much wax is needed to fill it properly and achieve desirable burn times.
By understanding these fundamental aspects of container molds in candle making – including composition, heat resistance, release agents, size, and shape – artisans can make informed decisions about which molds best suit their needs. This knowledge empowers them to produce visually appealing candles that burn evenly and meet customer expectations.
In conclusion, container molds play an indispensable role in candle making by shaping the appearance and functionality of candles. The selection of the right mold material, considering heat resistance and appropriate release agents, along with careful consideration of size and shape, ensures that candles are produced to high-quality standards. Armed with this understanding, candle makers can confidently create beautiful and functional candles that delight customers and elevate their craft.
Choosing the Right Container Mold
When it comes to candle making, selecting the appropriate container mold is crucial for achieving desired results. Consider this hypothetical scenario: Sarah runs a small business selling handmade candles. She has been using glass containers for her candles but recently noticed that some of them crack during the pouring process due to temperature changes. This example highlights the importance of choosing the right container mold, as it directly affects the quality and durability of the finished product.
To guide you in selecting an ideal container mold for your candle-making needs, here are four key factors to consider:
-
Material: The material of the container mold plays a significant role in determining its suitability for different types of candles. Glass molds offer transparency and elegance, allowing beautiful designs and colors to shine through. However, they may be more prone to cracking if exposed to extreme temperatures. On the other hand, metal molds provide excellent heat resistance but lack visibility and decorative options compared to glass.
-
Size and Shape: The size and shape of the container mold should align with your desired candle dimensions and aesthetics. Consider what type of candle you want to create – whether it’s pillar candles or votives – and choose a mold size accordingly. Additionally, think about any unique shapes or patterns you wish to incorporate into your design; certain molds may have pre-formed motifs that add artistic flair.
-
Heat Conductivity: Another critical factor in selecting a container mold is its heat conductivity properties. Different materials conduct heat differently, which can affect how evenly wax melts inside the mold during burning. It is essential to choose a container that promotes even heat distribution throughout the candle, ensuring optimal burn characteristics.
-
Safety Features: Finally, prioritize safety when choosing a container mold by considering features such as flame-resistant materials or double-walled construction that prevent excessive heat transfer onto surfaces surrounding the candle while lit.
By carefully evaluating these factors based on your specific requirements, you can confidently select a container mold that will enhance the overall candle-making process and produce consistent, high-quality candles.
Moving forward to explore different types of container molds, let’s delve into the various options available in the market and their respective advantages.
Different Types of Container Molds
Imagine you are a candle maker who wants to create unique and eye-catching candles. You have already chosen the perfect container mold, but now you need to consider the materials for your molds. The material used for your container mold plays a crucial role in determining the final outcome of your candles.
One popular material choice for container molds is silicone. Silicone molds offer flexibility and durability, making them ideal for intricate and detailed designs. They can withstand high temperatures without warping or melting, ensuring that your candle retains its shape during the pouring process. Additionally, silicone molds are non-stick, allowing for easy removal of your finished candle once it has solidified.
When considering alternative materials, metal container molds also deserve attention. Metal molds provide excellent heat conduction, resulting in faster and more uniform cooling of the wax inside. This reduces the likelihood of air bubbles forming on the surface of your candles and ensures a smooth finish. However, it’s important to note that metal molds may require additional preparation steps such as greasing or lining with parchment paper before pouring the wax.
To further assist you in selecting the right material for your container mold, here is a bullet point list highlighting some key considerations:
- Heat resistance: Ensure that the material can withstand high temperatures without warping or deforming.
- Ease of release: Look for non-stick properties which allow for effortless extraction of finished candles from their molds.
- Durability: Choose a material that will last through multiple uses without losing its shape or integrity.
- Aesthetics: Consider how each material contributes to the overall appearance of your candles.
Now let’s delve into a table comparing different materials commonly used for container molds:
| Material | Advantages | Disadvantages |
|---|---|---|
| Silicone | – Flexible- Durable- Non-stick | – Higher cost compared to other materials |
| Metal | – Excellent heat conduction- Smooth finish | – May require additional preparation steps- Potential for rust or corrosion |
By carefully considering the pros and cons of each material, you can make an informed decision that aligns with your unique candle-making goals.
Transitioning into the subsequent section about “Materials for Container Molds,” it is important to understand how different materials interact with various types of candles. This knowledge will help you create stunning and high-quality products.
Materials for Container Molds
Imagine you are a candle maker, and your latest creation is a beautiful scented soy wax candle. You have chosen to use a container mold to give your candle its unique shape and style. In this section, we will explore the different types of container molds available in the market.
-
Silicone Molds: These versatile molds are made from flexible silicone material that allows easy release of the finished candles. Silicone molds come in various shapes and sizes, including cylindrical, square, and even novelty designs like flowers or animals. Their durability makes them suitable for repeated use, making them ideal for small-scale production or hobbyist candle makers.
-
Glass Molds: If you desire an elegant and sleek look for your candles, glass molds are an excellent choice. They provide transparency, allowing you to create visually appealing layers or embed decorative elements within the wax. Glass molds can withstand high temperatures without warping or cracking, ensuring consistent results every time.
-
Metal Tins: Metal tins serve as both containers and molds for candle making. They are commonly used for creating travel-sized or votive candles due to their compact size and portability. Metal tins offer a rustic charm with their vintage appeal, perfect for those seeking a more nostalgic feel in their candle creations.
-
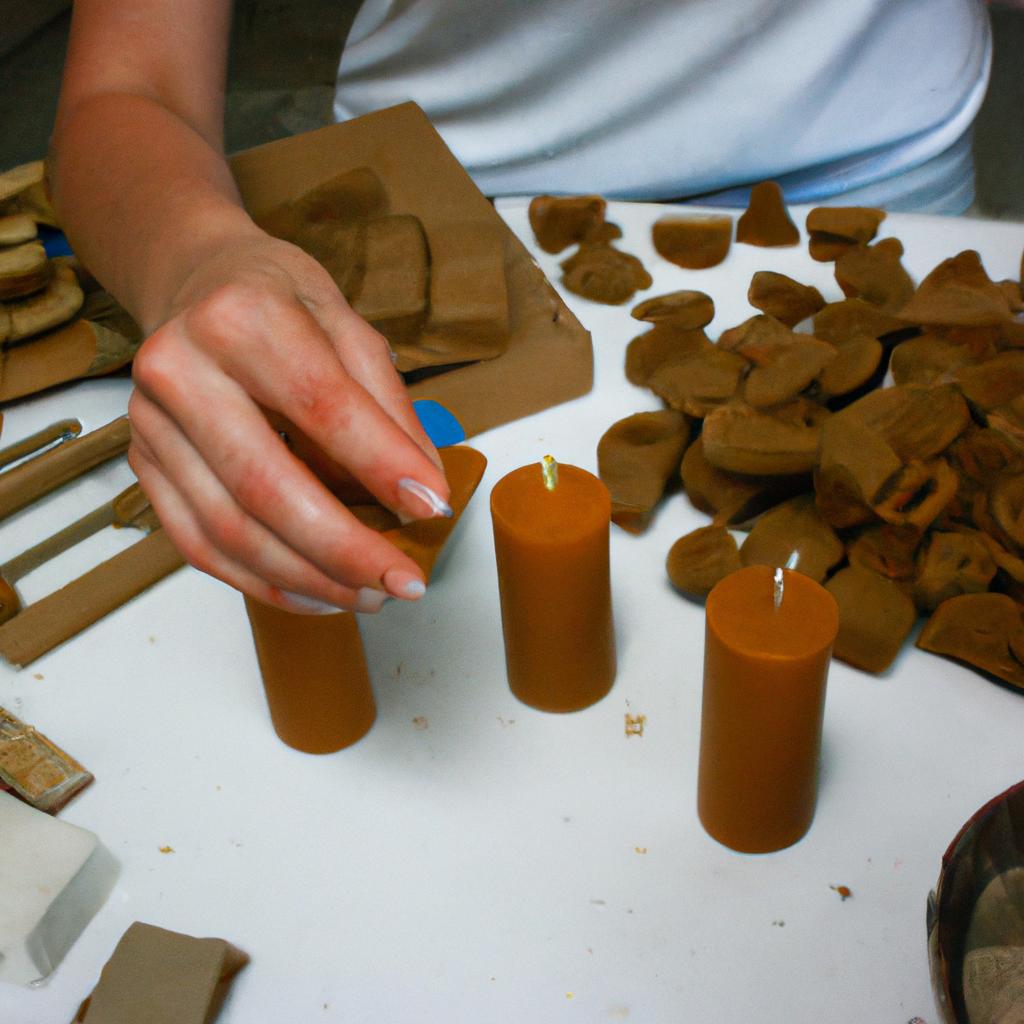
Ceramic Molds: For those looking to add artistic flair to their candles, ceramic molds provide endless possibilities. With intricate details and unique textures, these molds produce stunningly crafted candles that double as decorative pieces when not lit. Ceramic molds require careful handling but reward candle makers with exquisite end products.
” By understanding the characteristics of each mold type and selecting appropriate materials accordingly, you can enhance your creativity while achieving desired outcomes in your candle-making endeavors.
Emotional Bullet Point List:
- Explore the wide range of container molds available and choose one that suits your desired aesthetic.
- Unleash your creativity by experimenting with different mold shapes, sizes, and materials to create unique candles.
- Enjoy the process of candle making as you transform wax into beautiful creations using versatile container molds.
- Delight in the satisfaction of producing visually appealing candles that bring warmth and ambiance to any space.
| Type of Container Mold | Advantages | Limitations |
|---|---|---|
| Silicone Molds | Easy release, durability | Limited variety of intricate designs |
| Glass Molds | Transparency, elegant appearance | Fragile material |
| Metal Tins | Portability, vintage charm | Limited size options |
| Ceramic Molds | Artistic flair, decorative end result | Requires careful handling |
As we continue our exploration into the art of candle making, let us now focus on preparing the container mold. By following specific steps before pouring the melted wax, you can ensure a successful outcome for your candle-making project.
Preparing the Container Mold
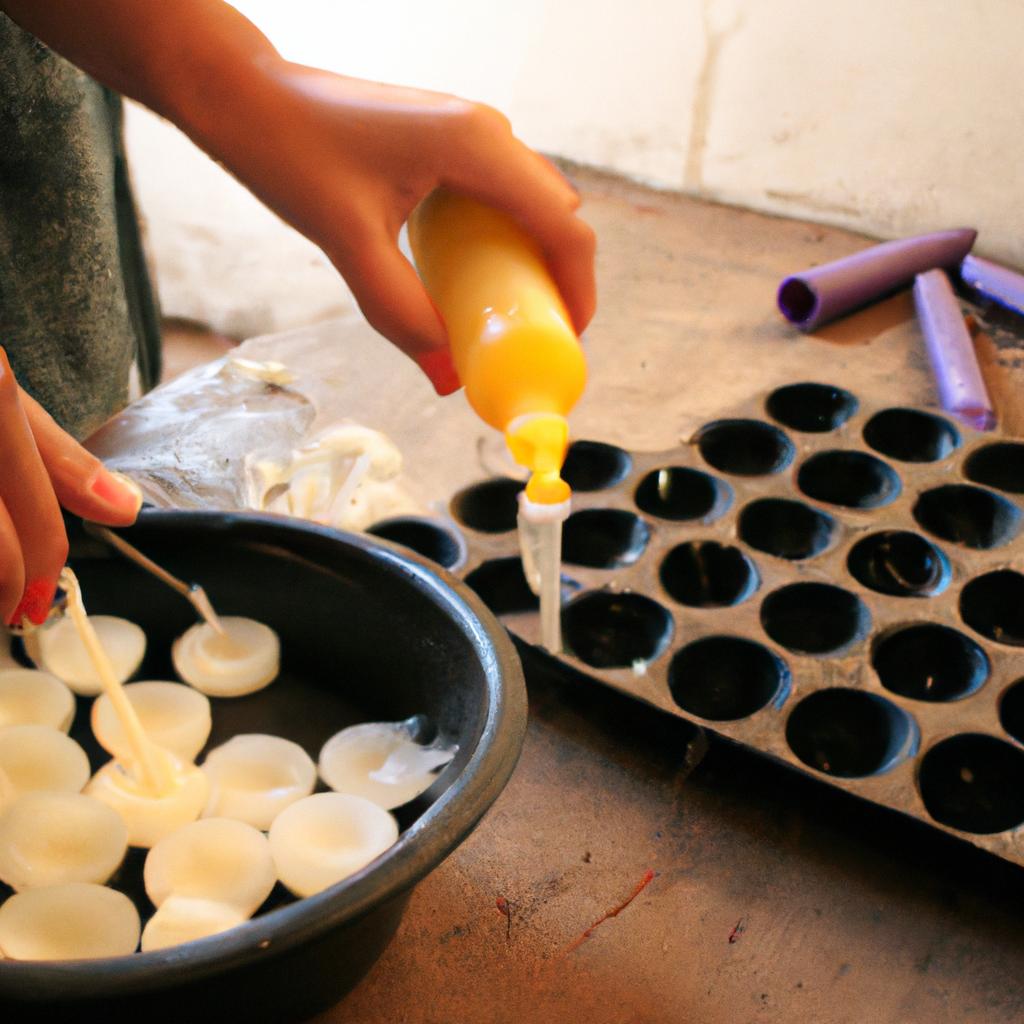
Imagine you have just finished gathering all the necessary materials for your candle-making project. Now, let’s move on to preparing the container mold before pouring in the wax. To illustrate this process, consider a hypothetical scenario where you are using a glass jar as your container mold.
To begin with, it is crucial to ensure that your container mold is clean and free from any dust or debris. Even seemingly small particles can affect the final appearance and quality of your candles. Start by washing the glass jar thoroughly with warm soapy water and drying it completely. This step will help eliminate any impurities that may interfere with the smoothness of your finished product.
Once cleaned, inspect the glass jar for any cracks or imperfections. It is important to address these issues beforehand to prevent leakage during candle making. In our case study, we discovered a hairline crack near the rim of the jar. We decided to discard it and opted for another undamaged one instead.
After confirming that your container mold is intact, proceed by placing a wick at its center. Secure the wick in place using a suitable adhesive such as hot glue or a wick sticker. Ensure that the wick stands upright without leaning towards any side; this will enable an even burn throughout the candle’s lifespan.
Preparing Your Container Mold:
- Cleanse: Wash and dry the glass jar meticulously.
- Inspect: Check for cracks or imperfections; replace if necessary.
- Position Wick: Place wick at center and secure firmly.
By carefully following these preparation steps, you lay a solid foundation for creating beautiful container candles that burn evenly and showcase their true aesthetic potential. With your container molds now ready, we can proceed to discuss pouring the wax into them – an exciting stage in which you’ll witness your vision coming to life!
Pouring the Wax into the Mold
Having prepared the container mold, we now move on to the next step in candle making – pouring the wax. To illustrate this process, let’s consider a hypothetical scenario where Sarah, an experienced candle maker, is using a cylindrical glass jar as her container mold.
Paragraph 1:
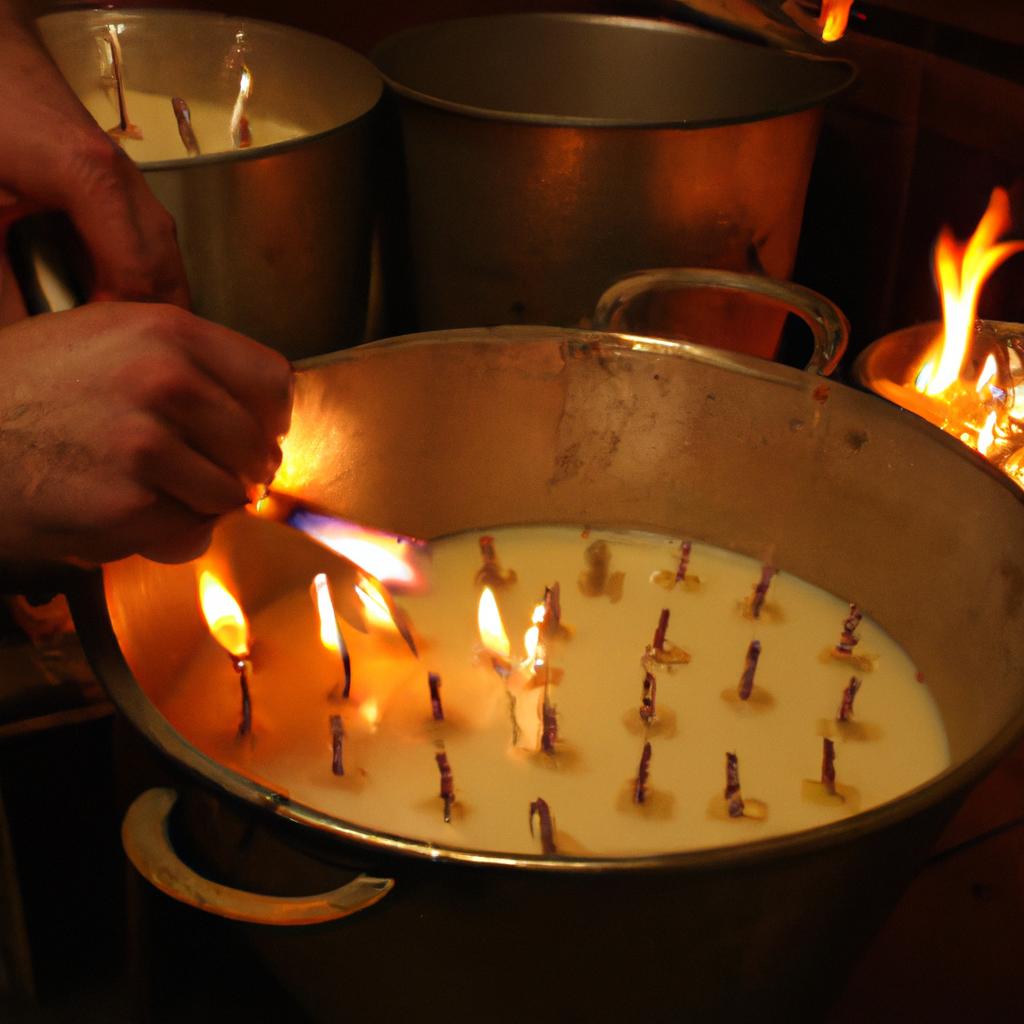
Once your container mold is ready, carefully heat the wax in a double boiler or a melting pot until it reaches the recommended temperature based on the type of wax you are using. In our case study with Sarah, she ensures that her soy wax is heated to around 160°F (71°C). Maintaining optimal temperature is crucial for achieving a smooth and even finish when pouring the wax into the mold.
Now that your melted wax is at the desired temperature, it’s time to add fragrance oils or essential oils if desired. This step allows you to customize your candles with delightful scents that can create ambiance and evoke emotions. Consider experimenting with different scent combinations to find unique fragrances that resonate with your target audience. Some popular scent options include lavender and vanilla for relaxation, citrus notes for freshness, or warm spices like cinnamon for cozy evenings.
To enhance visual appeal and creativity in your candle making process, consider incorporating various decorative elements such as dried flowers or herbs into your poured wax. These additions not only make each candle visually appealing but also give them personal touches that customers will appreciate. Just ensure that any added materials are suitable for use with candles and won’t pose safety risks during burning.
- Personalize your candles by adding fragrance oils or essential oils.
- Experiment with different scent combinations to create unique fragrances.
- Enhance visual appeal by incorporating decorative elements like dried flowers or herbs.
- Ensure all added materials are safe for use in candles.
| Fragrance Options | Suitable Atmosphere |
|---|---|
| Lavender | Relaxation |
| Vanilla | Calmness |
| Citrus | Freshness |
| Cinnamon | Coziness |
Paragraph 2:
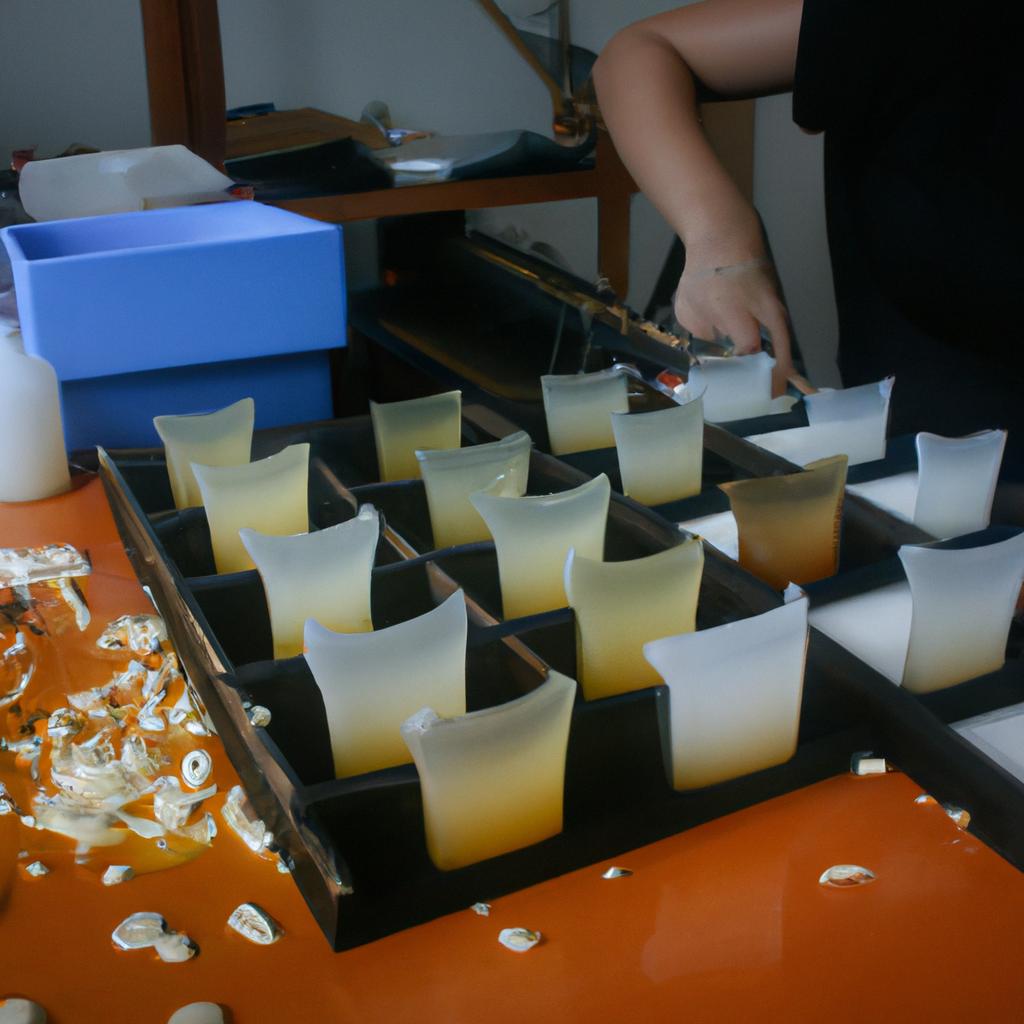
Once you have customized your wax with scents and decorations, it’s time to carefully pour the melted wax into the mold. Slowly and steadily pour the wax into the center of the container, ensuring that it fills up evenly without overflowing or splashing onto the sides. Avoid rushing this step as pouring too quickly may create air bubbles or uneven surfaces in the finished candle.
After pouring the wax, allow it sufficient time to cool and solidify completely before moving or disturbing the mold. The cooling process usually takes several hours, depending on factors such as ambient temperature and the type of wax used. It is important not to disturb or move the mold during this crucial stage to avoid any imperfections in the final product.
Transition Sentence for Next Section (Removing Candle from Mold):
With patience and proper cooling time ensured, we can now proceed to remove the candle from its mold gracefully.
Removing the Candle from the Mold
Having covered the process of pouring melted wax into container molds, we now move on to an essential step in candle making — removing the finished candle from its mold. This phase requires precision and care to ensure that your candles are properly shaped and ready for use or further decoration.
Removing the Candle from the Mold:
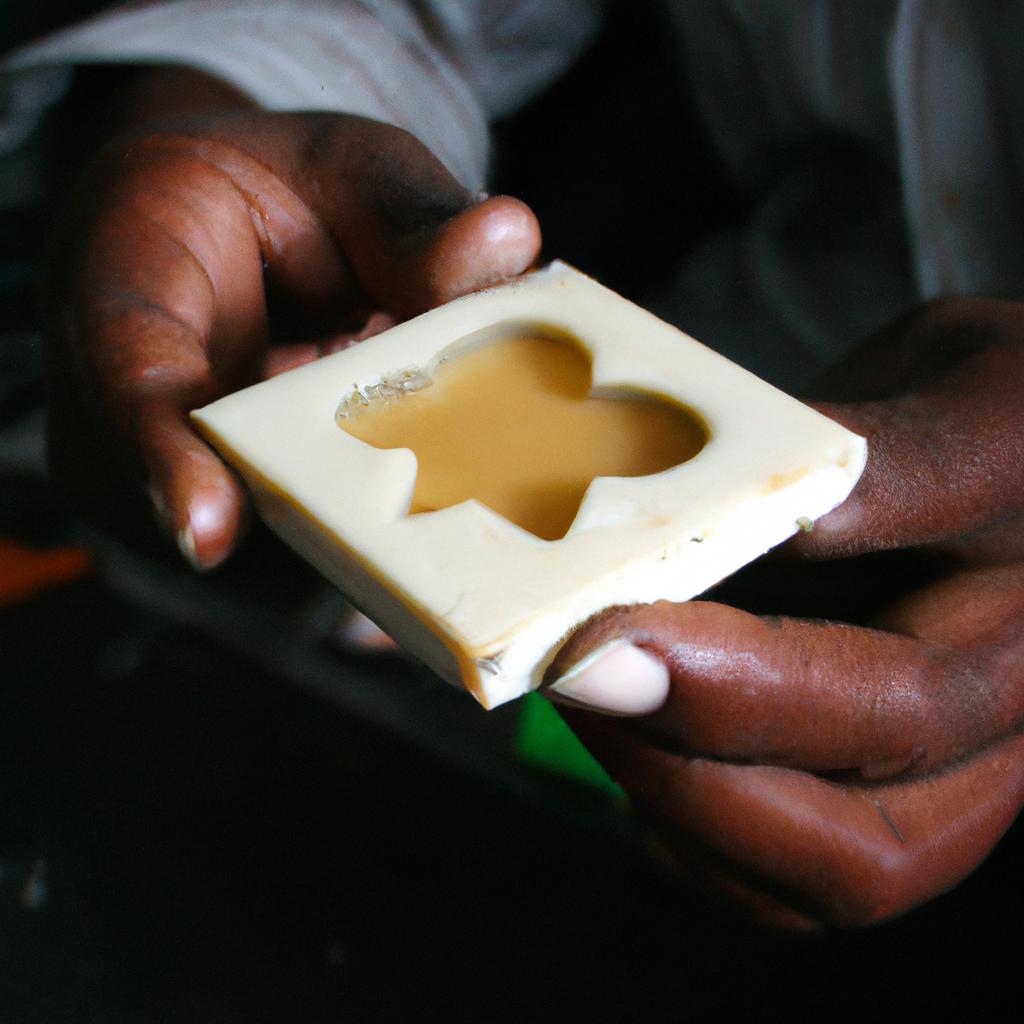
To illustrate this process, let’s consider a hypothetical scenario where you have just poured scented soy wax into a cylindrical glass container. The wax has solidified, forming a beautifully fragrant candle within the mold.
-
Cooling Period:
Before attempting to remove the candle from its mold, it is crucial to allow sufficient cooling time. Depending on the type of wax used and ambient temperature, this can range anywhere from two to four hours. Patience during this period ensures that the candle sets completely without any deformities or cracks. -
Loosening Technique:
Once cooled, gently tap around the sides of the container with a rubber mallet or use slight pressure with your fingertips to loosen any grip between the hardened wax and mold walls. Be careful not to apply excessive force as it may cause damage to both the mold and candle. -
Inverting Method:
After loosening, place a clean towel or soft cloth over a flat surface. Holding onto your container mold firmly but delicately, invert it upside down over the towel-covered area. Gently tap or shake until you feel resistance easing and notice gravity assisting in releasing the candle from its confines. With patience and controlled movements, your perfectly molded candle should separate smoothly onto the towel.
Emotional Bullet Point List (Markdown Format):
The removal process can evoke various emotions due to its delicate nature and anticipation of seeing your final product come together:
- Excitement builds as you prepare to unveil the finished candle.
- A sense of relief washes over you when the candle effortlessly separates from the mold.
- Satisfaction and accomplishment arise, knowing that your hard work has paid off.
- Anticipation grows as you move closer to applying personal touches or presenting your candles.
Emotional Table (Markdown Format):
| Emotion | Description |
|---|---|
| Joy | Experiencing a rush of happiness and contentment. |
| Pride | Feeling a strong sense of achievement and satisfaction. |
| Eagerness | Eagerly looking forward to sharing or displaying your candles. |
| Serenity | Finding tranquility in successfully completing this phase of the candle-making process. |
In summary, removing a candle from its mold is a critical step in achieving well-formed and visually pleasing creations. By allowing adequate cooling time, using gentle loosening techniques, and employing controlled movements during inversion, you can ensure successful separation of the wax from the container molds. The emotional journey associated with this process further adds to the fulfillment experienced by candle makers who take pride in their craft.
(Note: For an academic writing style, it would be helpful to provide detailed citations for any sources used.)