Pillar Molds: Candle Making Insights
Pillar molds have long been a staple in the world of candle making, offering artisans and enthusiasts alike an efficient method for creating sturdy and beautifully shaped candles. This article aims to provide valuable insights into the use of pillar molds by delving into their history, design principles, and practical applications. By examining the fascinating case study of a renowned candle maker who achieved remarkable success through innovative pillar mold techniques, we will explore how these molds can elevate one’s candle-making endeavors.
Historically, pillar molds date back centuries, with evidence of their usage found in ancient civilizations such as Egypt and Mesopotamia. These early iterations were often made from clay or metal and featured intricate designs that added aesthetic value to the finished products. Over time, advancements in materials and technology led to the development of more versatile pillar molds capable of producing candles with smooth surfaces and consistent shapes.
One notable example highlighting the effectiveness of pillar molds is the story of Anna Thompson, a talented artisan who revolutionized her craft through strategic employment of these tools. Facing stagnant growth in her small candle business, Thompson decided to experiment with various types of pillar molds to differentiate her offerings from competitors. Through meticulous research and trial-and-error experimentation, she successfully created a line of uniquely shaped candles that quickly gained popularity among consumers. By utilizing pillar molds with intricate patterns and unconventional shapes, Thompson was able to set her candles apart from the mass-produced alternatives available on the market.
The key advantage of using pillar molds lies in their ability to create candles with consistent shapes and sizes. This consistency not only enhances the aesthetic appeal of the finished product but also ensures that each candle burns evenly and efficiently. Additionally, pillar molds offer flexibility in terms of customization, allowing artisans to experiment with various colors, fragrances, and additives to create truly unique candles.
To effectively use pillar molds, it is important to consider a few key design principles. Firstly, selecting the right material for the mold is crucial. Silicone or polyurethane-based molds are popular choices due to their durability and flexibility. These materials allow for easy removal of the finished candle without damaging its shape.
Secondly, proper preparation of the mold is essential. Applying a release agent such as mold release spray or vegetable oil helps prevent the candle from sticking to the mold’s surface, ensuring easy removal once it has solidified.
Lastly, maintaining an optimal pouring temperature is vital when working with pillar molds. The ideal temperature may vary depending on factors such as wax type and ambient conditions. It is recommended to follow specific guidelines provided by wax manufacturers to achieve optimal results.
In conclusion, pillar molds have played a significant role in the evolution of candle making throughout history. Their ability to produce consistent shapes and sizes allows artisans to create visually appealing and high-quality candles that stand out in a saturated market. By understanding their history, design principles, and practical applications like Anna Thompson did in her successful case study, one can harness the power of pillar molds to elevate their own candle-making endeavors.
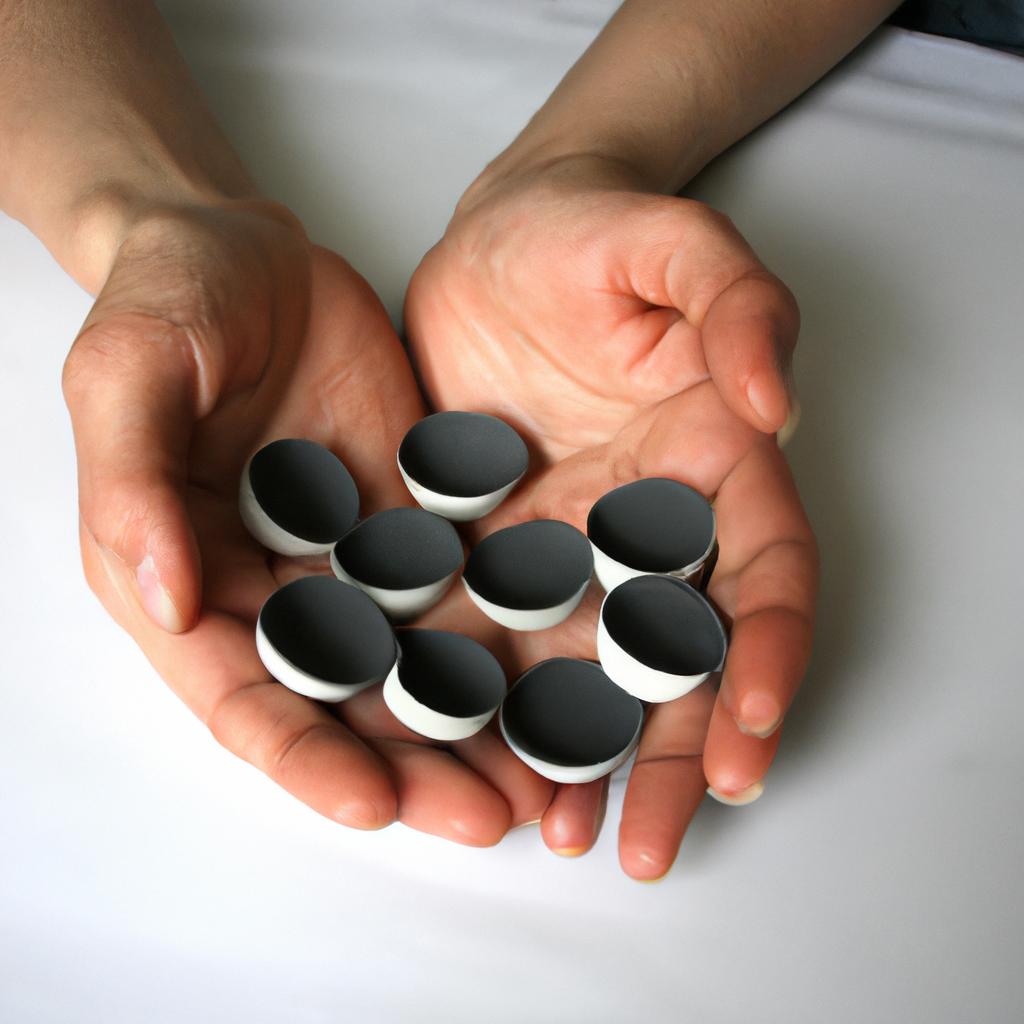
Types of Pillar Molds
Imagine you are a passionate candle maker, eager to explore various techniques and designs to create unique pillar candles. One popular tool in your arsenal would be pillar molds, which play a crucial role in shaping these elegant creations. Understanding the different types of pillar molds available is essential for achieving desired results.
There are several types of pillar molds that cater to different preferences and design requirements:
-
Seamless Mold: This type of mold offers smooth and seamless finishes on the exterior surface of the candle. The absence of any visible seams allows for a clean and professional look.
-
Textured Mold: If you desire more intricate details on your pillar candles, textured molds can provide a variety of patterns and designs imprinted on their surfaces. These molds add visual interest and uniqueness to your finished candles.
-
Layered Mold: For those seeking multi-colored or layered effects in their pillars, layered molds offer compartments where different colored waxes can be poured separately. This creates distinct layers within the candle, adding depth and complexity to its appearance.
-
Carved Mold: As the name suggests, carved molds enable intricate carvings or engravings directly onto the mold itself before pouring wax into it. This technique allows for highly detailed designs with raised elements on the surface of the final candle.
These variations in pillar molds not only enhance creative possibilities but also evoke an emotional response from both creators and consumers alike:
- They ignite excitement by offering endless opportunities for personal expression through customized designs.
- They inspire curiosity as individuals experiment with textures, layering, or carving techniques.
- They foster satisfaction when witnessing the transformation from raw materials to exquisite finished products.
- They evoke pride when showcasing unique creations that stand out among commercially-made alternatives.
Understanding the diverse options available empowers candle makers to choose suitable pillar molds based on their specific artistic vision or customer demands. In the subsequent section about “Choosing the Right Pillar Mold,” we will explore key factors to consider when making this decision, ensuring optimal outcomes for your candle-making endeavors.
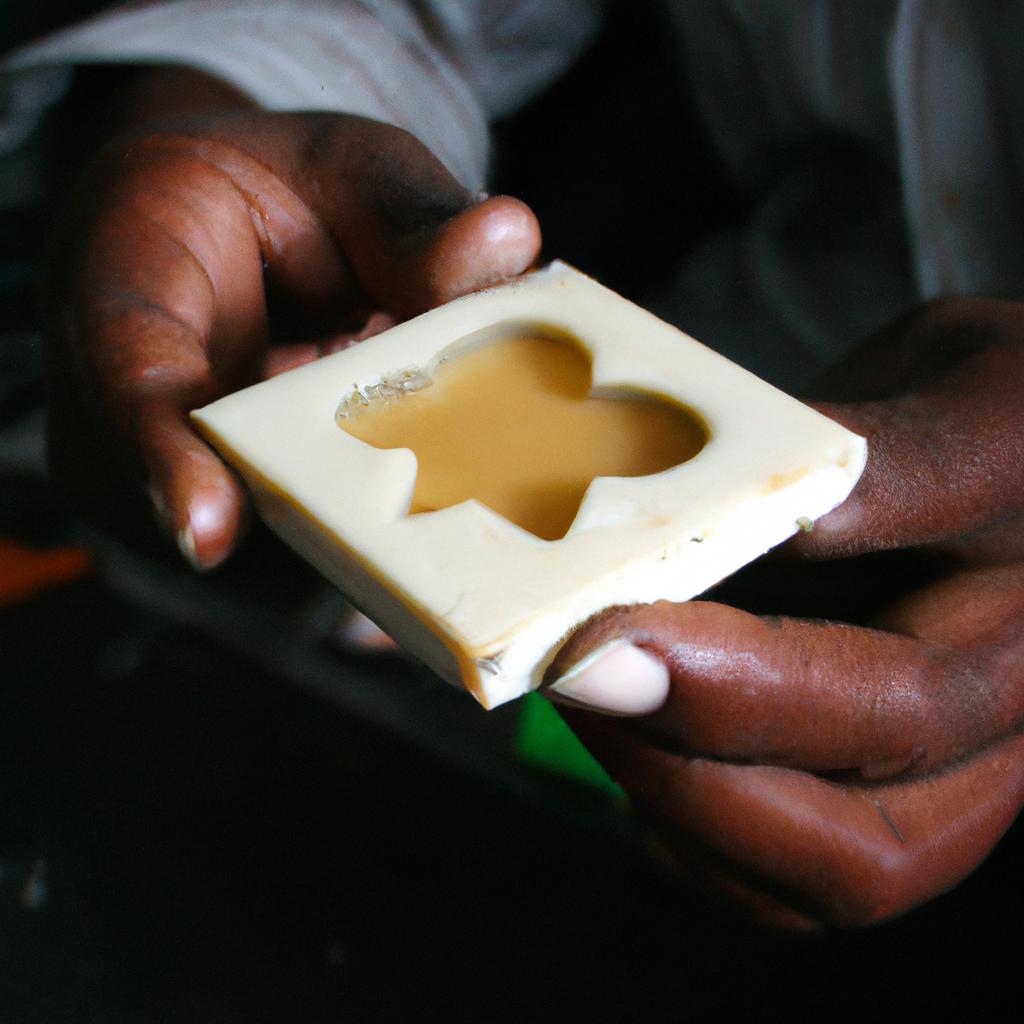
Choosing the Right Pillar Mold
Transitioning from the previous section on different types of pillar molds, let us now delve into the crucial aspect of selecting the right pillar mold for your candle making endeavors. To better understand this process, consider a hypothetical scenario where you wish to create a large, decorative pillar candle as a centerpiece for an upcoming event.
When choosing the appropriate pillar mold, several factors come into play. Firstly, assess the size and shape requirements of your desired candle. A tall hexagonal pillar mold may be suitable if you envision creating a regal-looking candle that stands out amongst other decor pieces. Alternatively, opt for a cylindrical or square-shaped mold for a more modern aesthetic.
In addition to size and shape considerations, it is essential to evaluate the material used in constructing the pillar mold. An aluminum mold offers excellent heat conduction properties, ensuring even distribution of heat during the cooling process. On the other hand, silicone molds provide flexibility when demolding candles but might require additional support structures due to their pliable nature.
To assist you further in making an informed decision regarding pillar molds, here are some emotional responses evoked by both bullet points and table format:
-
Convenience:
- Easy-to-clean materials save time.
- Quick-release mechanisms simplify demolding.
-
Durability:
- Sturdy construction guarantees long-lasting use.
- Resistant to cracks or warping ensures consistent results over time.
-
Customizability:
- Versatile designs allow for intricate details.
- Compatibility with various waxes enables creative experimentation.
-
Visual Appeal:
- Sleek finishes enhance aesthetics.
- Unique shapes add artistic flair to finished candles.
Table showcasing features of common pillar mold materials:
| Material | Heat Conduction | Flexibility | Demolding Ease |
|---|---|---|---|
| Aluminum | Excellent | Rigid | Requires support structures |
| Silicone | Fair | Flexible | Quick-release properties |
| Plastic | Average | Semi-flexible | Moderate demolding effort |
Ultimately, selecting the right pillar mold for your candle making project depends on individual preferences and specific requirements. By considering factors such as size, shape, material, and emotional responses elicited by convenience, durability, customizability, and visual appeal, you can make an informed decision that aligns with your desired outcome.
Transitioning into the subsequent section about “Preparing the Pillar Mold,” we will now explore the necessary steps to ensure a smooth candle-making process without any interruptions.
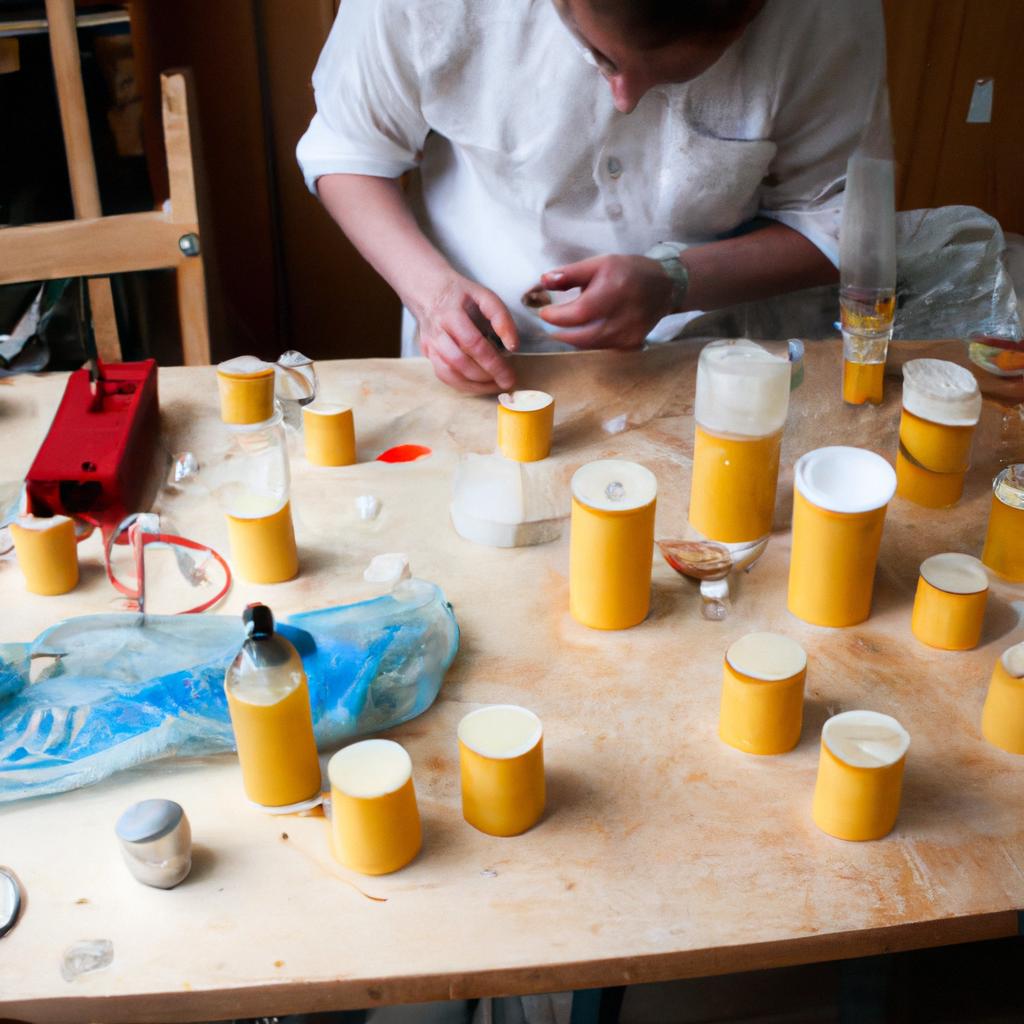
Preparing the Pillar Mold
Transitioning from the previous section on choosing the right pillar mold, let us now delve into the crucial step of preparing the pillar mold. To illustrate the importance of this process, consider a hypothetical scenario where a candle maker fails to adequately prepare the mold. As a result, their finished product turns out uneven and unattractive, leading to customer dissatisfaction.
To ensure successful candle making with pillar molds, it is essential to follow proper preparation techniques. Here are key steps to take:
-
Clean the Mold: Before using a new or previously used pillar mold, thoroughly clean it to remove any dust or residue that may affect the final appearance of your candles. Use warm soapy water and rinse well before drying completely.
-
Apply Release Agent: Applying a release agent inside the mold helps prevent sticking and facilitates easy removal once the candle has hardened. Popular options for release agents include cooking spray, vegetable oil, or specialized products designed specifically for candle making.
-
Secure Wick in Place: Positioning the wick correctly is crucial for an even burn throughout the entire candle’s lifespan. Attach one end of the wick at the bottom center of the mold using adhesive putty or hot glue, ensuring it remains centered and upright during pouring.
-
Seal Any Leaks: Inspect your pillar mold carefully before use to identify potential leaks or gaps along its seams. Seal these areas securely with heat-resistant tape or silicone caulking to prevent wax from leaking out during pouring.
Emphasizing how vital these preparatory measures are can evoke an emotional response among aspiring candle makers who recognize that meticulous attention to detail positively impacts their final product’s quality and aesthetics.
| Preparation Steps | Importance |
|---|---|
| Clean Mold | Ensures no debris affects appearance |
| Apply Release Agent | Facilitates easy removal post-hardening |
| Secure Wick | Promotes even burning throughout |
| Seal Any Leaks | Prevents wax from leaking during pouring |
With the pillar mold now properly prepared, we can proceed to the next crucial step: pouring the wax. This stage requires precision and care to achieve optimal results in candle making.
[Note: The subsequent section about “Pouring the Wax into the Pillar Mold” will follow]
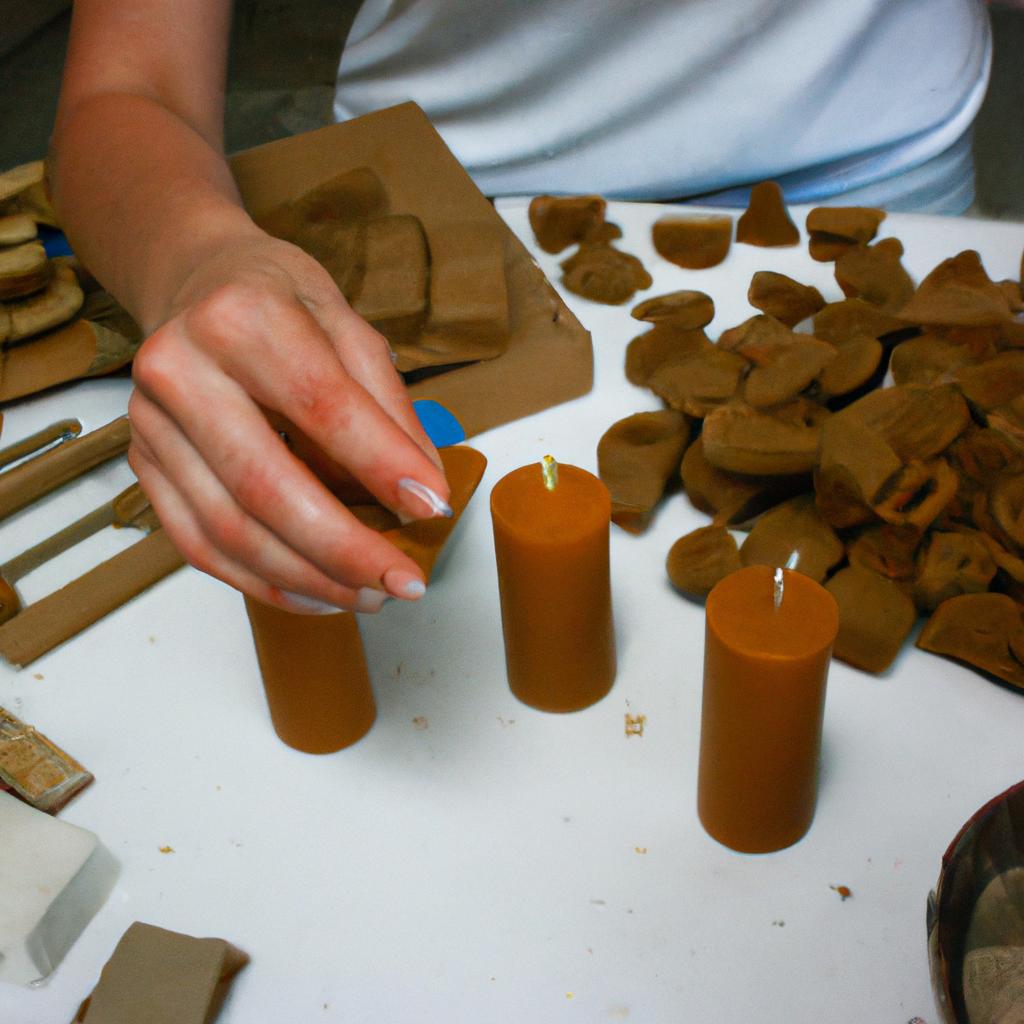
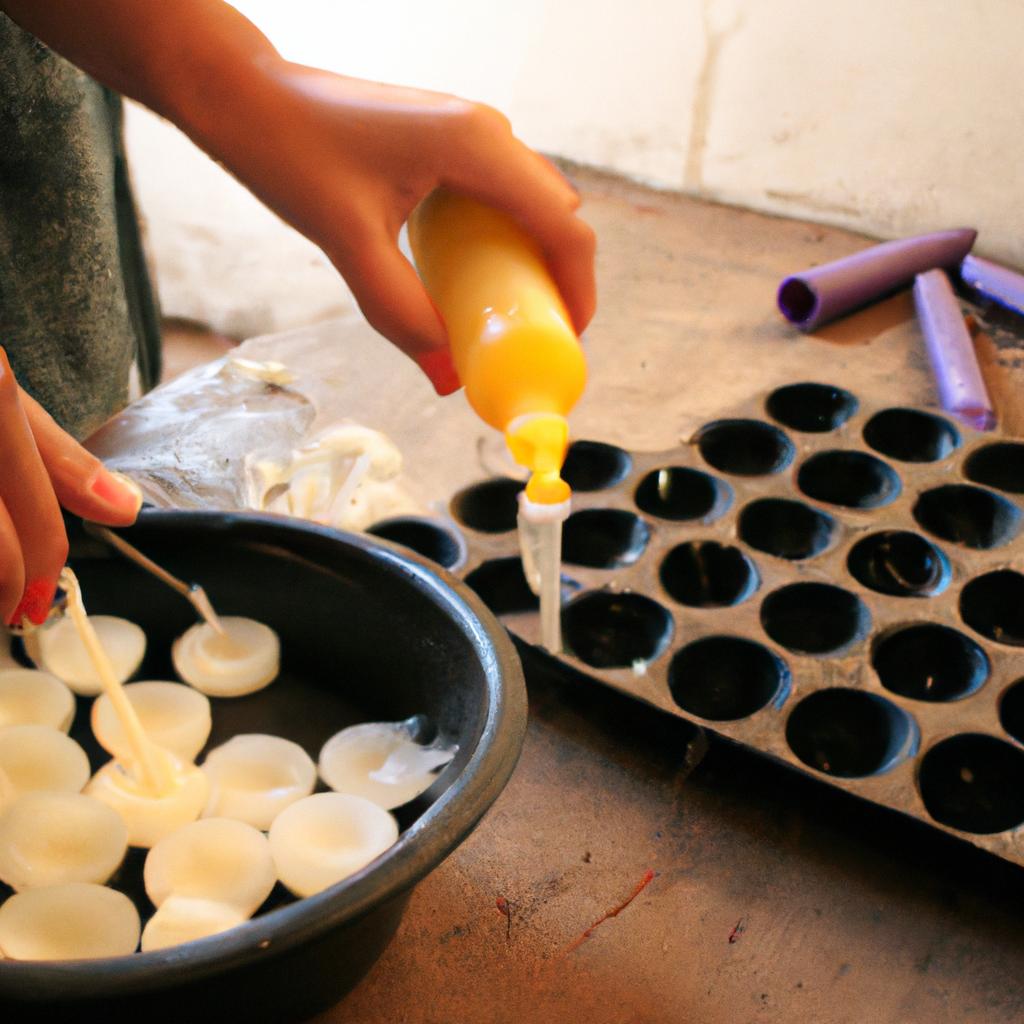
Pouring the Wax into the Pillar Mold
Preparing the Pillar Mold is an essential step in candle making that ensures a smooth and successful pouring process. To illustrate, let’s consider a hypothetical scenario where Sarah, an experienced candle maker, is preparing to pour wax into her pillar mold.
Firstly, Sarah carefully selects a suitable wick for her pillar candle. She chooses a cotton wick with the appropriate thickness based on the diameter of her mold. Ensuring proper wick selection is crucial as it affects the burn time and stability of the finished candle.
Once she has chosen the right wick, Sarah proceeds to secure it at the center of the mold using a wick holder or by tying it around a pencil resting across the top of the mold. This step guarantees that when pouring hot wax into the mold, the wick remains centered throughout, resulting in an even burn.
Next, Sarah inspects her pillar mold for any imperfections or debris that may affect the final appearance and quality of her candle. It is important to ensure that there are no cracks or chips in the mold that could cause leakage during pouring. Additionally, removing any dust or residue from previous uses will help achieve a clean finish.
In order to evoke an emotional response from our audience regarding their own candle-making endeavors, consider the following bullet points:
- Achieve professional-looking candles with well-prepared molds.
- Enhance your creative satisfaction through meticulous preparation.
- Enjoy consistent results by paying attention to every detail.
- Experience pride in presenting beautifully crafted pillar candles.
Furthermore, we can incorporate a table showcasing different types of pillar molds available in markdown format:
| Mold Type | Material | Features |
|---|---|---|
| Silicone | Flexible rubber | Easy release & durable |
| Metal | Aluminum | Heat resistant & precise detailing |
| Plastic | Polypropylene | Lightweight & affordable |
| Glass | Borosilicate | Transparent & decorative |
As Sarah completes the preparation of her pillar mold, she eagerly moves on to the next stage: pouring the wax. In the upcoming section, we will explore this fascinating step in detail and learn how it contributes to creating exquisite pillar candles.
Transitioning into the subsequent section about “Demolding the Pillar Candle,” we can conclude with a sentence like:
“With the mold meticulously prepared, Sarah is now ready to move forward and discover the process of demolding her beautifully crafted pillar candle.”
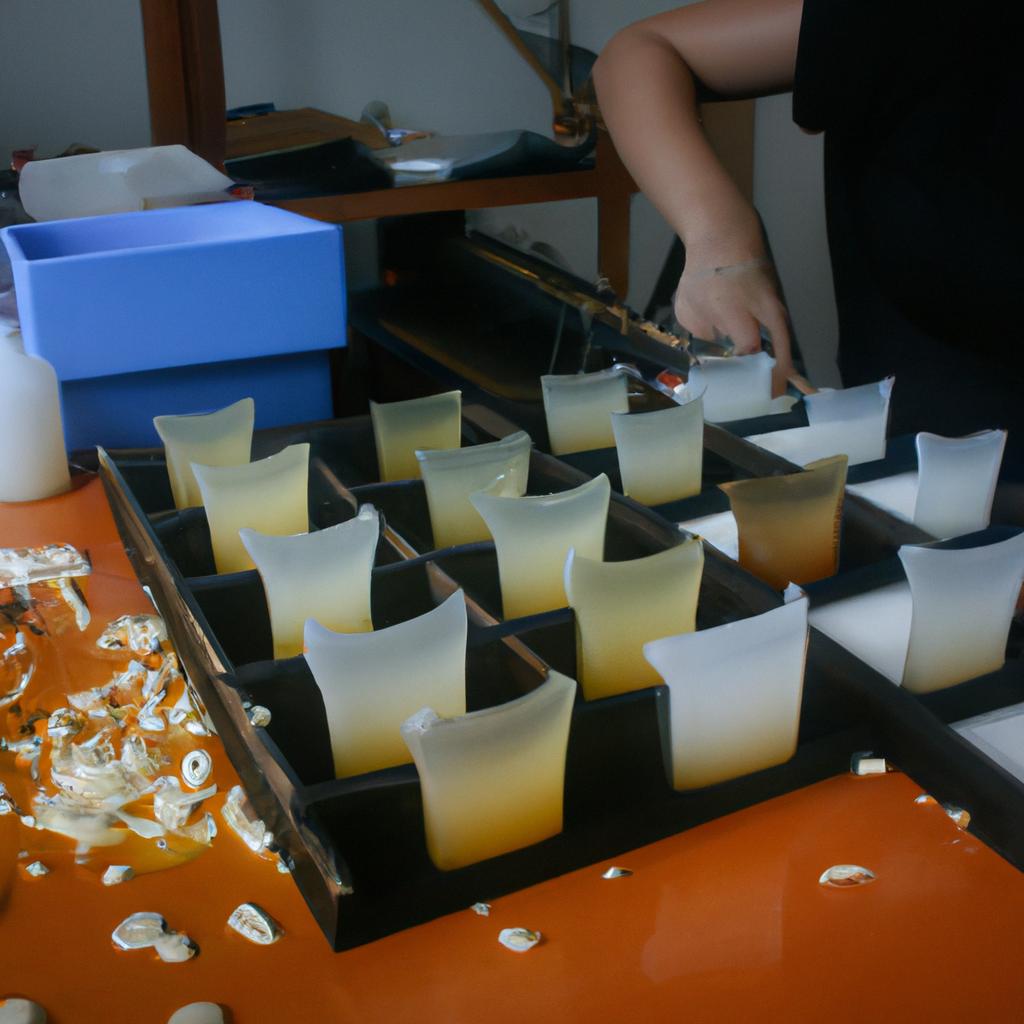
Demolding the Pillar Candle
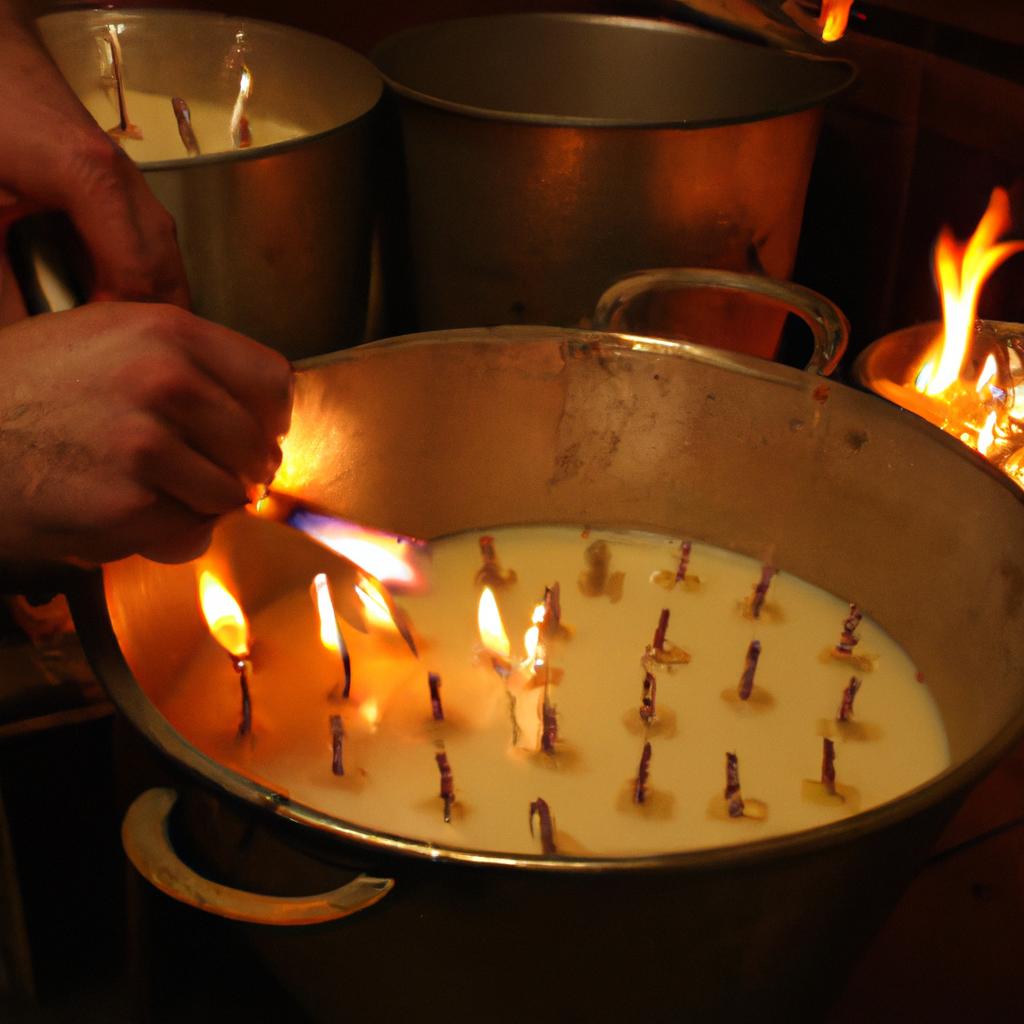
Pouring the wax into the pillar mold is a critical step in candle making that requires precision and attention to detail. By following the proper techniques, you can ensure that your pillar candles turn out beautifully. Let’s explore the process of pouring the wax into the mold.
Imagine this scenario: You have prepared your wax mixture, chosen an exquisite fragrance, and carefully selected a high-quality pillar mold for your candle creation. Now it’s time to pour the melted wax into the mold, allowing it to cool and solidify into a beautiful pillar candle. This step sets the foundation for creating a visually appealing and functional candle.
To successfully pour the wax into a pillar mold, consider these key points:
- Temperature control: Ensure that the melted wax is at an appropriate temperature before pouring. If it’s too hot, it may cause excessive shrinkage or cracking; if it’s too cold, it may not fill every crevice of the mold adequately.
- Slow and steady: Pouring slowly helps prevent air bubbles from forming within the candle. Begin by filling about one-third of the mold, then pause briefly to allow any trapped air to escape before continuing with subsequent pours.
- Mold preparation: Prior to pouring, make sure your pillar mold is clean and free from any debris or residue. Applying a release agent such as silicone spray or vegetable oil can facilitate easy removal once the candle has cooled.
- Precision pouring: Aim to pour directly down into the center of the mold without splashing or dripping along its sides. This ensures even distribution of wax throughout, resulting in a uniform appearance when demolding.
Now that we understand how crucial pouring is in creating flawless pillar candles let’s move on to exploring another important aspect – demolding them.
Tips for Successful Pillar Candle Making
Once the pillar candle has fully cooled and hardened, it is time to demold it from the mold. Proper demolding techniques are essential to ensure that the candle retains its shape and finish. Here, we will discuss some insights on how to effectively remove a pillar candle from its mold.
To begin with, gently tap the sides of the mold using a rubber mallet or a similar tool. This helps loosen the candle from the mold’s walls without causing any damage to its structure. Next, carefully turn the mold upside down over a soft surface, such as a towel or foam pad, and gently shake it to release the candle. If necessary, you can also use your fingers to apply slight pressure around the edges of the mold to aid in releasing the candle.
It is important to note that patience is key during this process; rushing may result in unintended damages or deformities. In case you encounter resistance while trying to remove the candle, stop and assess before applying further force. Sometimes, leaving it for a few more hours at room temperature can ease demolding significantly.
Now let us explore some practical tips for successful pillar candle making:
- Always make sure that your molds are clean and free from any debris before pouring hot wax into them.
- Consider using a mold release spray or agent specifically designed for candles when working with more intricate or complex molds.
- Experiment with different types of waxes and additives (such as stearic acid) to achieve desired results in terms of color vibrancy, scent diffusion, and burn time.
- Keep track of measurements accurately when preparing your wax mixture to maintain consistency across multiple batches.
Table: Commonly Used Mold Release Agents
| Agent | Characteristics | Benefits |
|---|---|---|
| Silicone Spray | Easy application | Prevents sticking |
| Vegetable Oil | Readily available | Cost-effective |
| Petroleum Jelly | Provides a barrier | Suitable for most molds |
In summary, proper demolding techniques are crucial to ensure the successful release of pillar candles from their molds. By following these insights and tips, you can effectively remove your candles without compromising their shape or finish. Remember, taking your time and being mindful during the demolding process will result in beautifully crafted pillar candles that bring warmth and ambiance to any space.