Dipping Candles: Enhancing Candle Making with Candle Molds
Candle making has been a popular craft for centuries, with various techniques and methods evolving over time. One such technique that adds diversity and creativity to candle making is the use of candle molds. Candle molds provide an opportunity to create unique shapes, sizes, and designs that are not easily achievable through other means. For instance, imagine being able to create a beautiful rose-shaped candle or a pillar candle with intricate details simply by using a mold.
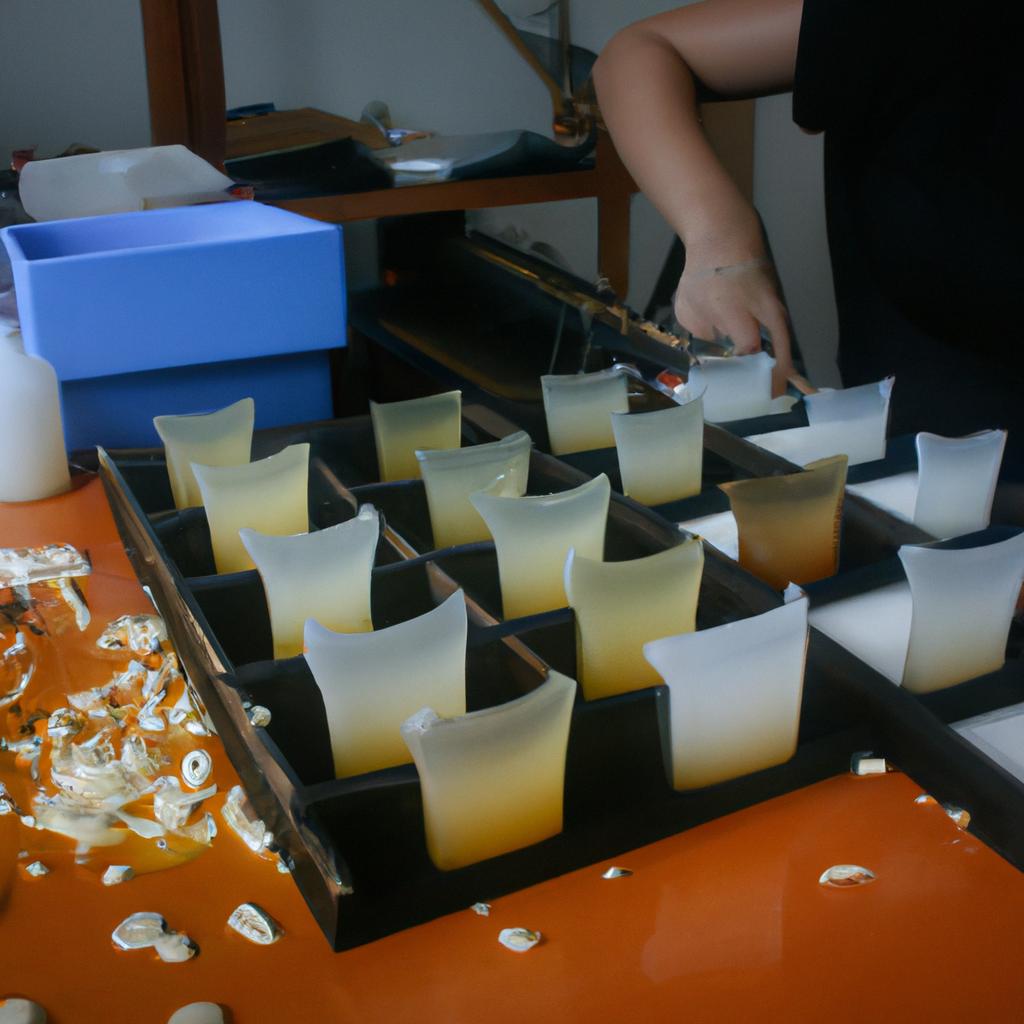
The process of dipping candles in molten wax offers a fascinating approach to utilizing candle molds. This technique involves repeatedly immersing a wick into melted wax until the desired thickness is achieved. The dipped layers gradually build up, resulting in elegant taper or dinner candles with smooth surfaces and uniform shapes. Dipping candles allows for greater control over their final appearance, ensuring consistent dimensions and reducing any imperfections that may arise during traditional pouring methods. Moreover, this method enables artisans to experiment with different colors and scents by incorporating them at specific stages of the dipping process.
By employing candle molds and practicing the art of dipping candles, individuals can elevate their candle-making skills to new heights while expanding their creative horizons. In this article, we will explore the benefits of using candle molds in conjunction with the dipping technique as well as as well as provide step-by-step instructions on how to successfully create dipped candles using molds. Whether you are a beginner or an experienced candle maker, this guide will help you unlock your creativity and produce stunning candles that will impress both yourself and others.
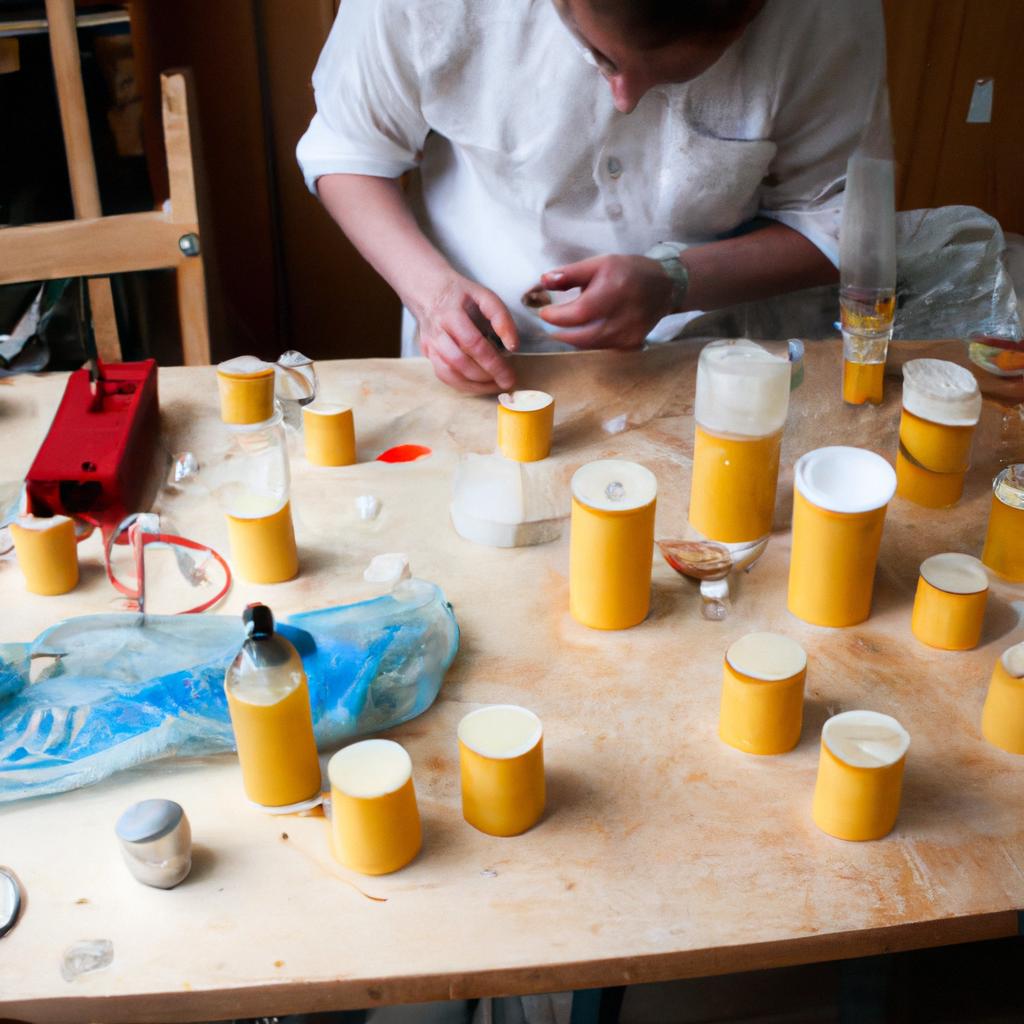
To begin, let’s discuss the advantages of using candle molds in combination with the dipping technique. One major benefit is the ability to create intricate and unique shapes that cannot be achieved through traditional pouring methods alone. Candle molds come in a wide variety of designs, including flowers, animals, geometric shapes, and more. These molds allow you to add a touch of elegance and novelty to your candles, making them stand out from commercially produced options.
Another advantage of utilizing candle molds is the ease of achieving consistent dimensions and smooth surfaces. When dipping candles, it can be challenging to maintain uniformity without the aid of molds. The repeated immersion into melted wax can lead to uneven layers or irregularities in shape. By using a mold, you can ensure that each layer adheres evenly to the previous one, resulting in a polished final product.
Furthermore, candle molds offer greater control over color and scent incorporation. With traditional pouring techniques, adding colors or scents uniformly throughout the entire candle can be challenging. However, when using molds for dipping candles, you can introduce different colors or scents at specific stages of the process. This allows for more precise placement of these elements within the candle’s structure, enhancing its overall aesthetic appeal.
Now let’s move on to the step-by-step process of creating dipped candles using candle molds:
-
Gather your materials: You will need a heat-resistant container for melting wax (such as a double boiler), high-quality wax suitable for dipping (paraffin wax works well), wick material (cotton wicks are recommended), dye blocks or liquid dyes for coloring (if desired), fragrance oils or essential oils (optional), thermometer, mold release spray (if required for your specific mold), and any desired accessories or decorations.
-
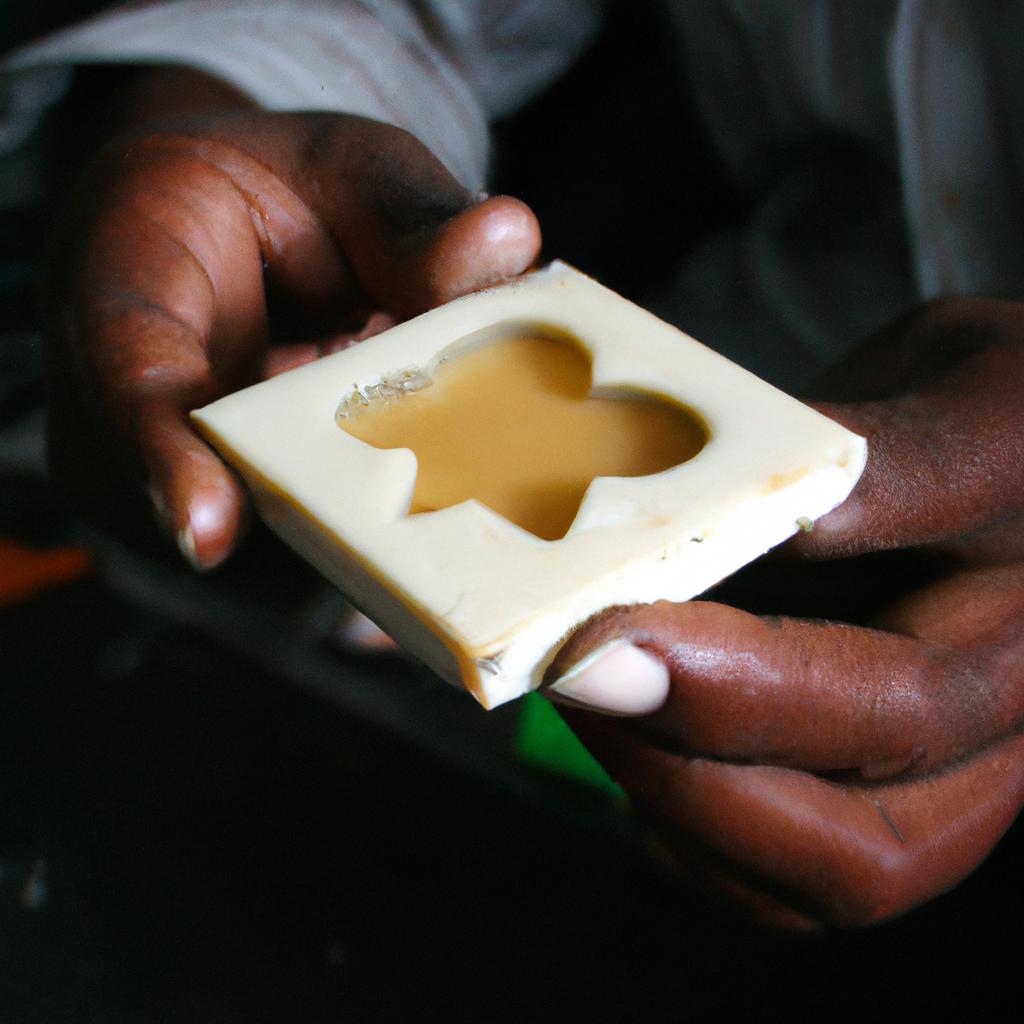
Prepare the mold: If necessary, apply a light coating of mold release spray to ensure easy removal of the finished candle. Follow the instructions provided with your specific mold.
-
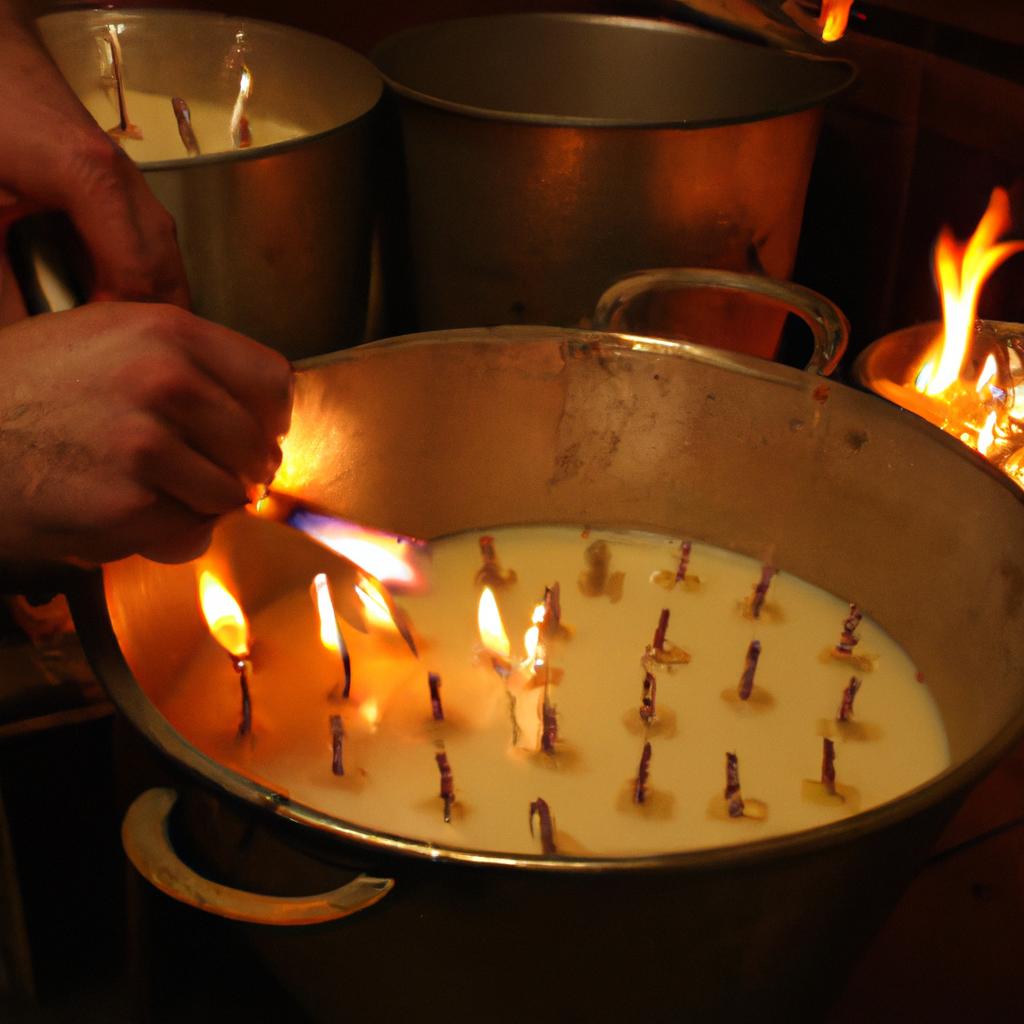
Melt the wax: Place the wax in a heat-resistant container and melt it using a double boiler setup or a specialized melting pot designed for candle making. Heat the wax to the recommended temperature specified by the manufacturer (usually between 160-180 degrees Fahrenheit).
-
Add color and fragrance (optional): If you wish to incorporate colors or scents into your candles, this is the time to do so. Add dye blocks or liquid dyes to achieve your desired color intensity, stirring gently until fully dissolved. For fragrance, add a few drops of fragrance oil or essential oil per pound of wax, adjusting according to personal preference.
-
Prepare the wick: Cut your wick material slightly longer than the desired length of your finished candle. Secure one end of the wick to a wick tab or weight (such as a washer) to provide tension during dipping.
-
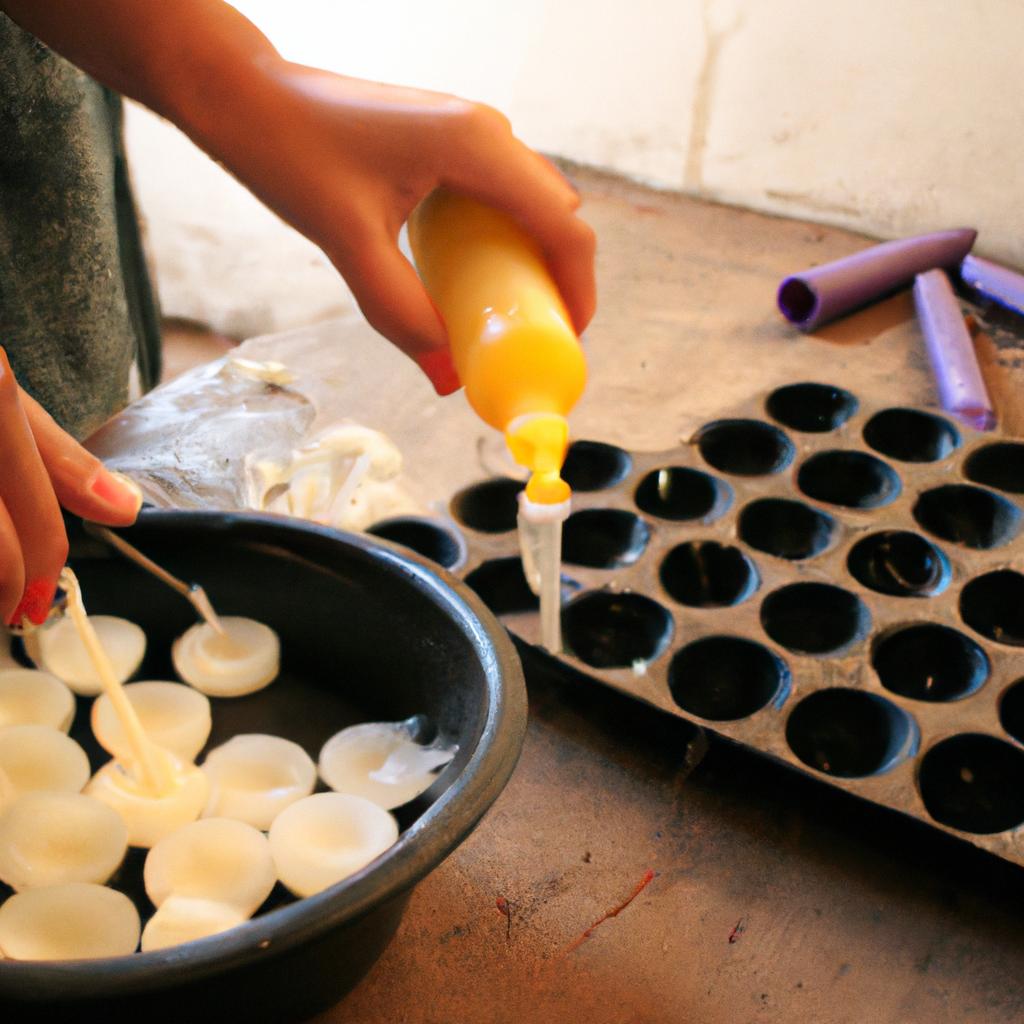
Start dipping: Dip your prepared wick into the melted wax, ensuring that it is fully submerged before slowly pulling it out. Allow excess wax to drip back into the container, then briefly cool and harden before repeating the process. Continue dipping and cooling until you achieve your desired thickness.
-
Trim and finish: Once you have achieved your desired thickness, trim any excess wick from both ends of the candle. Smooth out any rough edges or imperfections using gentle heat from a hairdryer or heat gun if necessary.
-
Decorate (optional): If desired, decorate your dipped candles with accessories such as ribbons, charms, or dried flowers while they are still warm and malleable.
-
Cure and store: Allow your finished dipped candles to cure for at least 24 hours before burning or packaging. Store them in a cool, dry place away from direct sunlight to preserve their quality.
By following these steps and incorporating your own creativity, you can create beautiful dipped candles using candle molds. Experiment with different colors, scents, and mold shapes to personalize your creations and showcase your unique style.
Remember, practice makes perfect. Don’t be discouraged if your first attempts are not flawless. With time and experience, you will master the art of dipping candles using molds and unlock endless possibilities for creating stunning candles that reflect your individuality.
Choosing the Right Candle Wax
Imagine you are a candle maker, eager to create high-quality candles that burn slowly and emit a warm, soothing light. To achieve this, one crucial aspect is selecting the appropriate candle wax. The choice of wax can significantly influence the overall quality and performance of your candles.
When deciding on the right candle wax, there are several factors to consider. First and foremost is the melting point. Different waxes have varying melting points, which affect how well they hold their shape when burned. For instance, paraffin wax has a low melting point and tends to soften quickly, making it an ideal option for container candles. On the other hand, beeswax has a higher melting point and provides excellent structural integrity for taper or pillar candles.
The second consideration is the type of fragrance or coloring agents used in your candles. Some waxes may interact differently with these additives, affecting scent throw or color vibrancy. Therefore, it is essential to choose a wax that can effectively bind with fragrances and dyes while maintaining their intended characteristics.
In addition to fragrance compatibility, another critical factor is eco-friendliness. As environmental awareness grows, many consumers prefer sustainable options. Soy wax offers an eco-friendly alternative as it is derived from renewable resources like soybeans. It burns cleanly with minimal soot production and has gained popularity among environmentally conscious individuals.
To summarize:
- Consider the melting point: Determine whether a lower or higher melting point fits your desired candle type.
- Evaluate fragrance compatibility: Ensure that the chosen wax works well with various scents without compromising their intended qualities.
- Prioritize eco-friendliness: Opt for sustainable alternatives such as soy wax to cater to environmentally aware customers.
- Assess suitability for coloring agents: Look for waxes that allow vibrant colors while maintaining stability during burning.
By carefully considering these aspects when choosing your candle wax, you can enhance both the aesthetic appeal and functionality of your candles. Understanding the benefits of dipping candles will further expand your candle-making knowledge and enable you to create exquisite pieces that delight customers.
[EMOTIONAL BULLET POINTS]
- Transform raw materials into captivating works of art.
- Create a warm ambiance that soothes and comforts.
- Embrace sustainability by choosing eco-friendly options.
- Craft unique, personalized gifts for loved ones.
| Melting Point | Fragrance Compatibility | Eco-friendliness | |
|---|---|---|---|
| Paraffin | Low | Moderate | Not sustainable |
| Beeswax | High | Strong | Sustainable |
| Soy Wax | Medium | Good | Environmentally friendly |
As we delve deeper into the world of candle making, it is essential to explore the advantages offered by the dipping technique. By understanding these benefits, you can unlock new possibilities in creating beautiful and long-lasting candles.
Understanding the Benefits of Dipping Candles
Dipping candles is an ancient technique that has been used for centuries to create beautiful and unique candle designs. By using candle molds, this traditional method of candle making can be elevated to new heights, allowing for more intricate and detailed creations. In this section, we will explore the benefits of dipping candles and how it can enhance the overall candle-making experience.
Imagine you are a passionate candle maker who wants to create a set of elegant taper candles for a special occasion. Now, you want to go beyond simply pouring the melted wax into molds or containers – you want to add a personal touch by dipping each individual wick into the molten wax multiple times until it reaches the desired thickness. This process not only creates a smooth and even surface but also allows for endless possibilities when it comes to experimenting with colors, textures, and patterns.
One of the main advantages of dipping candles is its versatility. Unlike other methods where you are limited by the shape of pre-made molds, dipping allows you to create custom shapes by layering successive dips onto the wick. Whether you want tapered candles, cylindrical pillars, or even whimsical novelty shapes, dipping provides you with the freedom to bring your imagination to life.
To further illustrate the benefits of dipping candles, let’s consider some key points:
- Enhanced aesthetics: Dipped candles often exhibit a subtle gradient effect due to layers of wax being built up over time. This adds depth and visual interest compared to solid-colored poured candles.
- Increased burn time: Multiple dips result in thicker walls around the wick, leading to longer-lasting candles that provide hours of illumination.
- Improved structural integrity: The repeated process of dipping strengthens the core structure of the candle, reducing chances of sagging or flaking during burning.
- Artistic expression: Dipping allows for various techniques such as double-dipping (creating contrasting layers) or even tri-color dipping, enabling candle makers to showcase their creativity and create unique designs.
Incorporating the art of dipping candles into your repertoire can elevate your candle-making skills and provide endless possibilities for creating one-of-a-kind candles.
Exploring Different Types of Candle Dipping Techniques
Enhancing Candle Making with Candle Molds: Exploring Different Types of Candle Dipping Techniques
Imagine a novice candle maker, Jane, who has just learned about the benefits of dipping candles. Intrigued by this traditional method, she decides to delve deeper into the world of candle making and explore different types of candle dipping techniques. By doing so, she hopes to expand her skills and create unique and personalized candles for herself and others.
As Jane begins her exploration, she discovers that there are various ways to dip candles, each offering its own set of advantages and challenges. One popular technique is called “continuous dipping,” where the wick is repeatedly dipped into a vat of melted wax until the desired thickness is achieved. This method allows for greater control over the final shape and size of the candle while also creating a smooth and even finish.
Another approach is known as “tapered dipping,” which involves gradually tapering the width of the candle by dipping it at an angle. This technique can be used to create elegant tapered candles with varying widths along their length. It requires precision and patience but results in visually stunning designs that add sophistication to any setting.
When considering different types of candle dipping techniques, it’s important to keep in mind certain factors that can influence the outcome:
- Wax temperature: The ideal temperature for dipping varies depending on the type of wax being used. Higher temperatures may lead to faster building up of layers but increase the risk of drips or unevenness.
- Dipping speed: Controlling how quickly or slowly you dip the wick affects both the thickness and texture of your candle. Experimentation is key in finding what works best for achieving your desired result.
- Wick tension: Maintaining consistent tension throughout each dip helps ensure straightness and prevents sagging or bending during drying.
- Drying time between dips: Allowing sufficient drying time before each subsequent dip contributes to a more stable structure and reduces potential sagging or warping.
To better understand the nuances of these techniques, here is a table summarizing their key attributes:
| Technique | Advantages | Challenges |
|---|---|---|
| Continuous Dipping | Greater control over shape and size | Requires constant monitoring of wax temperature |
| Tapered Dipping | Creates visually stunning tapered candles | Demands precision in maintaining consistent tension |
By exploring different types of candle dipping techniques, Jane expands her creative horizons as a candle maker. She gains a deeper understanding of how various factors influence the final outcome and develops her skills to create unique and personalized candles.
Preparing the Candle Dipping Area
Enhancing Candle Making with Candle Molds: Exploring Different Types of Candle Dipping Techniques
In the previous section, we delved into the fascinating world of candle dipping techniques. Now, let us dive deeper into another aspect that can elevate your candle making experience – using candle molds. Candle molds are versatile tools that allow you to create unique and intricate designs with ease.
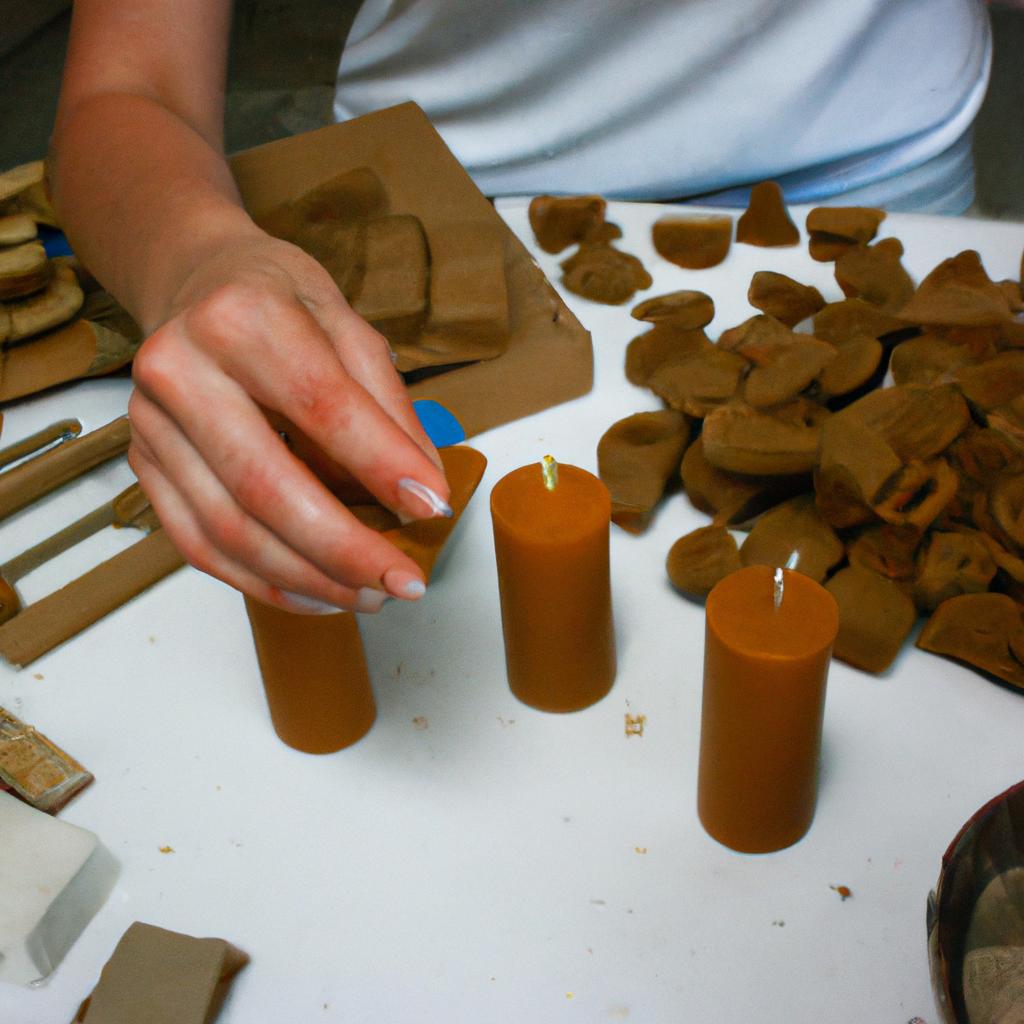
Imagine this scenario: You have a vision of crafting elegant taper candles for a special occasion. By utilizing a tapered candle mold, you can effortlessly achieve consistent shape and size throughout your entire batch. This not only saves time but also ensures uniformity in your final product, adding an element of sophistication to any setting.
To further explore the benefits of using candle molds in your dipping process, consider the following points:
- Precision and consistency: With candle molds, you can achieve precise measurements and shapes consistently across multiple candles.
- Intricate designs made simple: Whether it’s creating highly detailed patterns or replicating complex objects like flowers or animals, candle molds provide an easy way to bring these creative visions to life.
- Time-saving convenience: Using molds eliminates the need for repetitive dipping processes and allows you to produce larger quantities of candles efficiently.
- Enhanced safety measures: Candle molds offer stability during the cooling process, reducing the risk of mishaps such as wax spills or uneven surfaces.
| Mold Type | Benefits | Considerations |
|---|---|---|
| Silicone | Flexible material allows for easier removal of candles | Can be more expensive than other types |
| Aluminum | Provides excellent heat conductivity for faster cooling times | Requires extra caution when handling due to sharp edges |
| Polyurethane | Highly durable and resistant to wear and tear | May require additional release agents for smooth removal |
With various options available based on your needs and preferences, selecting the right type of mold is crucial. Remember to evaluate factors such as cost, ease of use, and durability to make an informed decision.
By incorporating candle molds into your dipping process, you can take your candle making skills to new heights. So let’s continue our journey towards mastering the art of candle making!
Tips and Tricks for Successful Candle Dipping: Preparing the Candle Dipping Area
Tips and Tricks for Successful Candle Dipping
Enhancing Candle Making with Candle Molds: Tips and Tricks for Successful Candle Dipping
In the previous section, we discussed how to prepare the candle dipping area. Now, let’s delve into some valuable tips and tricks that can help you achieve successful results when using candle molds in your dipping process.
Imagine this scenario: You have just finished preparing your candle wax mixture and are excited to start dipping candles using your newly acquired mold. However, as you begin the process, you notice that the wax is not adhering properly to the wick or that it is forming air bubbles on the surface of the candles. These issues can be frustrating but fear not! By following these helpful tips, you can overcome such challenges and create beautifully dipped candles every time:
- Ensure that the temperature of your wax is suitable for dipping by using a candy thermometer. Different types of waxes require different temperatures for optimal results.
- Before beginning the dip, consider preheating your mold slightly by placing it in warm water for a few minutes. This will make it easier for the wax to adhere evenly to all sides of the mold.
- When dipping multiple candles at once, make sure there is enough space between them to prevent any contact or interference during cooling. Placing too many candles close together may cause uneven surfaces or misshapen forms.
- Lastly, don’t rush! Take your time while dipping each candle, allowing sufficient cooling periods between dips. This will ensure better adherence and reduce the likelihood of imperfections.
To further illustrate these tips visually, here is an emotional bullet point list highlighting their importance:
- Proper wax temperature ensures smooth adhesion
- Preheating molds facilitates even coating
- Adequate spacing prevents unwanted interactions
- Patience leads to perfection
Now, let’s take a look at a three-column table summarizing key factors related to successful candle dipping:
| Factors | Importance | Outcome |
|---|---|---|
| Wax temperature | High | Smooth adhesion |
| Preheating molds | Medium | Even coating |
| Adequate spacing | Low | Reduced defects |
| Patience | High | Better results |
By implementing these tips and considering the factors mentioned, you can elevate your candle dipping experience and achieve satisfying outcomes. In the subsequent section about “Decorating and Finishing the Dipped Candles,” we will explore various techniques to add a personal touch to your creations, enhancing their aesthetic appeal without requiring additional steps.
Decorating and Finishing the Dipped Candles
Having learned about the various tips and tricks to ensure successful candle dipping, it is now time to explore the creative possibilities of decorating and finishing dipped candles. By employing different techniques, you can transform simple dipped candles into stunning works of art that will captivate anyone who beholds them.
Section – Decorating and Finishing the Dipped Candles:
Imagine a beautifully decorated table set for an elegant dinner party. As dusk falls, soft candlelight illuminates the scene, casting a warm glow on intricate designs adorning each candle. These exquisite decorations are achieved through careful attention to detail during the final stages of creating dipped candles.
To enhance your creations further, consider incorporating some of these techniques:
-
Carving Designs: Using specialized carving tools or even everyday household items like toothpicks or needles, carve intricate patterns onto the surface of the hardened wax. This technique allows you to create unique textures and elaborate motifs that add depth and interest to your candles.
-
Adding Colors: Experiment with different colored waxes by melting them together in a double boiler before dipping your candles. The resulting blended hues can be strikingly beautiful when combined with delicately layered designs. Consider using contrasting colors or gradients to achieve eye-catching effects.
-
Embedding Decorative Elements: Create visual interest by embedding small decorative elements directly into the surface of your dipped candles before they fully harden. Items such as dried flowers, herbs, beads, or glitter can add texture and sparkle while providing a personalized touch.
-
Applying Finishes: Once your candles have cooled and solidified completely, apply finishes such as gloss or matte sealants to protect their surfaces and enhance their appearance. These finishes can also help to preserve the vibrant colors and delicate details, ensuring your candles remain beautiful for longer.
Table – Examples of Decorative Techniques:
| Technique | Description |
|---|---|
| Carving Designs | Intricate patterns or motifs carved onto the surface of the hardened wax using specialized tools or household items. |
| Adding Colors | Experimenting with blended hues achieved by melting different colored waxes together before dipping. |
| Embedding Elements | Incorporating small decorative elements like dried flowers, herbs, beads, or glitter into the candle’s surface. |
| Applying Finishes | Protecting and enhancing the appearance of the dipped candles through gloss or matte sealants. |
Incorporating these techniques into your candle-making process will not only elevate the aesthetic appeal of your creations but also provide you with an opportunity to express your creativity and personal style. Remember that practice is key when perfecting these skills, so don’t be discouraged if achieving desired results takes time.
By dedicating yourself to mastering these decorating and finishing techniques, you’ll be able to create truly unique dipped candles that serve as both functional sources of light and exquisite artistic displays in any setting. Let your imagination soar as you explore new possibilities within this captivating craft, constantly pushing boundaries to unlock endless potential.