Candle Molds: A Comprehensive Guide to Candle Making
Candle making has been a popular craft for centuries, offering individuals the opportunity to express their creativity and create unique decorative pieces. One of the key elements in candle making is the use of candle molds, which play a crucial role in shaping and defining the final product. This comprehensive guide aims to provide an in-depth understanding of different types of candle molds, their features, and how they can be effectively utilized to enhance one’s candle-making skills.
Consider this scenario: Sarah, an aspiring candle maker, excitedly embarks on her journey to create handcrafted candles for her friends and family. Armed with various scented waxes and vibrant dyes, she quickly realizes that achieving consistent shapes and sizes poses a challenge. Frustrated by irregularities in her creations, Sarah seeks guidance on using candle molds to achieve professional-looking results. Through this article, we aim to assist both novices like Sarah and experienced artisans alike by delving into the intricacies of candle mold selection and utilization.
This guide will begin by exploring the history of candle molds, tracing back their origins to ancient civilizations where rudimentary forms were used. We will then delve into the diverse range of modern-day options available in the market – from traditional metal molds to silicone variations – discussing their features, benefits, and limitations. We will provide practical tips on choosing the right mold for different types of candles, such as pillar candles, container candles, or specialty shaped candles.
Furthermore, we will discuss important factors to consider when working with candle molds, including proper preparation and maintenance techniques. This will ensure that Sarah and other candle makers can achieve optimal results with each use and prolong the lifespan of their molds.
To assist readers in their decision-making process, we will also compare various brands and models of candle molds available in the market. By examining customer reviews and expert recommendations, we aim to provide an unbiased analysis that helps individuals make informed choices based on their specific needs and preferences.
Additionally, this guide will delve into advanced techniques such as multi-part molds and embed molds that allow for intricate designs and unique finishes. We will explain step-by-step instructions on how to utilize these specialized molds effectively to elevate one’s candle-making skills to new heights.
Lastly, we understand that troubleshooting is a common part of any crafting journey. Therefore, our guide will include a comprehensive troubleshooting section that addresses common issues faced during the candle-making process. Whether it’s dealing with air bubbles or releasing stubborn candles from molds, Sarah and others can find practical solutions within this article.
In conclusion, this guide aims to equip aspiring candle makers like Sarah with the knowledge they need to master the art of Using Candle Molds Effectively. By understanding the history of candle mold making, exploring various options available in the market, learning essential techniques for mold preparation and maintenance, considering different types of molds for specific candle styles, delving into advanced mold utilization methods, comparing popular brands/models, and troubleshooting common issues – readers will be well-prepared to create professional-looking handcrafted candles that impress friends and family alike.
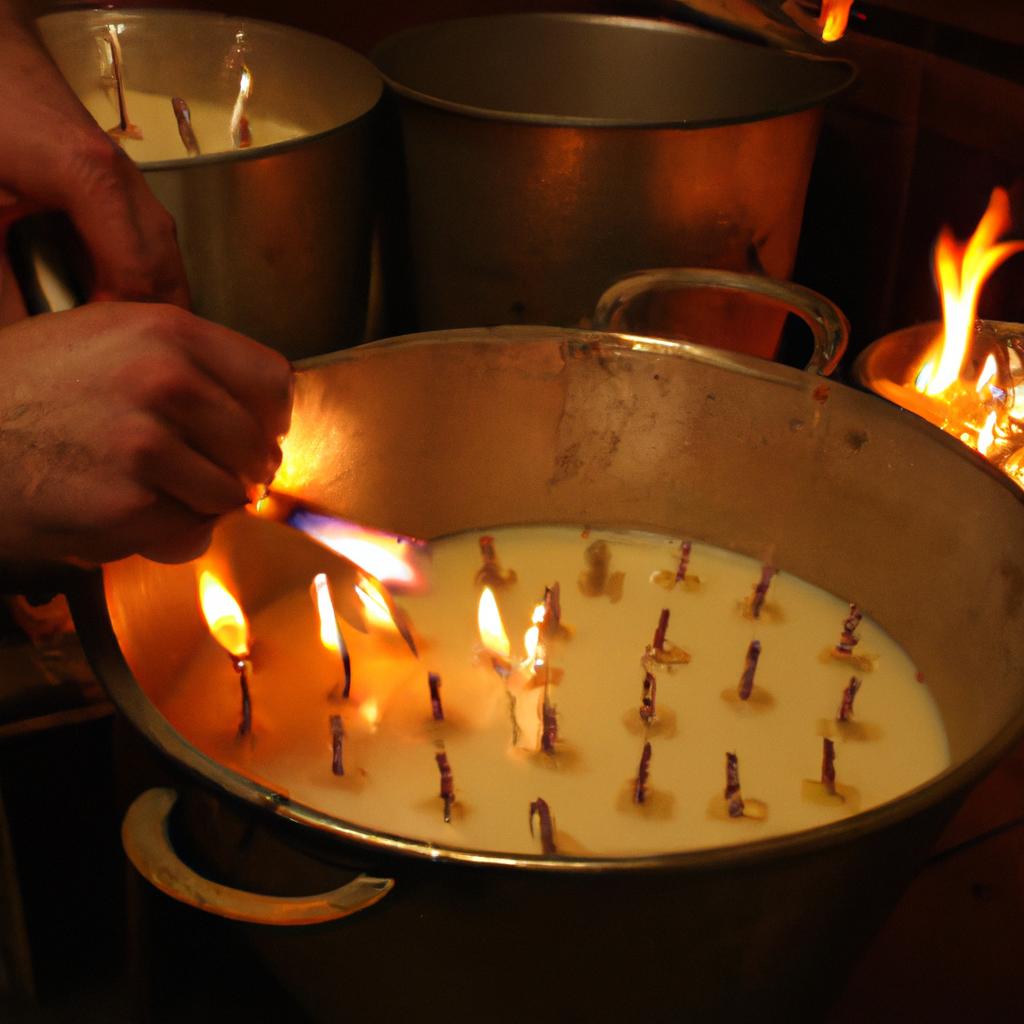
Dipping Candles
To illustrate the process of dipping candles, let’s consider a hypothetical scenario. Imagine Maria, an enthusiastic candle maker, who decides to try her hand at creating tapered candles using the dipping method. She carefully prepares her work area and gathers all the necessary materials: candle wax, wick, thermometer, melting pot, and a set of candle molds.
The first step in the dipping process is to melt the candle wax in a melting pot on low heat until it reaches the desired temperature. The ideal temperature range for most waxes falls between 160°F (71°C) and 180°F (82°C). Maintaining consistent heat throughout this stage is crucial for achieving smooth and even layers when dipping the candles.
Once the wax has reached its optimal temperature, Maria can proceed with dipping her candles. Using a pre-cut length of wick attached to a dowel or rod, she dips the wick into the melted wax and then lifts it out slowly. Each dip coats the previous layer with fresh wax, gradually building up thickness as more layers are added. To achieve uniformity in shape and size, Maria repeats this process multiple times while allowing each layer to cool before immersing it again.
Dipping candles offers several advantages over other methods:
- Versatility: This technique allows for various shapes and sizes since different molds can be used.
- Customization: By choosing different types of wax or adding colorants or fragrances to the mix, individuals can personalize their creations according to taste or occasion.
- Traditional Appeal: The art of dipping candles dates back centuries and adds a nostalgic touch that resonates with many people today.
- Artistic Expression: With practice and creativity, candle makers can experiment with different colors and textures by combining layers of differently colored waxes during each dip.
| Advantages of Dipping Candles | |
|---|---|
| Versatility | |
| Customization | |
| Traditional Appeal | |
| Artistic Expression |
In this section, we explored the process of Dipping Candles and highlighted its advantages. Moving forward to the next stage of candle making, let’s delve into the art of pouring candles and discover the distinctive techniques involved in creating beautiful molded candles.
[Table: Advantages of Dipping Candles]
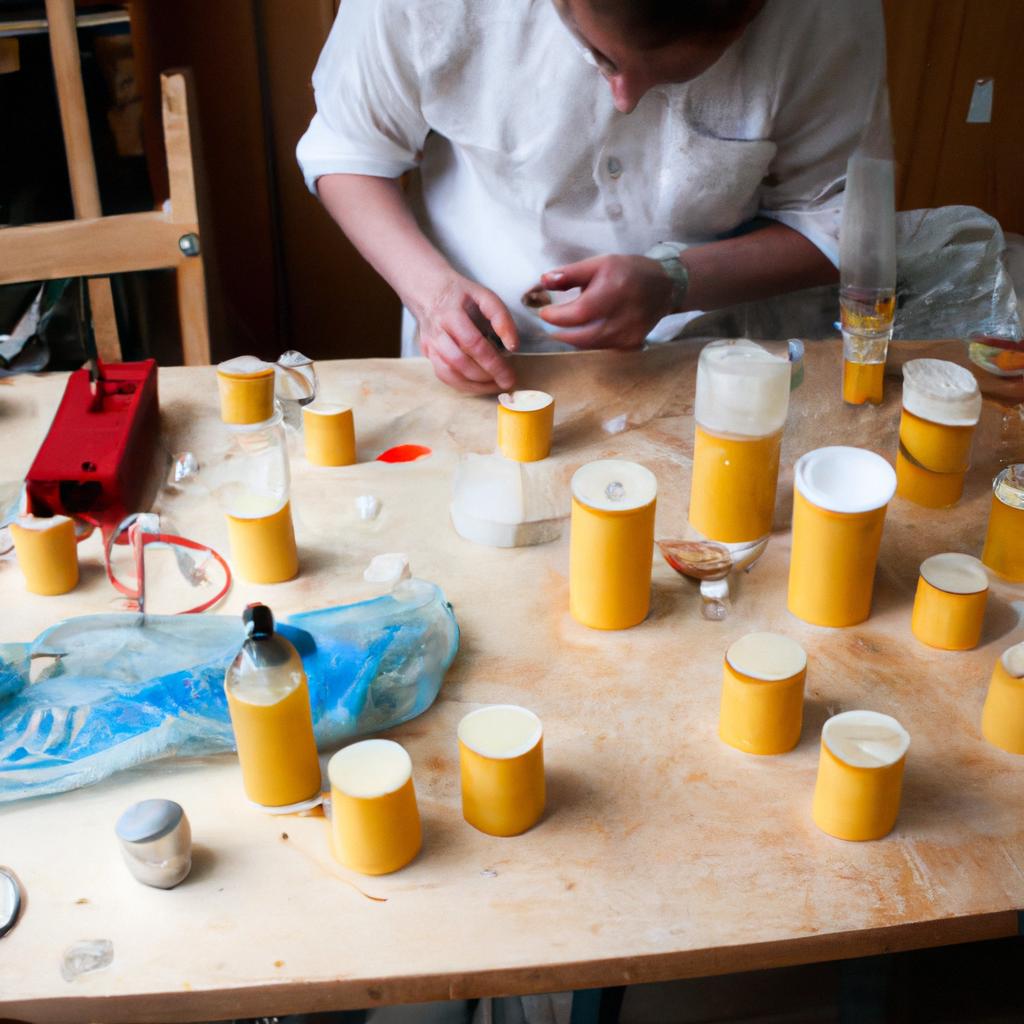
Pouring Candles
Section H2: Dipping Candles
Imagine a candle maker named Sarah, who is passionate about creating unique and beautifully crafted candles. After mastering the art of dipping candles, she moves on to explore another popular method in candle making: pouring candles. This technique offers distinct advantages and opens up new creative possibilities for her. In this section, we will delve into the process of pouring candles and discuss its benefits.
Pouring candles involves melting wax and carefully pouring it into molds to create desired shapes and sizes. One advantage of this method is that it allows for easier customization compared to dipping candles. With the ability to control the temperature of the melted wax, Sarah can experiment with different colors, scents, and additives such as dried flowers or essential oils. The versatility offered by pouring enables her to craft beautiful layered designs or embed objects within the candle itself.
To successfully pour candles, there are several key considerations:
- Mold selection: Different types of molds are available depending on the desired shape and size of the final candle. Silicone molds offer flexibility while metal molds provide stability during the cooling process.
- Wax preparation: Choosing high-quality wax suitable for pouring is crucial. Properly heating and preparing the wax ensures optimal results.
- Wick placement: Positioning the wick correctly within the mold is important for even burning throughout the entire candle.
- Cooling time: Allowing sufficient time for the poured wax to cool and solidify completely before removing from the mold guarantees a well-formed candle without any deformities.
By utilizing these techniques, Sarah can consistently produce stunning poured candles that captivate customers’ attention with their aesthetic appeal and unique characteristics.
In our next section on votive molds, we will explore yet another fascinating aspect of candle making – one that offers an excellent alternative to both dipping and pouring methods while allowing further creativity in crafting exquisite candles using specialized tools called votive molds
Votive Molds
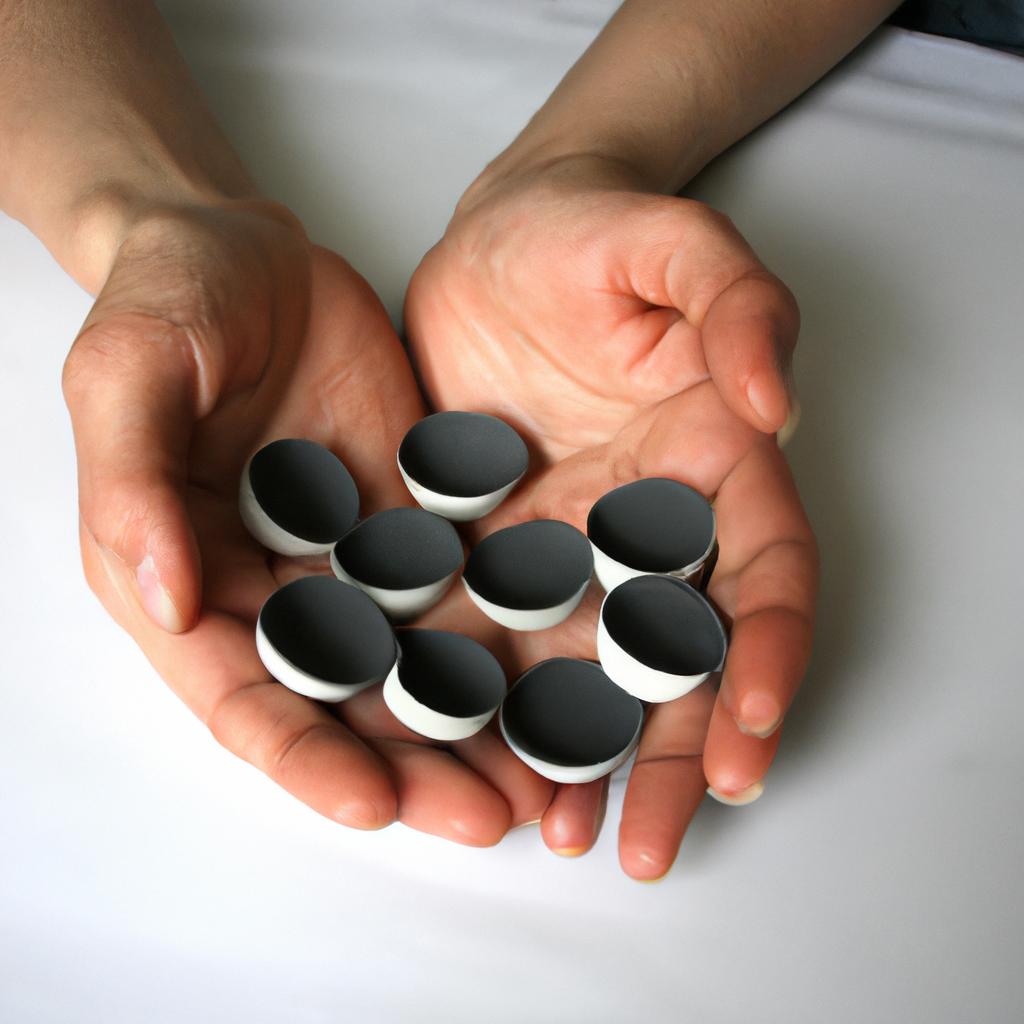
Imagine you are hosting a cozy dinner party at your home. The table is set with elegant décor, and the soft glow of candlelight creates an inviting ambiance. As you admire the warm flicker of the votive candles on the centerpiece, have you ever wondered how these small yet captivating candles are made? In this section, we will explore the world of votive molds in candle making.
Votive candles are known for their compact size and versatility. They can be used to enhance any setting or occasion, from intimate gatherings to serene moments of self-reflection. To create these enchanting candles, one must carefully select an appropriate mold that matches their desired shape and size. Commonly made of metal or heat-resistant plastic, Votive molds come in various designs such as straight-walled cylinders or fluted rims.
When it comes to pouring wax into votive molds, attention to detail is crucial for achieving optimum results. Here are some key considerations:
- Wax temperature: Maintaining the right temperature is essential for proper adhesion and smoothness.
- Mold preparation: Applying a release agent like silicone spray ensures easy removal of the finished candle.
- Wick placement: Positioning the wick correctly guarantees even burning throughout the candle’s lifespan.
- Cooling time: Allowing sufficient cooling time before removing the candle from its mold prevents deformation.
Let us now delve deeper into votive molds by examining their advantages and disadvantages through a comparative analysis presented in the following table:
| Advantages | Disadvantages |
|---|---|
| Compact size allows for multiple placements | Limited burn time compared to larger candles |
| Enhances ambience with gentle illumination | Requires frequent replacement due to shorter burn duration |
| Versatile design options available | Less fragrance throw compared to bigger candles |
| Affordable option for budget-conscious individuals |
As we conclude our exploration of votive molds, we invite you to continue your journey into the world of candle making by discovering the next section on pillar molds. These molds offer a distinct set of possibilities, allowing you to create majestic candles that stand tall and make a statement in any setting. So let us now transition seamlessly into the realm of pillar molds as we continue our exploration of this captivating craft.
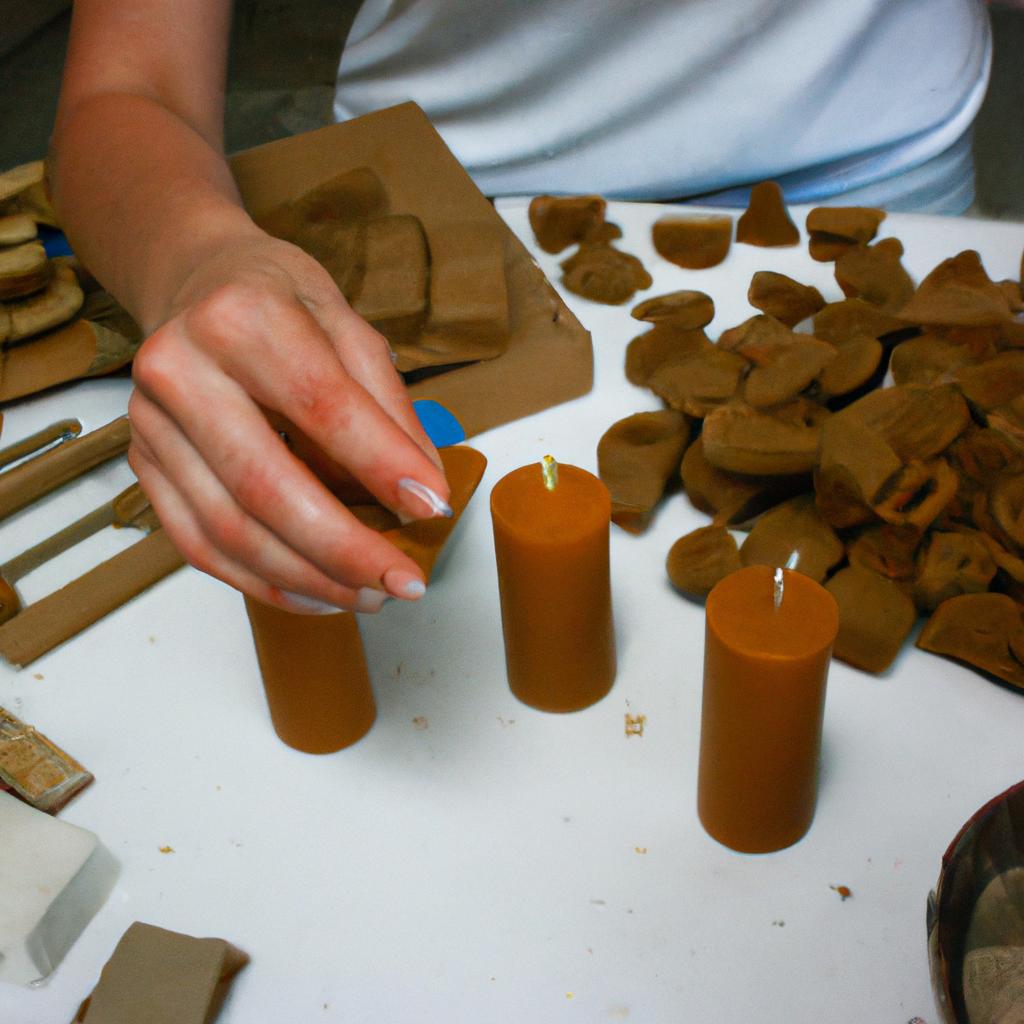
Pillar Molds
Votive Molds are a popular choice among candle makers for creating small, decorative candles. These molds are designed specifically to hold votive-sized wax and produce uniform candles that fit snugly into standard votive holders. By using votive molds, candle makers can achieve consistent results with ease.
One example of the versatility of votive molds is seen in the creation of scented candles. Imagine a scenario where a candle maker wants to create a set of lavender-scented votives. Using a votive mold, they can pour melted lavender-scented wax into the mold and allow it to cool and solidify. The resulting candle will not only have an appealing shape but also emit a soothing fragrance when lit.
- Votive molds provide precise measurements for consistent candle sizes.
- They are reusable, making them cost-effective in the long run.
- The compact size allows for easy storage and handling.
- Votive candles made with these molds make beautiful gifts or party favors.
In addition to their practicality, votive molds offer opportunities for creative expression through various design options. A three-column by four-row table below showcases some possibilities:
| Design Option | Description |
|---|---|
| Layered Colors | Pouring different colored waxes consecutively creates unique patterns. |
| Embedding Objects | Small objects like dried flowers or beads can be added within the wax. |
| Textured Surfaces | Specialized textured inserts give candles an interesting appearance. |
| Custom Labeling | Personalized labels applied after molding enhance branding efforts. |
Moving forward from exploring votive molds, we now turn our attention to pillar molds—a broader category that accommodates larger-sized candles with distinctive shapes and dimensions. With pillar molds offering greater flexibility in terms of customization, let us delve into the possibilities of creating stunning pillar candles that are sure to captivate candle enthusiasts.
Container Molds
Pillar Molds have long been a popular choice among candle makers due to their versatility and ability to create stunning pillar candles. These molds are typically made of metal or silicone and come in various shapes and sizes, allowing for endless creativity in candle design. One example of the use of pillar molds is the creation of elegant tapered candles that can add a touch of sophistication to any setting.
When using pillar molds, there are several important considerations to keep in mind:
-
Mold Release: Before pouring wax into the mold, it is essential to apply a mold release agent such as vegetable oil or silicone spray. This helps ensure easy removal of the finished candle from the mold without damaging its shape or texture.
-
Wick Placement: Properly positioning the wick within the mold is crucial for achieving an even burn throughout the candle’s life. The wick should be centered and secured at the bottom of the mold before pouring in the melted wax.
-
Cooling Time: Once poured, pillar candles require sufficient cooling time to solidify completely. It is recommended to let them cool undisturbed for at least 24 hours before attempting to remove them from the mold.
-
Finishing Touches: After removing the cooled candle from the mold, trimming excess wick and adding decorative elements such as ribbons or charms can enhance its overall aesthetic appeal.
In addition to these key considerations, here is a table showcasing some common types of pillar molds along with their unique features:
| Mold Type | Features |
|---|---|
| Spiral | Creates mesmerizing spiral patterns |
| Square | Produces modern-looking square-shaped candles |
| Hexagonal | Adds an interesting geometric touch |
| Tapered | Ideal for crafting elegant taper candles |
By carefully selecting and utilizing different pillar molds, candle makers can unleash their creativity while producing exquisite candles suitable for various occasions and settings.
Moving forward, the next section will explore another popular type of candle mold: Container Molds. These molds offer a different approach to candle making by allowing candles to be poured directly into containers such as jars or tins. Let’s delve into the world of Container Molds and discover their unique advantages and considerations for successful candle making.
Tealight Molds
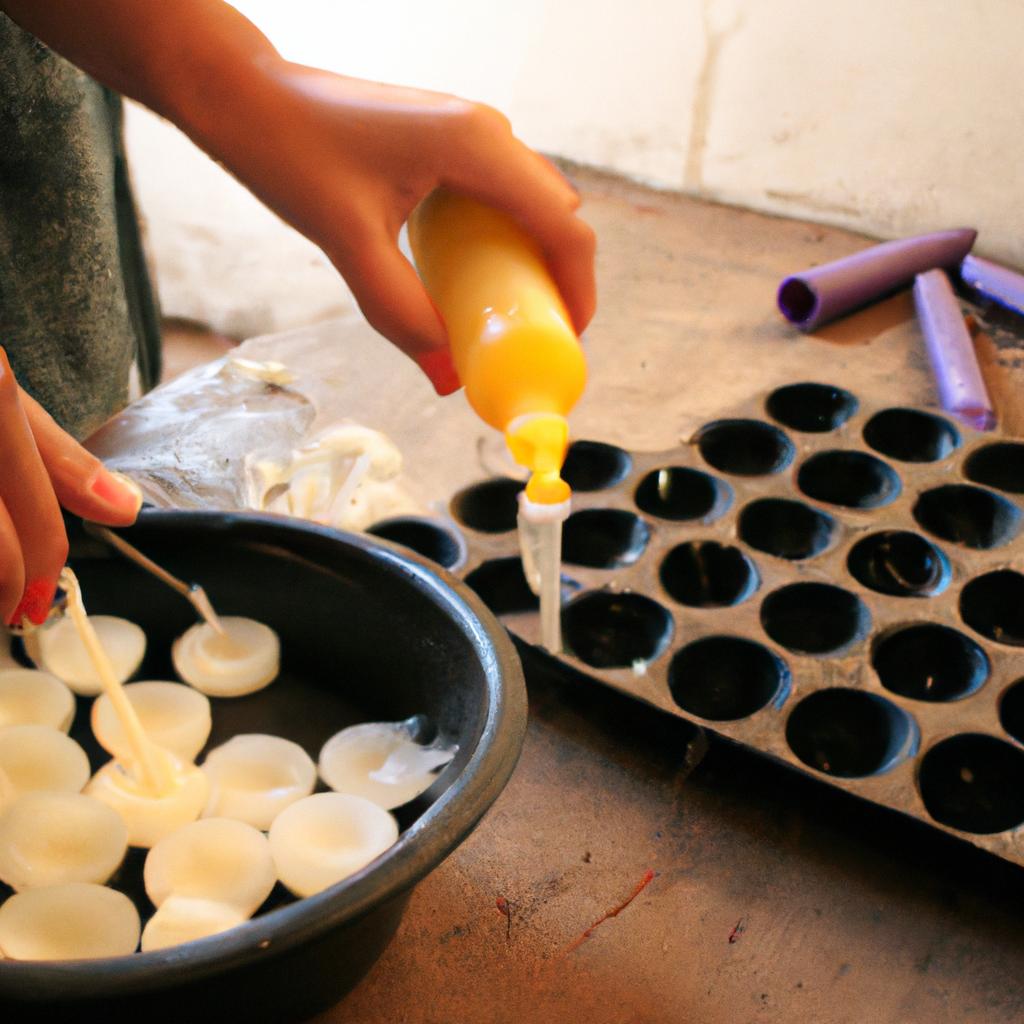
Now that we have explored container molds, let’s move on to another popular type of candle mold: tealight molds. Tealights are small candles designed to be burned in short durations, typically for a couple of hours. They are widely used for decorative purposes and creating a cozy ambiance in various settings.
To illustrate the versatility of tealight molds, consider the following scenario: You are hosting an intimate dinner party at your home. As dusk approaches, you want to create an enchanting atmosphere by placing several tealights strategically around the dining area. By using tealight molds, you can effortlessly craft multiple identical candles that will burn beautifully throughout the evening, enhancing both the visual appeal and mood of your gathering.
There are several key aspects to keep in mind when working with tealight molds:
- Size: Tealights generally have a diameter ranging from 1.25 inches to 1.5 inches and a height of about 0.75 inches.
- Material: Silicone or aluminum tealight molds are commonly available options.
- Wick placement: Ensure proper positioning of wicks before pouring melted wax into the molds.
- Fragrance options: Consider incorporating scented oils into the wax mixture for aromatic tealights.
Embrace the possibilities offered by tealight molds through these engaging elements:
Creating a serene environment: The soft glow emitted by flickering tealights can instantly transform any space into a tranquil oasis, providing a sense of relaxation after a long day.
Mixing colors: Experiment with different colored dyes or add glitter particles to infuse vibrancy and sparkle into your homemade tealights.
Design freedom: With custom-made silicone or aluminum molds readily accessible, unleash your creativity by crafting unique-shaped tea-light candles—think hearts, stars, flowers—to suit specific occasions or themes.
Diverse fragrance choices: Explore an array of scents such as lavender, vanilla, citrus, or even seasonal aromas like cinnamon and pine to enhance the sensory experience of your tealights.
By utilizing tealight molds, you can effortlessly create a captivating ambiance while adding a personal touch to any event or space. In the subsequent section, we will delve into different types of candle molds, expanding further on the vast options available for avid candle makers.
Different Types of Candle Molds
Tealight Molds: Versatile and Convenient
Imagine you have a cozy dinner party planned, and you want to create an inviting atmosphere with the soft glow of candles. Tealights are the perfect choice for this occasion—they are small, versatile, and easy to use. Tealight molds allow you to produce these charming little candles in large quantities efficiently.
When it comes to making tealights, there are several types of molds available on the market. Each mold has its own unique features that contribute to the final product. Here are some common variations:
-
Aluminum Tealight Cups:
- These cups are widely used due to their affordability and durability.
- They come in various sizes, allowing you to customize your tealights based on preference or need.
- The aluminum material conducts heat well, ensuring an even burn throughout the candle’s lifespan.
- Additionally, they provide a sleek and professional finish.
-
Polycarbonate Plastic Molds:
- These molds offer transparency, enabling you to see the wax as it solidifies.
- Their lightweight nature makes them easy to handle and transport while still maintaining sturdiness.
- With polycarbonate plastic molds, releasing the finished tealights becomes effortless due to the flexible material.
-
Silicone Molds:
- Silicone molds have gained popularity among candle makers for their flexibility and ease of use.
- Unlike other materials, silicone is non-stick by nature, eliminating any concerns about difficult demolding processes.
- The ability of silicone molds to withstand high temperatures ensures longevity despite prolonged exposure during candlemaking.
-
Pre-tabbed Wicking Kits:
- While not necessarily a mold itself, pre-tabbed wicking kits simplify the process of creating tealights significantly.
The kit includes ready-to-use wicks attached to metal tabs that can be easily inserted into your chosen mold.
- While not necessarily a mold itself, pre-tabbed wicking kits simplify the process of creating tealights significantly.
Now that we have explored the different types of Tealight Molds, we can move on to discovering other exciting options for candle making in the upcoming section.
Table:
| Mold Type | Features |
|---|---|
| Aluminum Tealight Cups | – Affordable and durable |
| – Available in various sizes | |
| – Conducts heat evenly | |
| – Provides a sleek finish | |
| Polycarbonate Plastic | – Transparent material |
| Molds | – Lightweight yet sturdy |
| – Easy demolding | |
| Silicone Molds | – Flexible and easy to use |
| – Non-stick nature | |
| Pre-tabbed Wicking Kits | Simplifies wicking process by providing ready-to-use wicks with metal tabs |
With this knowledge about tealight molds, you are one step closer to becoming an expert in candle making.
Choosing the Right Candle Mold
Imagine you have decided to make scented candles as unique gifts for your friends and family. You want each candle to be a work of art, reflecting your personal style and creativity. To achieve this, selecting the right candle mold is crucial. The right mold can help bring your vision to life by determining the shape, size, and texture of your finished product.
When choosing a candle mold, consider factors such as:
-
Material: Candle molds are typically made from various materials such as metal, silicone, or plastic. Each material has its benefits and drawbacks. For example:
- Metal molds offer durability but may require additional effort in releasing the finished candle.
- Silicone molds provide flexibility and ease of release but may lack heat resistance for certain types of wax.
- Plastic molds are lightweight and affordable but may not withstand high temperatures during pouring.
-
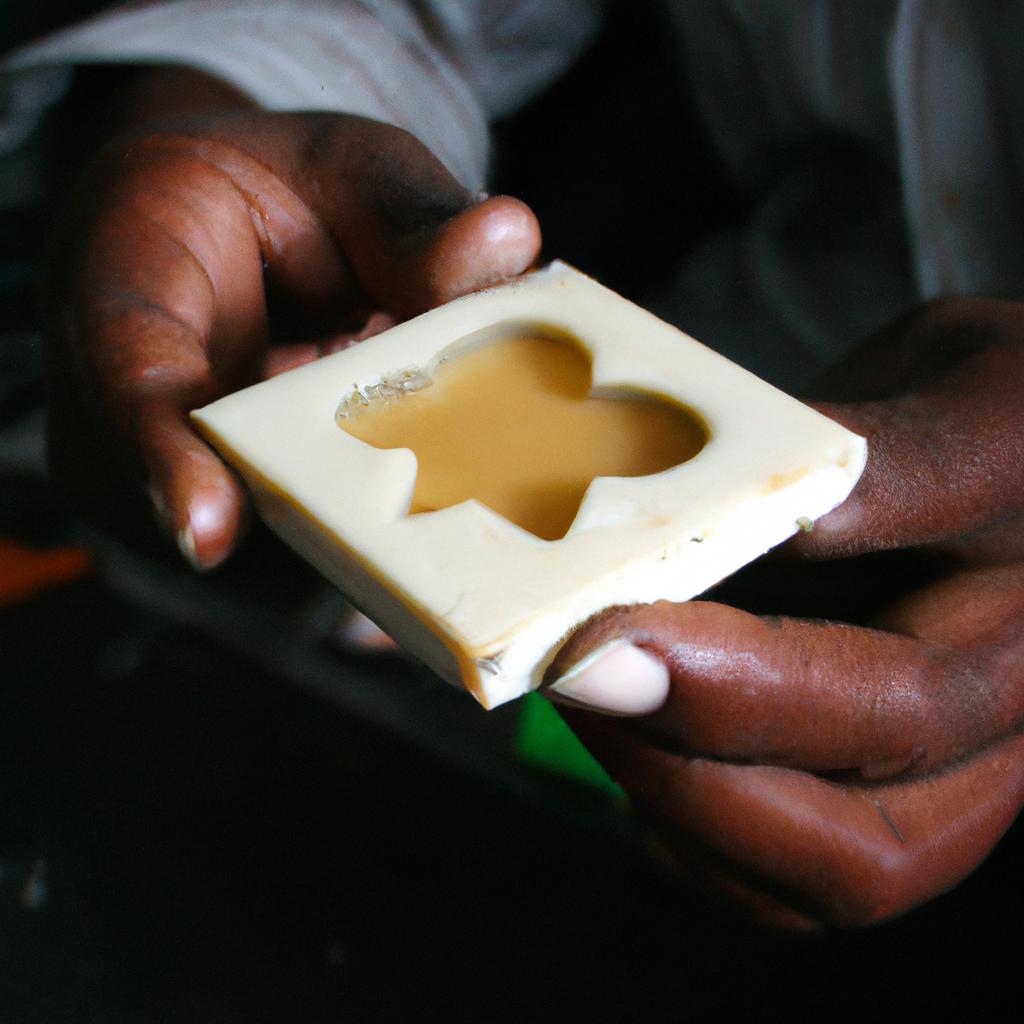
Design: Candle molds come in an array of designs, ranging from simple geometric shapes to intricate patterns and figurines. Consider the aesthetic appeal you desire for your candles and whether the chosen design aligns with it.
-
Size: Determine how large or small you want your candles to be before selecting a mold. Keep in mind that larger candles may require more wax and longer burning times.
-
Usage: Think about how often you plan on using the mold. If you intend to make candles regularly, investing in a sturdy, reusable mold might be beneficial in terms of cost-effectiveness over time.
To illustrate these considerations further, let’s take an example scenario: imagine wanting to create elegant cylindrical pillar candles with delicate floral imprints on their surface. In this case:
- Material: A silicone mold would allow for easy removal while preserving intricate details.
- Design: Look for a cylinder-shaped silicone mold with floral motifs engraved on its inner walls.
- Size: Choose a mold that produces pillar candles measuring around 6 inches in height and 2 inches in diameter.
- Usage: Opt for a mold made from high-quality silicone to ensure durability over multiple uses.
By carefully considering these factors, you can select the perfect candle mold that aligns with your artistic vision and practical needs.
Materials Needed for Candle Making
Building upon the knowledge of choosing the right candle mold, let us now delve into the essential materials needed for candle making. By understanding these materials and their functions, you will be better equipped to create beautiful and long-lasting candles.
To achieve optimal results in your candle-making endeavors, it is crucial to gather the necessary materials before starting the process. Here are some key items that every aspiring candle maker should have:
- Wax: The primary ingredient in any candle is wax. Beeswax, soy wax, and paraffin wax are commonly used options, each with its own unique properties and benefits.
- Wicks: Choosing the right wick is essential for proper burning and even melting of the wax. Various types of wicks are available, such as cotton core wicks or wooden wicks, depending on personal preference and desired aesthetic.
- Fragrance Oils: Adding fragrance oils can enhance the ambiance of a room when the candle is lit. From floral scents to fruity aromas or warm vanilla notes, there is an extensive range of fragrance oils to choose from.
- Dyes or Pigments: To add color to your candles, dyes or pigments come in handy. These additives allow you to customize your creations according to your preferences or match them with specific themes or occasions.
Incorporating these materials into your candle-making routine can evoke a sense of creativity and fulfillment. Consider how they enable you to:
- Express yourself artistically through personalized designs and colors
- Create inviting atmospheres that promote relaxation and well-being
- Indulge in sensory experiences by selecting fragrances that resonate with your mood
- Share handcrafted gifts that showcase thoughtfulness and care
Table showcasing different options for each material category:
| Material | Options Available |
|---|---|
| Wax | Beeswax, Soy Wax, Paraffin Wax |
| Wicks | Cotton Core Wicks, Wooden Wicks |
| Fragrance Oils | Floral Scents, Fruity Aromas, Warm Vanilla Notes |
| Dyes or Pigments | Wide range of colors available for customization |
By having these materials at your disposal, you can embark on a creative journey that not only produces beautiful candles but also allows you to express yourself and bring joy to others. With the foundation set by choosing the right candle mold and gathering the necessary materials, we can now move forward into preparing the candle mold.
With all the essential materials in place, it’s time to dive into the next crucial step: preparing the candle mold.
Preparing the Candle Mold
Imagine you have decided to make a set of pillar candles as gifts for your friends. You want each candle to have a unique shape and size, so choosing the right candle mold is crucial. In this section, we will explore different factors to consider when selecting a candle mold.
Firstly, think about the material of the mold. There are various options available, including silicone, metal, plastic, and glass molds. Each material has its advantages and disadvantages. For instance, silicone molds are flexible and easy to release the finished candle from but may not provide intricate details on the surface. On the other hand, metal molds can create beautifully detailed candles but may require extra effort in releasing them from the mold.
Next, consider the size and shape of the mold. The choice depends on your desired outcome and purpose of the candle. If you want small votive candles for ambiance or relaxation purposes, smaller-sized molds would be suitable. However, if you intend to make larger decorative pillars that serve as focal points in a room, opt for bigger molds with more elaborate designs.
When selecting a mold style, keep in mind any specific themes or occasions for which you plan to use these candles. A heart-shaped mold might be ideal for Valentine’s Day gifts while animal-shaped molds could be perfect for children’s parties or baby showers.
To help visualize these considerations better:
-
Silicone molds:
- Pros: Easy release | Flexibility
- Cons: Limited detail
-
Metal molds:
- Pros: Intricate detailing possible | Durable
- Cons: More difficult release process
-
Plastic molds:
- Pros: Affordable | Lightweight
- Cons: Less durable | May warp over time
-
Glass molds:
- Pros: Elegant finish | Heat-resistant
- Cons: Fragile | Requires extra caution during handling
In conclusion,
Selecting an appropriate candle mold involves considering factors such as material, size, shape, and style. By carefully evaluating your needs and preferences, you can choose a mold that will yield the desired results for your candle-making project.
Transitioning into the next section about “Pouring the Wax into the Mold,” let’s now explore how to prepare the wax mixture and pour it into the selected mold to create stunning candles.
Pouring the Wax into the Mold
Section H2: Pouring the Wax into the Mold
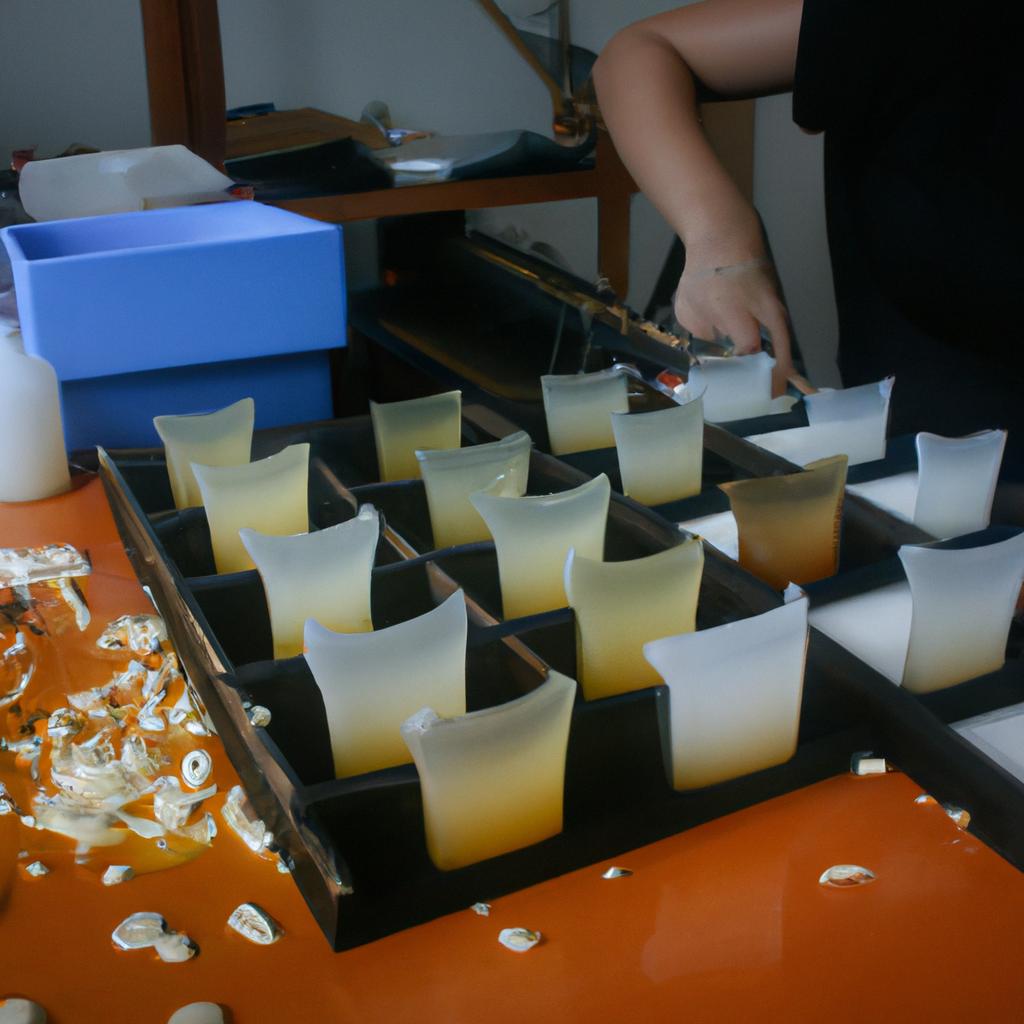
Having prepared your candle mold, it is now time to move on to pouring the wax. This step plays a crucial role in determining the final outcome of your candles. Let’s explore how to pour the wax into the mold effectively.
Pouring Method:
To begin, ensure that you have a stable and level surface for pouring the wax. A slight imbalance can lead to an uneven distribution within the mold. Start by melting your chosen wax using a double boiler or dedicated candle-making equipment. Once melted, carefully add any desired colorants or fragrances according to your recipe or personal preference.
Next, slowly pour the molten wax into the prepped candle mold. It is essential to maintain a steady hand throughout this process to prevent spills or overflows. If you are making layered candles or incorporating different colors, remember to pour each layer consecutively while allowing sufficient cooling time between pours.
Temperature Considerations:
Proper temperature management is key when pouring wax into molds as it affects both aesthetics and functionality. Here are some important points to keep in mind regarding temperature:
- Avoid extreme temperatures: Extreme heat can cause damage to certain types of molds (e.g., silicone), while extremely cold environments may hinder proper adhesion and curing.
- Ideal pouring temperature: The ideal pouring temperature varies depending on the type of wax being used but usually falls between 140°F (60°C) and 180°F (82°C). Referencing specific product guidelines or consulting with experienced candle makers will help determine what works best for your particular materials.
- Candle shrinkage: As candles cool down and solidify, they naturally experience some degree of shrinkage due to contraction. Therefore, slightly overfilling your mold during pouring can compensate for this shrinkage, ensuring a smooth finish on your finished product.
- Preventing air bubbles: Vigorously tapping the mold on a solid surface immediately after pouring can help remove any trapped air bubbles, resulting in a more visually appealing candle.
Remember to exercise caution while working with hot wax and always follow safety guidelines. By mastering the art of pouring, you are one step closer to creating beautiful candles that fulfill your creative vision.
Transition into the subsequent section about “Removing the Finished Candle from the Mold”:
Once the poured wax has cooled and solidified within the mold, it is time to move on to removing the finished candle. This crucial step requires careful handling to ensure your creation emerges intact and ready for further embellishments or display.
Removing the Finished Candle from the Mold
Section H2: ‘Removing the Finished Candle from the Mold’
Transitioning seamlessly from the previous section on pouring wax into the mold, we now move on to the next crucial step in candle making – removing the finished candle from its mold. To illustrate this process, let us consider a hypothetical scenario where a novice candle maker named Sarah has just poured her scented soy wax into a cylindrical metal mold and allowed it to cool for several hours.
When it comes time to remove the finished candle from the mold, there are several key steps that need to be followed:
-
Cooling Time: Before attempting to remove the candle, it is important to ensure that it has fully cooled and solidified within the mold. This typically takes anywhere between 4-6 hours, depending on factors such as room temperature and type of wax used. Rushing this step can result in deformation or breakage of the candle.
-
Gentle Tap: Once you are confident that your candle is well-cooled, gently tap all sides of the mold with a wooden spoon or rubber mallet. This helps loosen up any potential adhesion between the wax and the walls of the mold.
-
Release Agent: If you find that your candle is still sticking inside the mold after tapping, applying a release agent may help facilitate removal. A common release agent is silicone spray, which can be lightly sprayed onto the interior walls of your mold prior to pouring in your melted wax.
-
Slow Extraction: With proper cooling and tapping techniques employed, slowly extract your finished candle by gripping firmly onto its wick while carefully pulling upwards. Applying even pressure ensures that your creation emerges intact without any damage.
To emphasize these essential steps further and engage our audience emotionally, here’s a bullet point list highlighting potential challenges one might encounter during this phase:
- The fear of breaking or deforming their meticulously crafted candles
- Anxiety about damaging delicate decorative elements on their candles
- The anticipation of seeing the final result after successfully removing the candle from its mold
- The satisfaction and sense of accomplishment that comes with a smoothly extracted, beautiful candle
Additionally, we can evoke an emotional response by presenting a table showcasing common mistakes beginners make when attempting to remove candles from molds:
| Mistake | Consequences | Solution |
|---|---|---|
| Rushing removal | Deformed or damaged candles | Allow sufficient cooling time before removal |
| Using excessive force | Broken wicks or dents in the candle | Gently tap and apply even pressure during extraction |
| Neglecting release agents | Candles sticking inside the mold | Apply silicone spray as a release agent |
| Not gripping properly | Potential dropping or damage to the candle | Firmly grip the wick while pulling upwards |
In summary, removing a finished candle from its mold involves patient waiting for proper cooling, gentle tapping to loosen any adhesion, potential use of release agents if necessary, and careful extraction. By following these steps diligently and avoiding common mistakes made by beginners, candle makers can ensure their creations emerge unscathed and ready to be enjoyed.