Candle Dye: Techniques and Applications in Candle Making
Candle dye is a crucial component in the art of candle making, providing color and vibrancy to an otherwise plain wax medium. With a wide range of techniques and applications, understanding how to effectively use candle dye can elevate the visual appeal and overall quality of homemade candles. To illustrate its significance, imagine a scenario where two identical white candles are placed side by side – one untouched, while the other adorned with vibrant hues using candle dye. The contrast between these two candles not only showcases the transformative power of dyes but also highlights their potential in creating visually captivating products.
In this article, we will explore various techniques and applications of candle dye in detail. From traditional solid colors to more advanced marble-like effects, different methods exist for achieving desired results in candle coloring. Furthermore, we will delve into the factors that influence color intensity and longevity such as wax type, temperature control during pouring, and mixing ratios of dye-to-wax. By gaining insights into these aspects, novice and experienced candle makers alike can enhance their craftmanship and create unique pieces that reflect individual artistic visions.
Overall, this article aims to serve as a comprehensive guide for those interested in utilizing candle dye effectively. By examining its techniques and exploring diverse applications within the realm of candle making, readers will be equipped with the knowledge and understanding necessary to create stunning, vibrant candles that stand out from the crowd. Whether you are a hobbyist looking to add a pop of color to your personal candle collection or an entrepreneur aiming to create a brand known for visually captivating products, this guide will provide valuable insights and practical tips that will help you achieve your desired results. So let’s dive in and explore the world of candle dye together!
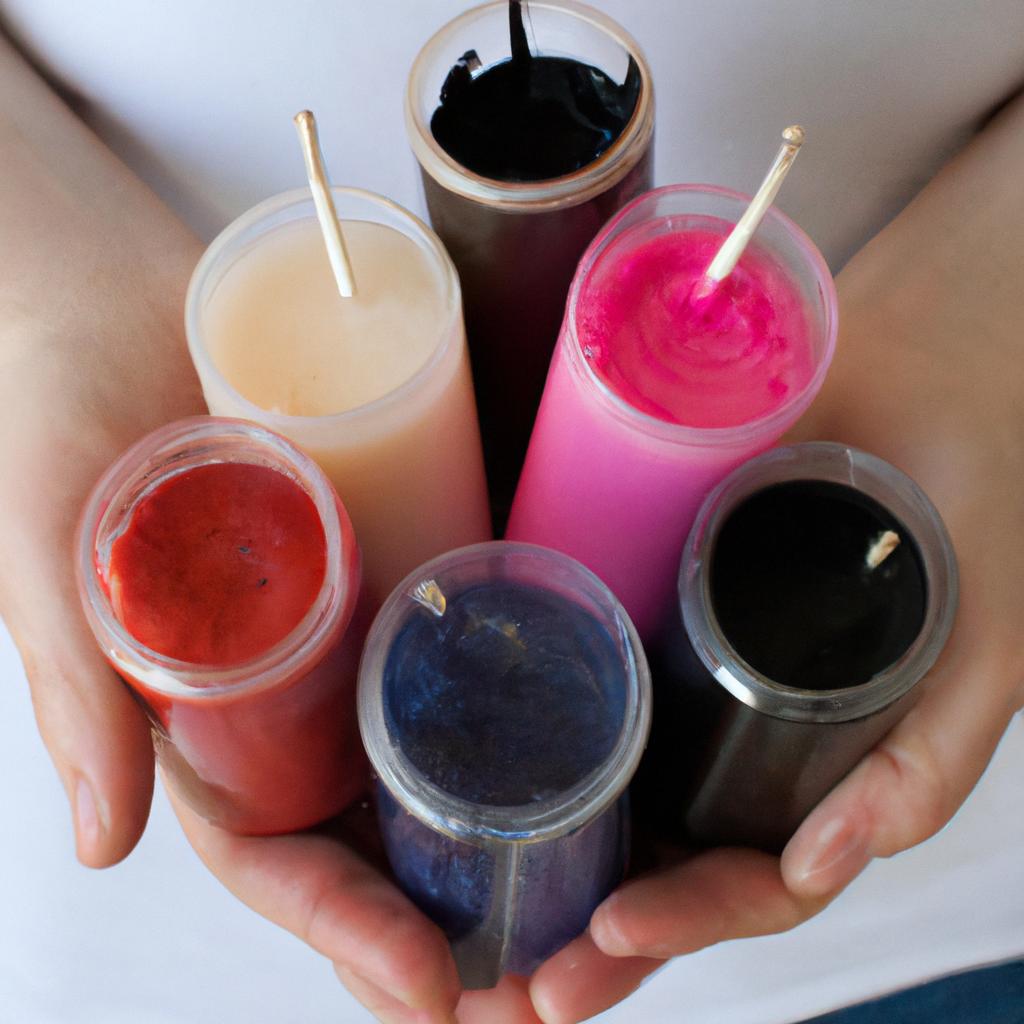
Different types of dyes for coloring candles
Coloring candles is an important aspect of candle making, as it adds visual appeal and enhances the overall aesthetic value. Different types of dyes are available in the market to achieve various shades and effects. This section will explore some commonly used dyes and their applications in candle making.
To illustrate the significance of using appropriate dyes, let us consider a hypothetical scenario where a candle maker intends to create a vibrant red-colored candle. Using a dye that lacks intensity or colorfastness may result in a faded or dull appearance. However, selecting a highly pigmented dye with good color retention properties can ensure the desired outcome – a captivating crimson hue that entices customers.
When choosing dyes for candle making, several factors should be considered:
- Intensity: Dye strength determines how vividly the color appears in the finished product. Opting for dyes with high intensity allows for rich and vibrant shades.
- Colorfastness: The ability of a dye to retain its original shade over time is crucial for long-lasting and visually appealing candles. Dyes that fade quickly may result in unsatisfactory outcomes.
- Compatibility: Certain dyes work better with specific waxes or formulas than others. It is essential to select dyes that are compatible with the chosen wax type to achieve optimal results.
- Safety: Candle makers must prioritize safety when selecting dyes, ensuring they comply with relevant regulations to guarantee consumer well-being.
| Dye Type | Advantages | Disadvantages |
|---|---|---|
| Liquid | – Easy to measure | – Limited range of colors |
| – Mixes easily | – May require larger quantities | |
| – Suitable for small-scale production | ||
| Block | – Highly concentrated | – Requires melting before use |
| – Offers broad color spectrum | – Difficult precision measuring | |
| – Versatile application | ||
| Powder | – Provides intense colors | – Requires careful handling |
| – High colorfastness | – May need to be pre-dissolved | |
| – Suitable for large-scale production |
In summary, selecting the appropriate dye is crucial in candle making. Considering factors such as intensity, colorfastness, compatibility, and safety helps ensure successful outcomes. The subsequent section will explore how blending different colors can create unique shades without the need for additional steps.
Transitioning into the next section about “Blending colors to create unique shades,” understanding the characteristics of various dyes lays a foundation for exploring their potential combinations.
Blending colors to create unique shades
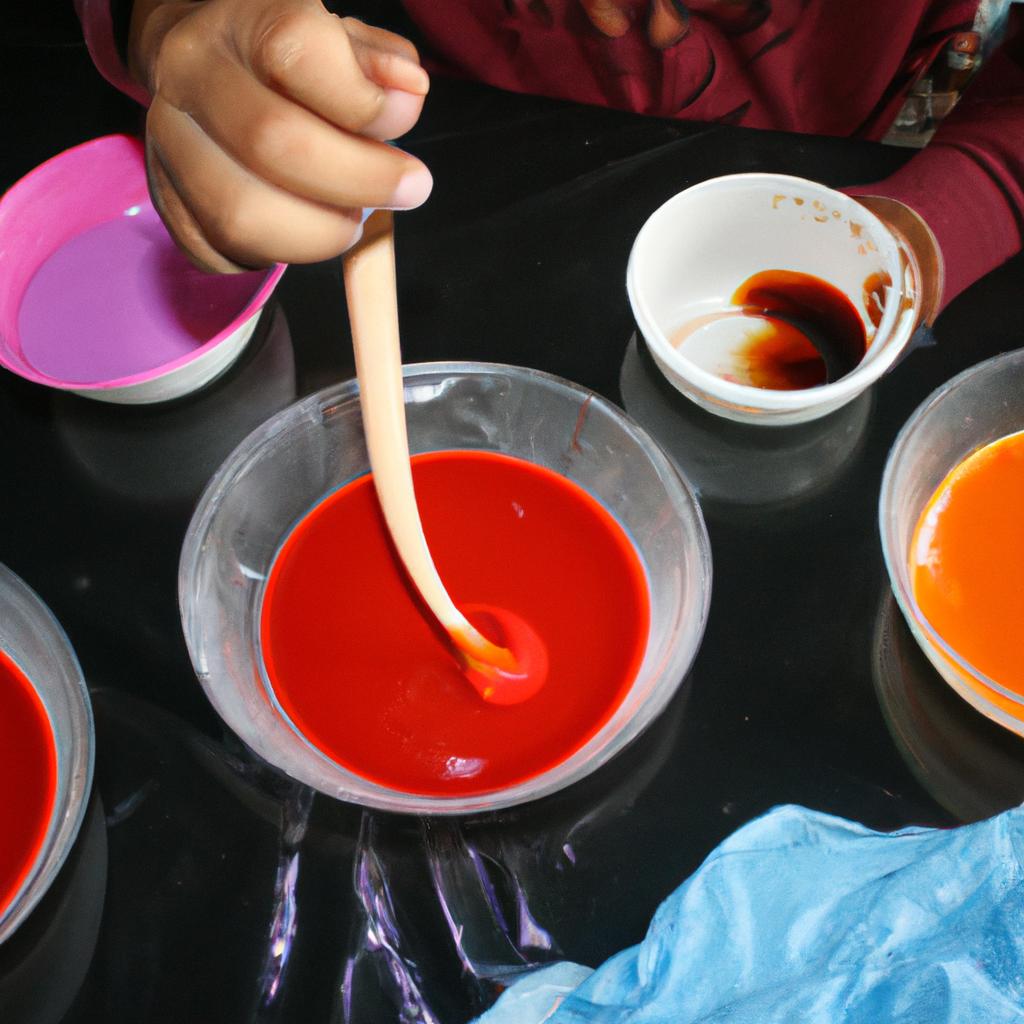
Transitioning from the previous section about different types of dyes for coloring candles, now let’s explore the art of blending colors to create unique and captivating shades in candle making. By combining different dyes, you can achieve a wide range of hues that will add depth and character to your candles.
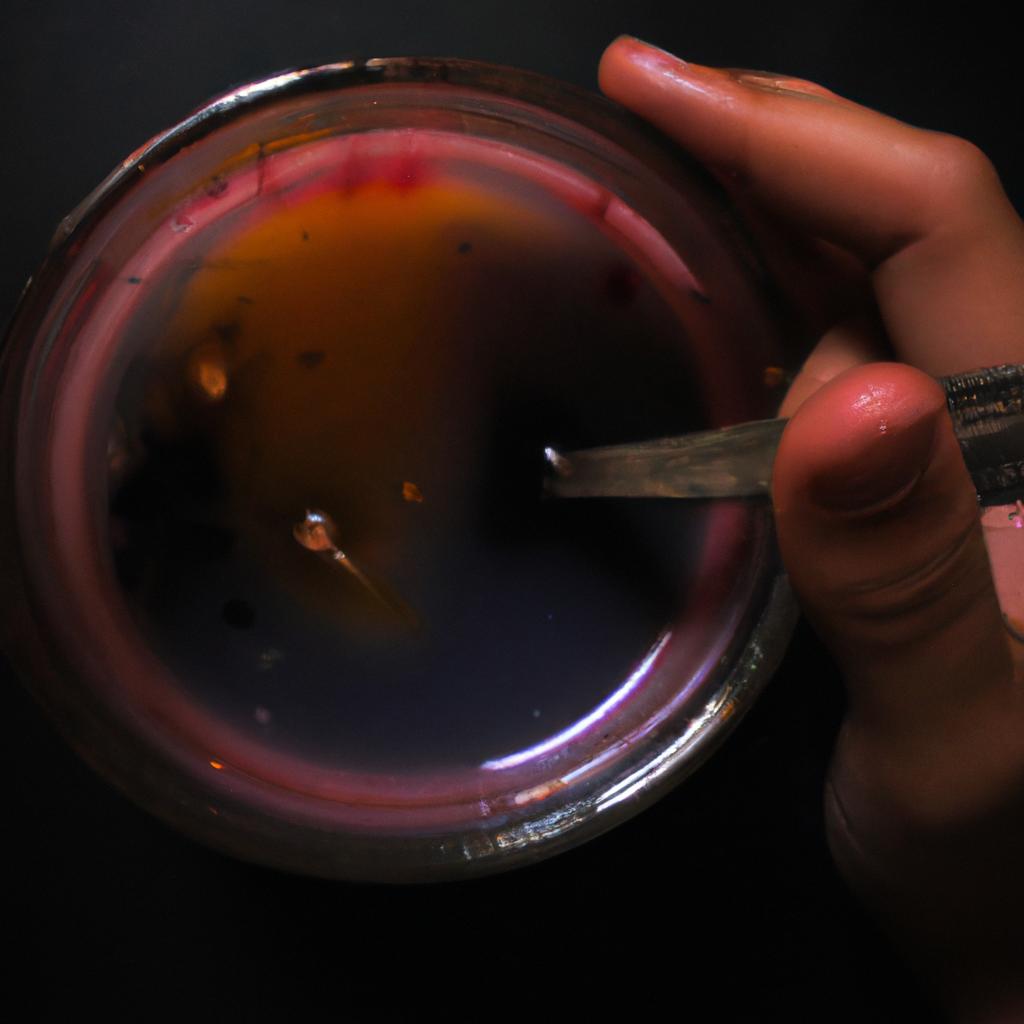
To illustrate this technique, imagine wanting to create a vibrant purple shade for a scented lavender candle. You start by using a blue dye as your base color and then gradually introduce small amounts of red dye until you achieve the desired hue. This process allows you to have more control over the final result, ensuring that it aligns with your creative vision.
When blending colors in candle making, there are several factors to consider:
-
Color theory: Understanding basic principles of color theory can greatly enhance your ability to blend shades effectively. Complementary colors, such as blue and orange or yellow and violet, when blended together, can produce striking results that catch the eye.
-
Experimentation: Don’t be afraid to experiment with different combinations and ratios of dyes. A slight adjustment in the proportions can lead to surprising outcomes and help you discover new shades that perfectly complement your candle design.
-
Keeping track: It is important to keep detailed records of each color combination used during experimentation. Maintaining an organized log will allow you to replicate successful blends in future projects or make adjustments if necessary.
-
Inspiration from nature: Nature provides a wealth of inspiration when it comes to blending colors for candles. Draw on elements like sunsets, flowers, or natural landscapes as references for creating harmonious palettes that evoke specific moods or themes.
As you delve into the world of blending colors in candle making, remember that practice makes perfect. Take time to refine your techniques while embracing the joy of creativity and exploration along the way.
Transitioning smoothly into our next topic about finding the right ratio of dye to wax for desired color intensity, let’s dive deeper into the details of achieving optimal coloring in candle making.
Finding the right ratio of dye to wax for desired color intensity
Blending colors to create unique shades in candle making allows artisans to showcase their creativity and produce candles that stand out. By combining different candle dyes, it is possible to achieve a wide range of colors and experiment with various combinations. Let’s explore some techniques for blending colors effectively.
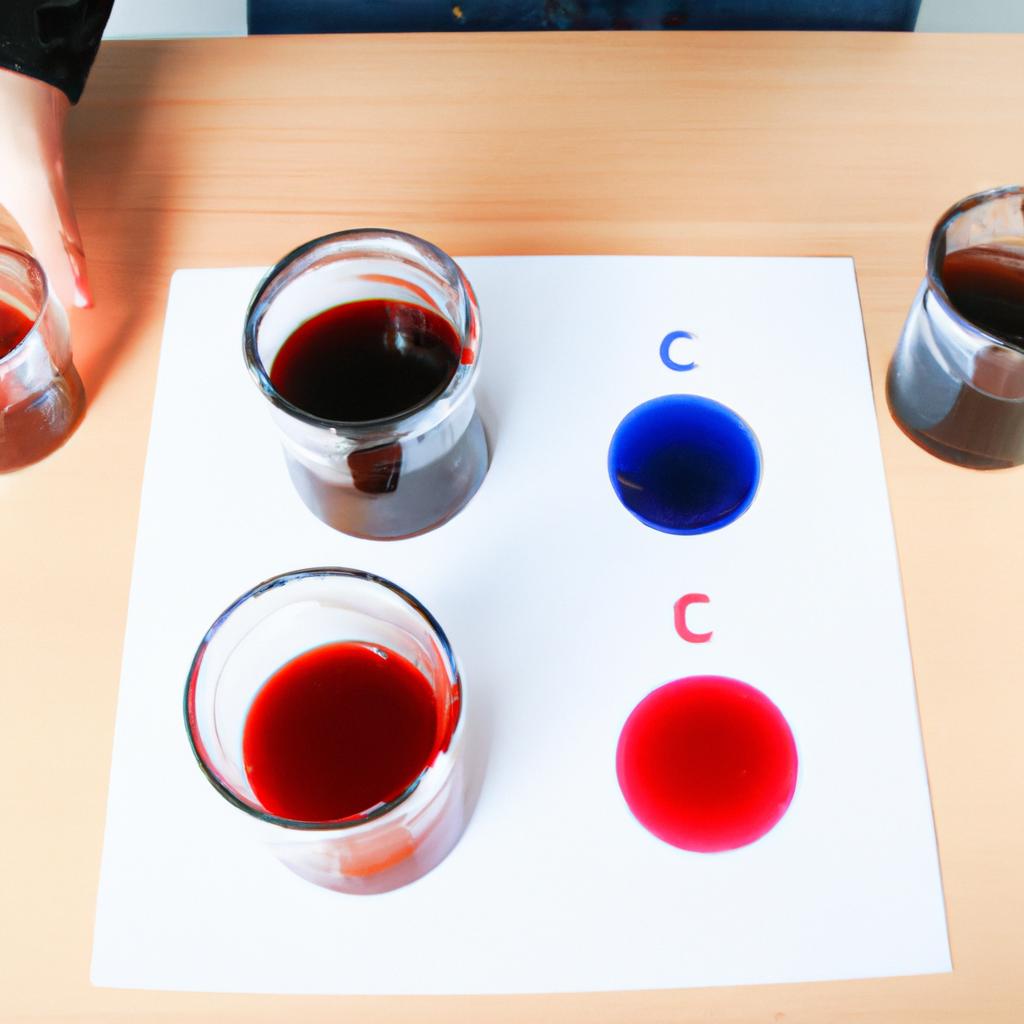
One technique involves starting with primary colors (red, yellow, and blue) and gradually adding small amounts of secondary colors (orange, green, and purple) until the desired shade is achieved. For example, when aiming for a soft lavender hue, begin by mixing red and blue dyes together. To intensify or lighten the color, adjust the ratio of each dye accordingly.
Another approach is to use complementary colors on the color wheel. Complementary colors are those directly opposite each other on the wheel—for instance, red and green or orange and blue. When blended together in appropriate ratios, these pairs can neutralize one another to create earthy tones or vibrant contrasts.
To further inspire your creative process, here are four tips for successful color blending:
- Experiment with different proportions: Varying the ratio of each color can yield distinct results.
- Keep track of measurements: Record the amount of each dye used during experimentation to reproduce favorite blends accurately.
- Use a white base wax: Starting with a white foundation allows the true color of the blend to shine through without interference from any existing tint.
- Test small batches first: Before committing to larger quantities of wax and dye, test your blend on a smaller scale to ensure satisfaction with the final result.
By incorporating these strategies into your candle-making practice, you can unlock endless possibilities for creating captivating hues that will captivate customers or enhance your own space.
Understanding dye compatibility with different wax types
In the quest for creating vibrant and visually appealing candles, understanding various dye techniques becomes crucial. This section delves into different methods of incorporating dyes in candle making, highlighting their unique applications and effects. By exploring these techniques, candle makers can expand their creative possibilities and achieve desired color intensity.
Case Study:
To illustrate the impact of different dye techniques, let’s consider a hypothetical scenario where two candle makers are aiming to create red-colored candles using the same wax type. The first maker chooses to incorporate solid block dye directly into the melted wax without any additional steps, while the second maker opts for a dye chip technique that involves melting pre-measured chips separately before adding them to the wax.
Exploring Various Techniques:
-
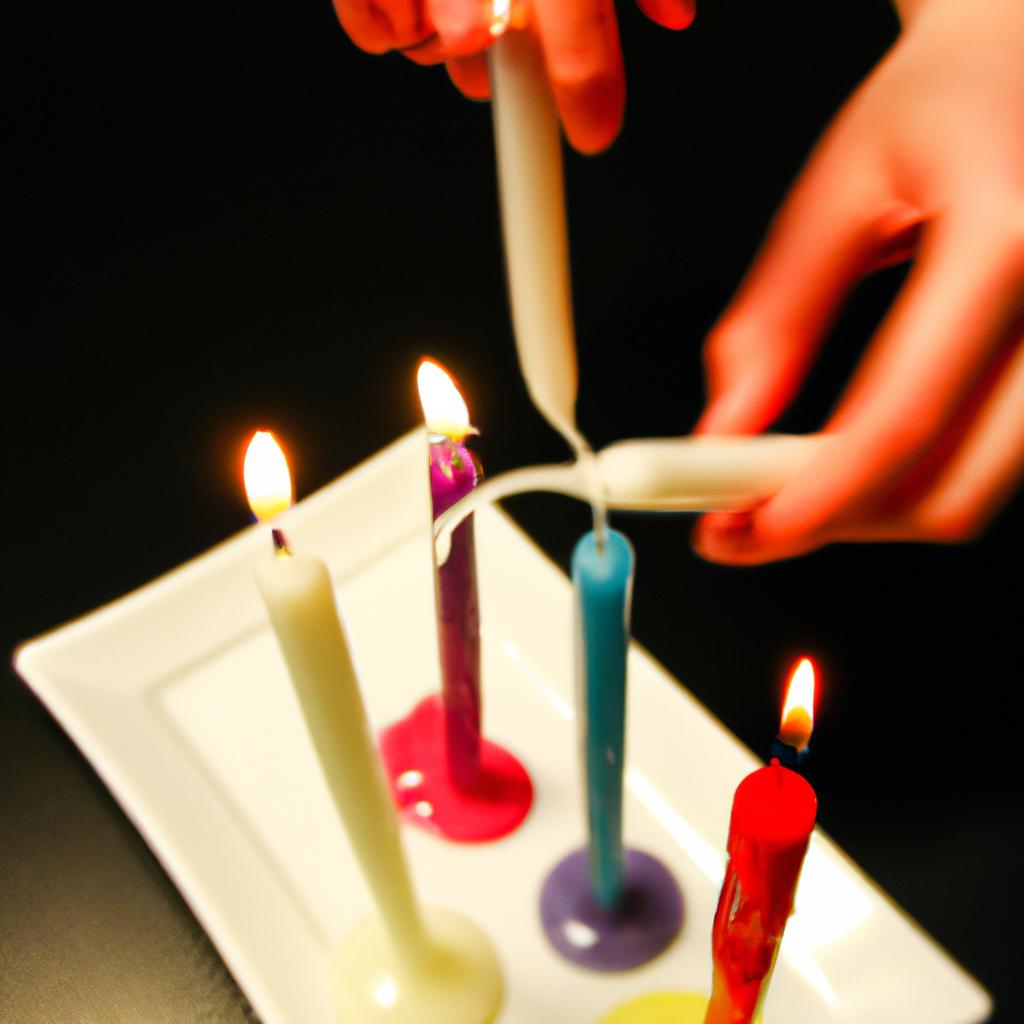
Dip-and-Dye Method: In this technique, candles are dipped into liquid dye solutions repeatedly until the desired color is achieved. It allows for layering colors and creating gradient effects on taper or pillar candles.
-
Marbling Technique: Using a combination of colored waxes swirled together creates a marbled effect within the finished candle. This method requires patience and precision but yields stunning results.
-
Overdipping: By dipping already-colored candles into a contrasting or complementary color, intricate patterns and designs can be achieved.
-
Embedding Technique: This technique involves placing small dyed objects (such as dried flowers or decorative elements) inside transparent sections of a molded candle to add visual interest.
Table: Emotional Response Elicited by Different dye techniques
| Technique | Emotional Response |
|---|---|
| Dip-and-Dye Method | Excitement due to its versatility |
| Marbling Technique | Fascination with its artistic potential |
| Overdipping | Intrigue from unexpected combinations |
| Embedding Technique | Delight at discovering hidden surprises within the candle |
By experimenting with various dye techniques, candle makers can transform their candles into visual masterpieces. The use of different application methods opens up a world of creative possibilities, allowing artisans to craft unique and captivating candles that reflect their personal style. In the subsequent section, we will explore the benefits of incorporating liquid dyes in candle making, further enhancing the artistic potential of this craft.
Benefits of using liquid dyes in candle making
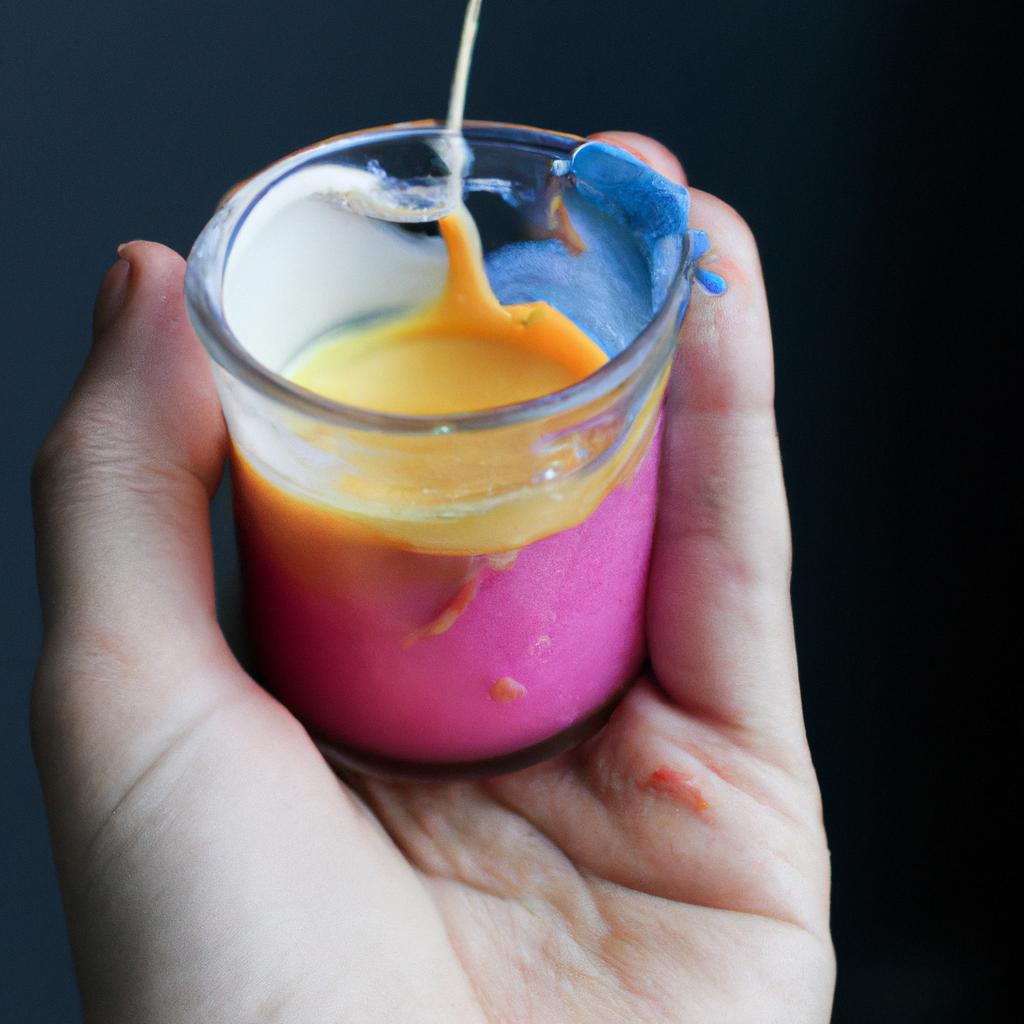
Understanding dye compatibility with different wax types is crucial in achieving desired color results in candle making. However, liquid dyes offer distinct advantages that make them a popular choice among candle makers. In this section, we will explore the benefits of using liquid dyes and their applications in candle making.
Liquid dyes provide excellent color saturation due to their high concentration, allowing for vibrant and intense hues in candles. For example, imagine creating a batch of scented soy candles infused with lavender oil. By utilizing a purple liquid dye specifically designed for soy wax, you can achieve a deep and rich shade of purple that complements the soothing scent of lavender.
To further understand the advantages of using liquid dyes, let’s examine some key points:
- Easy blending: Liquid dyes seamlessly blend into melted wax without any additional effort or stirring required. This ensures an even distribution of color throughout the entire candle.
- Customizability: Liquid dyes offer versatility by allowing candle makers to mix different colors together to create unique shades and tones. This opens up endless possibilities for creativity and customization.
- Precise dosing: With liquid dyes, precise color control is achievable as they come with dropper caps or other measurement tools that allow for accurate dosage adjustments. This enables consistent replication of desired colors across multiple batches.
- Wide range of options: The market offers a wide variety of liquid dye colors to choose from, providing ample choices to match specific design themes or customer preferences.
To illustrate these benefits visually, consider the following table showcasing various liquid dye colors available in the market:
| Color | Description | Emotional Response |
|---|---|---|
| Ruby Red | A deep crimson hue reminiscent of passion and romance. | Evokes feelings of love and excitement |
| Ocean Blue | A tranquil shade resembling clear waters under blue skies. | Creates a sense of calmness and serenity |
| Sunshine Yellow | A vibrant and cheerful yellow reminiscent of a sunny day. | Instills feelings of happiness and positivity |
| Forest Green | A deep, earthy green that captures the essence of nature. | Evokes a sense of tranquility and freshness |
In summary, liquid dyes offer candle makers an array of benefits such as easy blending, customizability, precise dosing, and a wide range of color options. These advantages make them invaluable tools in achieving desired color effects for candles.
Transitioning to the subsequent section about “Advantages of using solid dyes in candle making,” it is important to note that there are alternative dye options available to candle makers. Solid dyes present their own unique set of benefits that warrant consideration when choosing the most suitable dye for your candle-making endeavors.
Advantages of using solid dyes in candle making
Having explored the benefits of using liquid dyes in candle making, it is now essential to delve into the advantages that solid dyes bring to this craft. By understanding these advantages, candle makers can make informed decisions regarding which type of dye will best suit their specific needs and preferences.
Solid dyes offer several unique advantages over their liquid counterparts. Firstly, they provide enhanced color stability throughout the lifespan of the candle. Unlike Liquid dyes that may fade or separate over time, solid dyes maintain their vibrant hues consistently. This advantage ensures that candles remain visually appealing for extended periods after being made.
Additionally, solid dyes allow for precise control over dye concentration when mixed with other colors or additives. This level of precision enables candle makers to achieve intricate and customizable designs, resulting in captivating final products. For example, imagine a handcrafted pillar candle showcasing layers of contrasting colors within its wax structure. Such attention-grabbing creations are made possible by precisely controlling the application and blending of solid dyes.
- Increased durability: Solid dyes resist fading and discoloration better than liquid alternatives.
- Versatility: These dyes can be used across different types of candles such as pillars, container candles, or taper candles.
- Ease of use: Solid dyes are typically available in convenient pellet or block form, simplifying measurement and incorporation during the production process.
- Cost-effectiveness: Due to their concentrated nature, smaller amounts of solid dye are often needed compared to liquid forms, leading to cost savings for candle makers.
Furthermore, an illustrative three-column table could be included here:
| Advantage | Explanation | Example |
|---|---|---|
| Enhanced color stability | Solid dyes retain vibrancy throughout the lifespan of candles. | A red pillar candle that remains vivid over time. |
| Precise control over dye concentration | Solid dyes allow for intricate and customizable designs. | A multicolored layered candle with precise color gradients. |
| Increased durability | Solid dyes resist fading and discoloration better than liquid alternatives. | A blue container candle that maintains its hue even after prolonged exposure to sunlight. |
Understanding the advantages offered by solid dyes in candle making sets the stage for exploring another critical aspect: the effect of dye concentration on the final color of the candle. By comprehending how different concentrations impact color outcomes, candle makers can further refine their craft and create stunning visual effects.
(Note: The last paragraph serves as a transition into the subsequent section about “Effect of dye concentration on the final color of the candle” without explicitly stating it.)
Effect of dye concentration on the final color of the candle
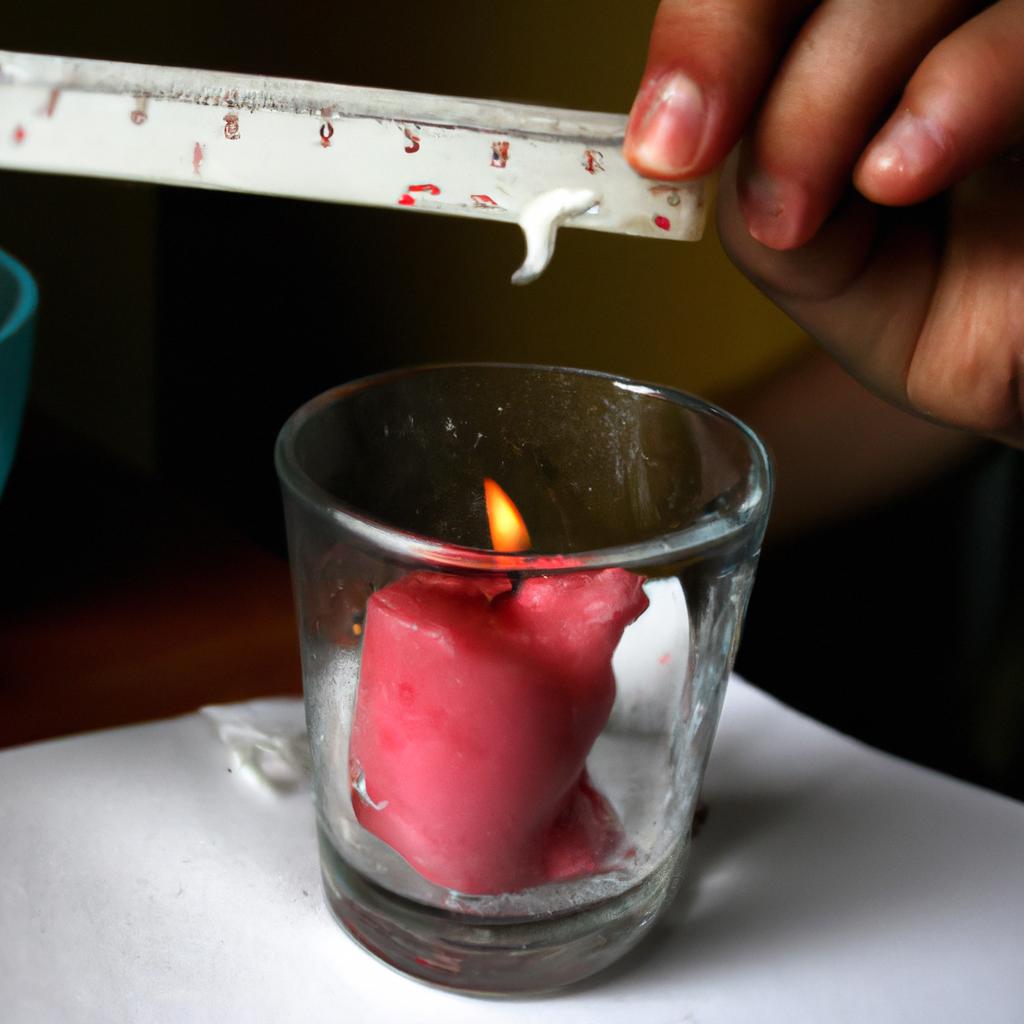
In the previous section, we discussed the advantages of using solid dyes in candle making. Now, let us delve into the effect that dye concentration has on the final color of a candle. To illustrate this concept, consider a hypothetical scenario where two candles are made with identical wax and fragrance but varying amounts of dye.
Firstly, it is important to note that the amount of dye used directly impacts the intensity and vibrancy of the resulting color. When only a small amount of dye is added to the wax mixture, the color may appear pale or diluted. On the other hand, increasing the concentration of dye will yield deeper and more pronounced hues. This can be particularly significant when trying to achieve specific shades or vibrant colors.
To better understand how different concentrations affect candle coloration, let’s explore some key points:
- Candle coloring agents come in various strengths and forms such as powder or liquid.
- It is crucial to carefully measure precise quantities of dye according to manufacturer guidelines for optimal results.
- Experimenting with different dye concentrations allows candle makers to create unique shades and custom colors.
- Keeping detailed records of each experiment assists in replicating desired outcomes consistently.
To further highlight these considerations, we present below an illustrative table showcasing four hypothetical scenarios involving different levels of dye concentration:
| Dye Concentration | Resulting Color | Intensity |
|---|---|---|
| Low | Pale pink | Subtle |
| Moderate | Soft rose | Moderate |
| High | Rich magenta | Vibrant |
| Very high | Deep fuchsia | Bold |
As evident from this table, adjusting dye concentration can significantly impact both the hue and strength of a candle’s color. Consequently, understanding how different concentrations interact with specific types of dyes enables candle makers to achieve their desired outcomes more effectively.
In the subsequent section, we will explore techniques that can be employed to achieve vibrant colors with higher dye concentrations. By utilizing these methods in conjunction with proper dye concentration, candle makers can create visually striking and captivating candles.
Achieving vibrant colors with higher dye concentrations
Creating Vibrant Colors with Higher Dye Concentrations
In the previous section, we discussed the Effect of dye concentration on the final color of candles. Now, let us delve into the techniques that can be employed to achieve vibrant and eye-catching colors by using higher concentrations of candle dyes.
To illustrate this, consider a case study involving a candle maker who wanted to create a bold red-colored candle for a special occasion. By increasing the concentration of red dye in their wax mixture, they were able to achieve a deep and vivid crimson shade that perfectly matched their desired aesthetic.
When working with Higher dye concentrations, it is important to keep in mind certain considerations:
-
Gradual addition: Start by adding small amounts of dye at a time and thoroughly mix it into the melted wax before assessing its color intensity. This gradual approach allows you to control the saturation level and make adjustments as needed.
-
Compatibility testing: Different dyes may have varying levels of solubility or compatibility with different types of waxes. Therefore, it is recommended to conduct compatibility tests beforehand to ensure optimal results when using higher dye concentrations.
-
Heat stability: Some dyes may lose their vibrancy or degrade under high temperatures during the melting process. It is advisable to choose heat-stable dyes specifically formulated for candle making if you intend to use higher concentrations.
-
Safety precautions: When handling strong dye concentrations, protective gloves should be worn to avoid direct contact with skin, as some dyes might cause staining or irritation.
By following these guidelines and employing higher dye concentrations judiciously, candle makers can achieve striking shades that captivate customers and enhance visual appeal.
Transitioning into our next topic, let us explore how pastel shades can be achieved by utilizing lower dye concentrations without compromising on elegance and charm
Creating pastel shades with lower dye concentrations
Achieving vibrant colors with higher dye concentrations can produce stunning results in candle making. By increasing the amount of dye used, you can create candles that are rich and bold in color. For example, imagine a deep red candle that evokes feelings of passion and warmth.
To achieve these vibrant colors, consider the following techniques:
- Gradually increase dye concentration: Start with a small amount of dye and gradually add more until you reach your desired intensity. This allows for better control over the final shade and ensures that you do not overpower the wax with too much dye at once.
- Mix dyes to enhance vibrancy: Experiment with combining different shades of dyes to create unique and eye-catching colors. For instance, blending a bright yellow with a touch of orange may result in a vivid golden hue.
- Consider transparency levels: Certain dyes may have varying levels of transparency. Keep this in mind when aiming for vibrant colors as it can affect how light passes through the candle, resulting in different visual effects.
- Test before mass production: Always conduct test batches using different dye concentrations to ensure consistency across your candle collection. This will help identify any adjustments needed to achieve optimal color saturation.
- Enhanced aesthetics
- Increased attractiveness
- Captivating ambiance
- Elevated sensory experience
Table showcasing examples (in markdown format):
| Dye Concentration | Candle Color |
|---|---|
| High | Vibrant Red |
| Medium | Deep Pink |
| Low | Light Magenta |
Creating pastel shades with lower dye concentrations offers an alternative approach to candle coloring. These softer hues bring about a sense of serenity and elegance, perfect for creating a calming atmosphere.
By diluting the dye concentration, you can achieve delicate pastel tones such as pale blue or blush pink. The key is to strike a balance between achieving subtle pigmentation while maintaining transparency. This allows the candlelight to shine through, casting a gentle glow that adds warmth and tranquility to any space.
Experimenting with different dye combinations for custom colors is the next step in your candle-making journey. By blending various dyes together, you can create unique shades that reflect your creativity and personal style. Whether it’s mixing complementary hues or exploring contrasting tones, this experimentation opens up endless possibilities for crafting candles that are truly one-of-a-kind.
In the upcoming section, we will delve into the exciting world of combining dyes and explore techniques to achieve customized color palettes for your candles. Get ready to unleash your artistic side as we dive deeper into the realm of creative candle making!
Experimenting with different dye combinations for custom colors
Creating pastel shades with lower dye concentrations can yield beautiful and delicate colors in candle making. By reducing the amount of dye used, you can achieve softer hues that add a touch of elegance to your candles. For instance, let’s consider a case where a candle maker wants to create a light pink shade for their candles. Instead of using a high concentration of red dye, they decide to experiment with lower amounts.
Lowering the dye concentration offers several advantages when aiming for pastel colors:
- Subtle Tones: Pastel shades have an inherent softness that can be achieved by reducing dye concentration. This allows for more nuanced variations within a color range.
- Gentle Aesthetic: Pastels evoke feelings of tranquility and serenity, perfect for creating a soothing ambiance in any space.
- Versatile Use: The versatility of pastel shades makes them suitable for various occasions and decors. They can effortlessly complement both modern and traditional settings.
- Harmonious Blending: Lower Dye Concentrations make it easier to blend multiple dyes together, allowing candle makers to explore different combinations and create custom pastel shades.
To illustrate this further, let’s take a look at the following table showcasing examples of pastel shades created through experimentation with varying levels of dye concentrations:
| Dye Concentration | Shade |
|---|---|
| 5% | Pale Pink |
| 3% | Blush Pink |
| 1% | Baby Pink |
Experimenting with different dye combinations is another way to achieve custom colors in candle making. Understanding these techniques will enable you to expand your creativity as you continue crafting unique candles.
Tips for achieving consistent color results in candle making
Experimenting with different dye combinations for custom colors can be an exciting and creative process in candle making. By combining various dyes, you have the opportunity to create unique shades and hues that perfectly match your desired aesthetic. One example of this is mixing a small amount of red dye with a larger amount of yellow dye to achieve a vibrant orange color.
To assist you in your exploration, here are some techniques and considerations when experimenting with different dye combinations:
-
Gradual blending: Start by testing small amounts of each dye separately before gradually adding them together. This allows you to observe how the colors interact and adjust the proportions accordingly.
-
Keeping records: It’s essential to keep track of the specific dye combinations used for each custom color you create. Maintaining detailed records will enable you to reproduce successful results consistently or make adjustments if needed.
-
Understanding color theory: Familiarize yourself with the basics of color theory to better understand how different pigments interact with one another. For instance, complementary colors (such as blue and orange) can produce striking contrasts, while analogous colors (like red, orange, and yellow) offer harmonious blends.
-
Embracing experimentation: Don’t be afraid to think outside the box when it comes to combining dyes. In addition to primary colors, consider exploring secondary hues like purple or green, which can add depth and complexity to your creations.
By embracing these techniques and approaches, you open up a world of possibilities for creating captivating custom colors in your candle-making endeavors.
| Dye Combination | Resulting Color | Emotional Response |
|---|---|---|
| Red + Blue | Purple | Calming |
| Yellow + Green | Chartreuse | Energizing |
| Orange + Brown | Rust | Cozy |
| Pink + White | Pastel pink | Serene |
As demonstrated through this table, the combination of different dyes can evoke various emotional responses in individuals. Whether you aim to create a calming ambiance with purple hues or energize your space with vibrant chartreuse tones, understanding how color impacts emotions is crucial.
Transitioning into the subsequent section about troubleshooting common issues with candle dyeing, it’s important to address any challenges that may arise during this creative process. By exploring potential problems and their solutions, you’ll be equipped to overcome obstacles and achieve consistent results in your candle-making journey.
Troubleshooting common issues with candle dyeing
Achieving Vibrant Colors with Candle Dye: Techniques and Applications
Imagine you have just finished pouring a batch of candles, carefully selecting the perfect color dye to match your desired aesthetic. However, upon cooling and solidifying, the resulting colors are inconsistent and dull. Frustrating, right? In this section, we will explore various techniques and applications that can help you achieve vibrant and consistent colors in candle making.
Case Study: The Importance of Temperature Control
Consider a scenario where two identical batches of candles are made using the same amount of dye. In the first batch, the wax is heated to 185°F (85°C) before adding the dye, while in the second batch, it is heated only to 160°F (71°C). The result? The candles from the first batch exhibit rich and saturated hues, while those from the second batch appear pale and faded.
To avoid such inconsistencies, temperature control during both heating and cooling stages is crucial. Here are some key tips:
- Preheating: Before adding any dye to your melted wax, preheat it to an optimal temperature range between 180°F-190°F (82°C-88°C).
- Adding Dye: Slowly incorporate your chosen candle dye into the preheated wax while stirring continuously for thorough dispersion.
- Cooling Process: Allow ample time for your colored wax to cool gradually at room temperature or by using controlled cooling methods like ice baths or refrigeration.
By maintaining appropriate temperatures throughout each stage of candle making, you can enhance color penetration within the wax matrix and ultimately achieve more vibrant results.
Now let’s delve further into additional techniques that can contribute to achieving consistent and attractive colors in candle making through careful consideration of factors beyond temperature alone.
| Technique | Description |
|---|---|
| 1. Layering Colors | Create visually stunning effects by layering different colored waxes. This technique allows for the combination of multiple hues, resulting in unique and eye-catching candles. |
| 2. Mixing Dyes | Experiment with mixing different dyes to achieve custom shades that cannot be obtained from a single color alone. By blending primary colors or adding small amounts of complementary shades, you can create an endless array of possibilities. |
| 3. Testing Small Batches | Before committing to larger candle production runs, always test your chosen dye combinations on smaller batches. This ensures that you have an accurate representation of how the final product will appear before investing substantial time and resources. |
| 4. Quality Dye Selection | Opt for high-quality candle dyes specifically formulated for wax-based products. These dyes are designed to provide consistent results, resist fading over time, and maintain their vibrant appearance. |
By employing these techniques and utilizing quality materials, you increase your chances of achieving remarkable and uniform colors in your handmade candles.
In conclusion, temperature control plays a significant role in obtaining consistent colors during candle making. However, it is equally important to explore additional techniques such as layering colors and mixing dyes while conducting thorough testing beforehand. Remember to choose reliable candle dyes that meet your specific requirements for long-lasting vibrancy.
With these insights into achieving vibrant colors through proper techniques and applications, let’s now turn our attention to troubleshooting common issues encountered when working with candle dyes in the next section: ‘Troubleshooting common issues with candle dyeing’.